BIT-101
Bill Gates touched my MacBook Pro

Posts in this series:
We’ve got a functional site now and we can add all the content we want to it and it should pretty much show up when and where it’s supposed to. Now we just need to make it look good.
Now styling a web site can be a very personal thing. And let’s face it, that’s where all the fun is. So I’m not going to build out some in depth style system for you to copy over. I’m just going to go through the mechanics and give a few examples and turn it over to you to build out.
I’m also going to use plain old vanilla CSS. It’s not that I’m against frameworks or anything. I’m just going to leave that choice up to you.
But before we even touch CSS, there’s one thing I want to take care of with code.
Right now, all of our dates look like this:
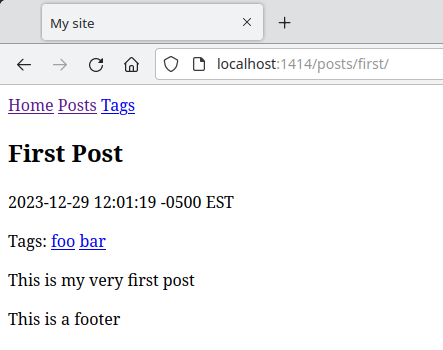
Not great. We can do better. Hugo has built in date formatting tools. Let’s use them.
Starting with single.html, which looks like this now:
{{ define "main" }}
<h2>{{ .Title }}</h2>
<p>{{ .PublishDate }}</p>
{{ if .Params.Tags }}
  Tags: {{ partial "tags.html" . -}}
{{ end }}
<div>{{ .Content }}</div>
{{ end }}
We can set a date format right there, like so:
{{ define "main" }}
<h2>{{ .Title }}</h2>
<p>{{ time.Format "January 2, 2006" .PublishDate }}</p>
{{ if .Params.Tags }}
  Tags: {{ partial "tags.html" . -}}
{{ end }}
<div>{{ .Content }}</div>
{{ end }}
Here, we call the time.Format function, passing in the string “January 2, 2006”, and then the date we want to format. Why “January 2, 2006”? The date format library takes specific days and months and years, etc. to serve as an example formula. It’s designed to be more intuitive than arcane time formatting strings like "%B %d, %Y". Here are the formatting components you can use:
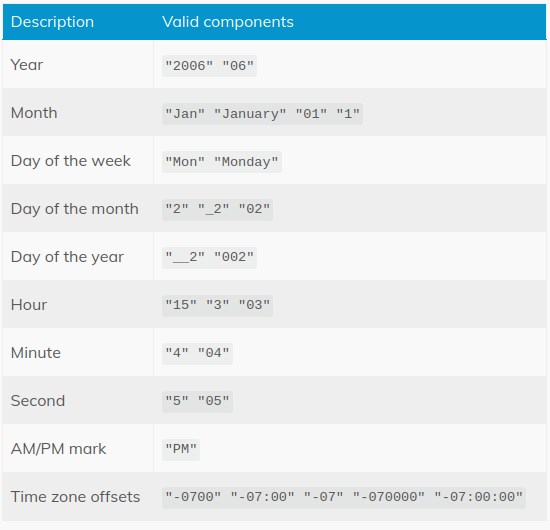
You can read more about it in the Hugo docs
Now the dates should look like this:
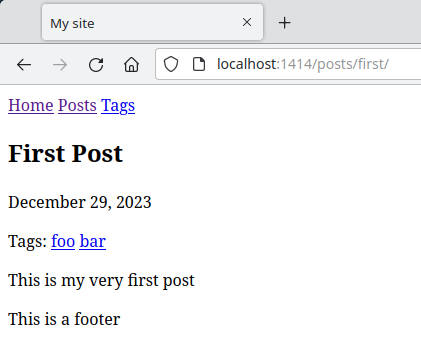
Try other date format strings like “Jan 2, 2006” or “1/2/06” and choose a format that you like. You might even want to include the exact time a post was published.
And don’t forget to do the same thing in the listitem.html partial.
<li>
  <h3>
    <a href="{{ .RelPermalink }}">
      {{ .Title }}
    </a>
  </h3>
  {{ if .PublishDate }}
    <p>{{ time.Format "January 2, 2006" .PublishDate }}</p>
  {{ end }}
  {{ if .Params.Tags }}
    <p>Tags: {{ partial "tags.html" . -}}</p>
  {{ end }}
  {{ if .Summary }}
    <p>Summary: {{ .Summary }}</p>
  {{ end }}
</li>
So your posts list will have the right format too:

As with many things in programming, there are multiple ways to do this. Here’s an alternate, even simpler syntax:
<p>{{ .PublishDate.Format "January 2, 2006" }}</p>
You might even want to go all in with the HTML <time> element. You can read about the time element here.
OK, enough about dates, onto styles!
As I said, I’m not going to do a deep CSS dive. I’ll just point you in the direction and send you off to do your magic.
Generally, you want to put your CSS in a folder called static at the top level of your theme. Anything that’s in static will show up in the root of your site. so if you have something like static/styles/style.css, you’ll find that at localhost:1313/styles/style.css.
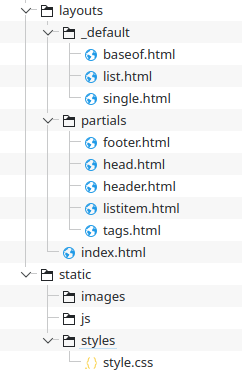
Within static you might also want to put a js folder if there’s going to be JavaScript on your site, and maybe images for any theme-level images or icons you want to use. Anyway, at this point, create the folders and file for static/styles/style.css. Your theme should look something like this now (I also added js and images):
Now we need to make sure our styles load into every page we create. If you guessed we’ll be doing something in baseof.html, you are close. If you guessed the head.html partial, you are spot on. Just link your stylesheet there:
<head>
  <meta charset="utf-8">
  <meta name="viewport" content="width=device-width, initial-scale=1.0">
  <link rel="stylesheet" type="text/css" href="{{ absURL `styles/style.css` }}">
  <title>My site</title>
</head>
I used the absURL function to make sure the link is correctly referenced even if the site is not at the root of the web server. You can read more about absURL here.
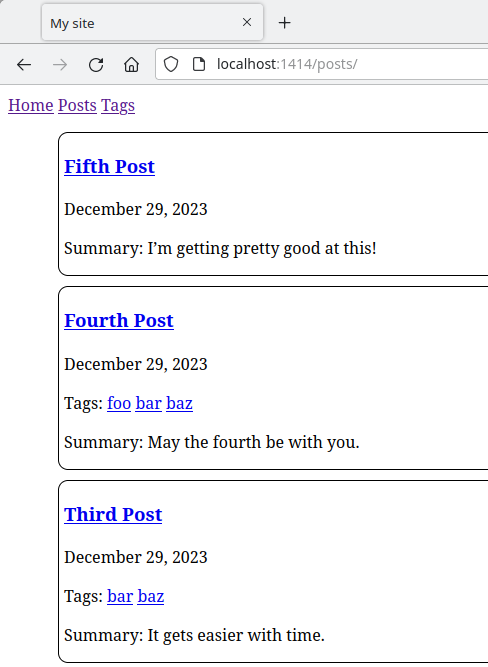
Now we are ready to make some styles! The one thing that bugs me the most about the site now is the default bulleted lists. Let’s get rid of the bullets and just put a border around those elements to set them off.
In listitem.html, let’s add a list-item class to the list item element.
<li class="list-item">
  <h3>
    <a href="{{ .RelPermalink }}">
      {{ .Title }}
    </a>
  </h3>
  {{ if .PublishDate }}
    <p>{{ time.Format "January 2, 2006" .PublishDate }}</p>
  {{ end }}
  {{ if .Params.Tags }}
    <p>Tags: {{ partial "tags.html" . -}}</p>
  {{ end }}
  {{ if .Summary }}
    <p>Summary: {{ .Summary }}</p>
  {{ end }}
</li>
Then in styles.css create that style.
.list-item {
  list-style: none;
  border: 1px solid black;
  border-radius: 10px;
  margin: 10px;
  padding: 0 5px;
}
That gives us:
Here’s some more styles I added:
html, body {
  padding: 0;
  margin: 0;
  font-family: sans-serif;
}

nav {
  background-color: #ccf;
  padding: 20px;
  font-size: 24px;
}
This removes any margin and padding from the page, sets a slightly better default font and styles the nav. Now we look like this:
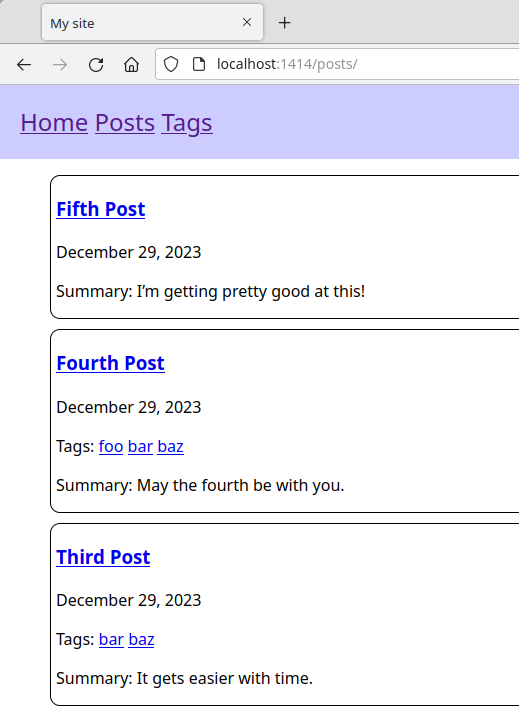
It’s not amazing, but hopefully you agree it’s going in the right direction. Not bad for a few very simple lines of CSS. I know you can do better.
Well, that wraps up this series. If you learned half as much reading it as I did writing it, then it’s all good. If you’re just building a single site, it’s probably fine to just leave your theme as part of your whole site. If you wind up making a theme you want to re-use or share, it’s worth pulling it out into it’s own git repo and then adding it to your site using git submodules.
I’d also strongly suggest (now that you know how themes work) that you create your themes using the hugo new theme <theme-name> command line tool. This will create all the necessary folders and some of the boilerplate files, as well as some theme configuration files that we just kind of ignored here. This will be especially important if you start sharing or re-using your themes.
Header Image 'Binary code' by Christiaan Colen is licensed under CC BY-SA 2.0