BIT-101
Bill Gates touched my MacBook Pro


Posts in this series:
What we’ve done so far:
Today’s goal is to flesh each of these things out a bit more, and work in a few more pieces of the theme for better organization.
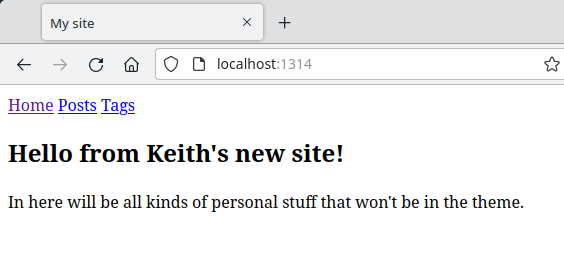
Right now our home page is pretty bland. In your final site, you probably want it to talk about your site or yourself or your specific project. But all of that is content and shouldn’t really be in the theme. So what do you do? One strategy is to make a new home page outside of the theme that will override the theme home page.
In your project directory, you’ll notice that Hugo created a few other folders, including a top level layouts folder. This folder mirrors the theme’s layout folder. And anything you put in here will override whatever is in the theme.
Create a new index.html file inside the top level layouts folder. In that, define “main” like we did in the them home template. Within that, you can create any site-specific content you want. Like so:
{{ define "main" }}
<h2>Hello from Keith's new site!</h2>
<p>In here will be all kinds of personal stuff that won't be in the theme.</p>
{{ end }}
Now instead of using the theme’s home page template, your site will uses this custom one.
Partials are like importable chunks of HTML. You can think of them as components that you build the rest of your site with. They’re very useful when you need the same chunk of HTML in multiple places, but it can also just help in site organization to have different partials handle specific sections of HTML.
Let’s look at our current baseof.html file:
<!DOCTYPE html>
<html>
  <head>
      <meta charset="utf-8">
      <meta name="viewport" content="width=device-width, initial-scale=1.0">
      <title>My site</title>
  </head>
  <body>
    <nav>
      <a href="/">Home</a>
      <a href="/posts">Posts</a>
      <a href="/tags">Tags</a>
    </nav>
    {{ block "main" . }}
    {{ end }}
  </body>
</html>
We have three main things going on there.
Let’s add a footer as well, just to make it even busier.
<!DOCTYPE html>
<html>
  <head>
      <meta charset="utf-8">
      <meta name="viewport" content="width=device-width, initial-scale=1.0">
      <title>My site</title>
  </head>
  <body>
    <nav>
      <a href="/">Home</a>
      <a href="/posts">Posts</a>
      <a href="/tags">Tags</a>
    </nav>
    {{ block "main" . }}
    {{ end }}
  </body>
  <div>This is a footer</div>
</html>
We can take these sections and split them into individual partial files. Actually, the main section is already split out, so we’ll just do the head, nav and footer.
In your theme’s layout folder, create a new partials folder. In that, create head.html, header.html, footer.html.
Then take everything in the <head> section of baseof.html and move it to head.html:
<head>
  <meta charset="utf-8">
  <meta name="viewport" content="width=device-width, initial-scale=1.0">
  <title>My site</title>
</head>
Take the <nav> section and move that to header.html:
<nav>
  <a href="/">Home</a>
  <a href="/posts">Posts</a>
  <a href="/tags">Tags</a>
</nav>
And finally, move the footer <div> to footer.html:
<div>This is a footer</div>
This leaves our baseof.html file nearly empty:
<!DOCTYPE html>
<html>
  <body>
    {{ block "main" . }}
    {{ end }}
  </body>
</html>
But we can now pull in those external sections as partials. It looks like this:
<!DOCTYPE html>
<html>
  {{- partial "head.html" . -}}
  <body>
    {{- partial "header.html" . -}}
    {{- block "main" . }}{{- end }}
    {{- partial "footer.html" . -}}
  </body>
</html>
You just specify the name of the partial file you want to insert. You don’t need the path, Hugo knows to look in the partials folder. And don’t forget the dot (.) to pass in the site context.
You’ll also note that I threw some hyphens (-) in there. These serve to strip out any extra white space as you’re importing blocks or partials.
This is nice because our baseof.html file is now almost 100% pure template, pulling its content from other places. It’s all about the structure of the site. You can see that it all works fine, and we now have a footer on each page as well.
If you were to use Hugo’s automation to create a new theme (hugo new theme newtheme), the baseof.html file it creates looks very similar:
<!DOCTYPE html>
<html>
    {{- partial "head.html" . -}}
    <body>
        {{- partial "header.html" . -}}
        <div id="content">
        {{- block "main" . }}{{- end }}
        </div>
        {{- partial "footer.html" . -}}
    </body>
</html>
The <div id="content"> surrounding the main block is a nice idea. I’ll update my baseof.html to match that. So we’ve come to the same place as the automated tool, but step by step. Hopefully you understand exactly what’s going on here more than you would have if you just let the tool just do it for you.
As it stands, the list page just shows a simple bulleted list of page titles. We can do better. Here’s what it looks like now:
{{ define "main" }}
<ul>
{{ range .Pages.ByPublishDate.Reverse }}
  <li>
    <a href="{{ .RelPermalink }}">
      {{ .Title }}
    </a>
  </li>
{{ end }}
</ul>
{{ end }}
We’ll be adding stuff to the <li> list item section, which is already getting big. Good place for another partial. Move the <li> section into a new file, layouts/partials/listitem.html and replace it with a call to that partial:
{{ define "main" }}
<ul>
{{ range .Pages.ByPublishDate.Reverse }}
  {{- partial "listitem.html" . -}}
{{ end }}
</ul>
{{ end }}
Make sure everything still works.
Now let’s flesh out that list item. I’m just going to throw a bunch of code at you and then walk through it.
<li>
  <h3>
    <a href="{{ .RelPermalink }}">
      {{ .Title }}
    </a>
  </h3>
  <p>Date: {{ .PublishDate }}</p>
  <p>Tags: {{ partial "tags.html" . -}}</p>
  <p>Summary: {{ .Summary }}</p>
</li>
Here, we keep the <li> tag and put the title in an <h3> tag.
Then we add the publish date in a <p> tag.
Another <p> tag holds the list of tags. This one gets more complex, so I put it in yet another partial. Partials within partials. Partialception! We’ll look at that in a moment.
A final <p> tag holds the summary, which can be one of three things:
<!-- more --> tag.summary item in the front matter of the page itself.And I believe Hugo will look for those things in that order. So if you have a more tag, it will ignore the summary front matter.
Let’s look at that tags.html partial next.
{{ range .Params.tags }}
  <a href="{{ add (absURL `tags/`) (.) }}">{{ . }}</a>
{{ end }}
Here we range over the tags and create an anchor tag for each one. The code for getting the path is a bit involved. We want to get the absolute path of “tags/” first. And then add the tag itself (represented by .) to that. As I said at the start of this series, I’m not going to dive too deeply into Hugo functions and variables.
One thing to note here is that since we have nested quotes here, we need to use a different type of quotes to surround “tags/”. Normally I’d use double quotes around the larger block and single quotes for the inner quoted material.
"foo 'bar' baz"
But Hugo doesn’t like that, so you have to use backticks in this case:
"foo `bar` baz"
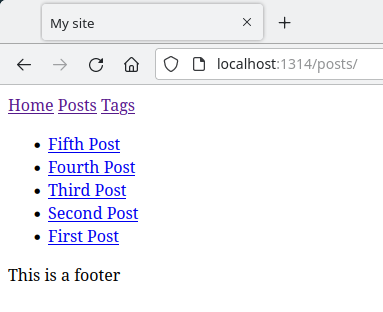
And with all that, here’s what our post list looks like (truncated):

The usual caveat that it doesn’t look so good yet, but all the pieces are in the right places, which is all we’re going for here.
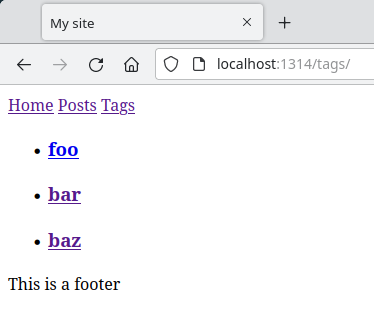
But remember, the same list template is used for all lists. Including tags. What happens when we look at the tags list?
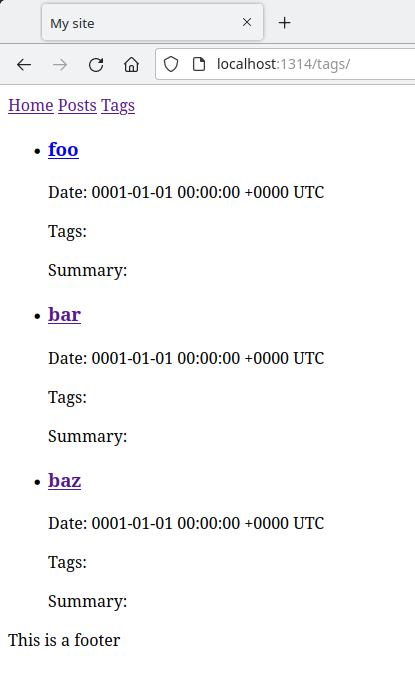
Ewwwww… not good.
Since tags don’t have publish dates, or other tags, or summaries, it doesn’t make sense to try to show them. You run into a similar problem if you have a post without any tags. I removed the tags from post five and this is what the list looks like:
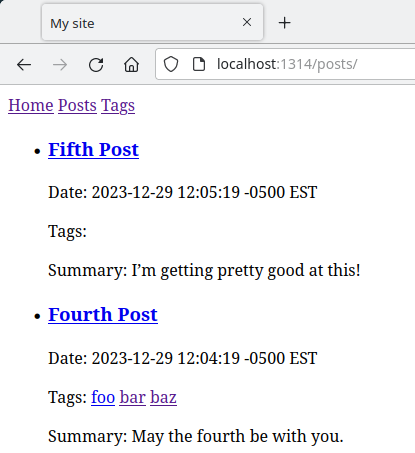
It doesn’t make sense to show “Tags:” when there are no tags. One way around all of this is just to check if there is any content to display before displaying it. I updated the listitem.html partial to look like this:
<li>
  <h3>
    <a href="{{ .RelPermalink }}">
      {{ .Title }}
    </a>
  </h3>
  {{ if .PublishDate }}
    <p>Date: {{ .PublishDate }}</p>
  {{ end }}
  {{ if .Params.Tags }}
    <p>Tags: {{ partial "tags.html" . -}}</p>
  {{ end }}
  {{ if .Summary }}
    <p>Summary: {{ .Summary }}</p>
  {{ end }}
</li>
This cleans things up nicely.
Looking back at the single.html file, it would be good to show tags here as well. That’s pretty easy to add now that we were smart enough to break out tags into a partial.
{{ define "main" }}
<h2>{{ .Title }}</h2>
<p>{{ .PublishDate }}</p>
{{ if .Params.Tags }}
  Tags: {{ partial "tags.html" . -}}
{{ end }}
<div>{{ .Content }}</div>
{{ end }}
And now a single page looks like this:
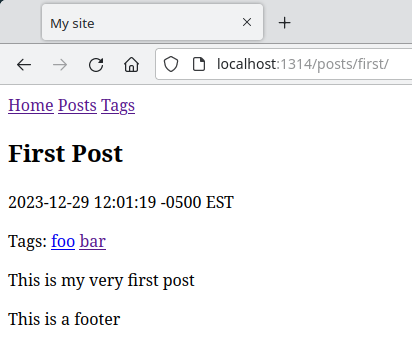
You might be thinking that both the single and list pages show the date and then the tags. And this might be a good place for another partial, maybe a “postmetadata” partial that displays date and tags. I’ll leave that for you to create if you think it makes sense.
We’re looking pretty good here now!
OK, actually, it looks like crap. But again, everything is where it’s supposed to be and working as expected. Structure and functionality are nailed down. In the final post of this series, we’ll look at adding some CSS and images to make something worth looking at.
Header Image 'Binary code' by Christiaan Colen is licensed under CC BY-SA 2.0
Comments? Best way to shout at me is on Mastodon ![]()