BIT-101
Bill Gates touched my MacBook Pro

Posts in this series:
In Part 1 we got the basic functional parts of a Hugo theme in place. It didn’t pull in any actual content or style anything, but it was enough to verify that everything was working like it should. Now let’s start pulling in your own content.
Throughout this tutorial, remember that anything in your theme folder should ideally be generic. You might want to use the same theme on a different site for example. But… nothing is stopping you from building a single-use theme that’s very customized for just your site. You do you.
Let’s start with the single page template in layouts/_default/single.html. Currently it looks like this:
{{ define "main" }}
this is a single page.
{{ end }}
Rather than displaying static text, we want to pull the content from the page/post/whatever that we’re displaying. This is simple. We can just use the built in Hugo page method, .Content! This returns the content of the current page, converted to HTML and inserts it into the template when it is rendered.
{{ define "main" }}
{{ .Content }}
{{ end }}
While we’re changing up the code, let’s go into the baseof.html file and remove this line:
<p>this is the base template</p>
That was just in there to show it was functioning as expected.
Now, in your browser go to localhost:1313/posts/first and you should see your content!
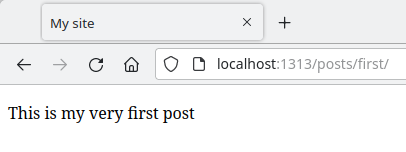
We can add more to this template. We probably want the title and the publish date at least. And we can start to mark up this content with relevant HTML.
{{ define "main" }}
<h2>{{ .Title }}</h2>
<p>{{ .PublishDate }}</p>
<div>{{ .Content }}</div>
{{ end }}
Yeah, now we have something that’s starting to look a bit like a blog!
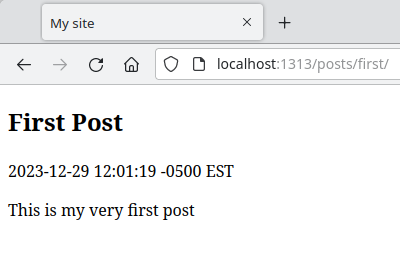
We could do more here, but let’s leave it like that for a while and move onto the list template.
The list template is used any time Hugo needs to display a list of items as the content of the page. As we have seen, that initially includes lists of pages, tags, or categories.
To display a list, we need to get the list of things we want to display, then mark up those items with some HTML to display them. As you might expect, this is going to involve looping through some content and doing the same thing to each item it finds.
Go ahead and edit the list.html template file and remove the placeholder text there.
This is about the bare minimum of a list template:
{{ define "main" }}
{{ range .Pages }}
  {{ .Title }}
{{ end }}
{{ end }}
The .Pages method returns a list of pages on the site, and the range function ranges through these. For each one, it just outputs the title of that page with the .Title method.
When that’s in place navigate to localhost:1313/posts to see a list of your posts. For now, we only have one, but it’s showing up there!

At this point, you should go in and make a few more posts. Call them whatever you want and put whatever text in them that makes you happy. When you’re done, you should see something more like this:
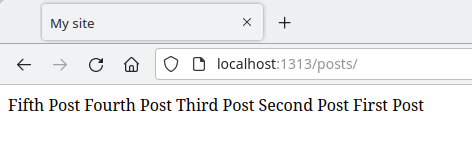
Well, they’re showing up, but you probably don’t want them all on the same line. And while they are showing up in order, we never specified that explicitly. We should do so. In your list template, make an unordered list element, and put each title in a list item.
For the ordering, we can use the .ByPublishDate to sort them. Usually you want to display the most recent post at the top. So you can add on the .Reverse function at the end. In the end it should look like this:
{{ define "main" }}
<ul>
{{ range .Pages.ByPublishDate.Reverse }}
  <li>{{ .Title }}</li>
{{ end }}
</ul>
{{ end }}
Now we have something that looks like an index of posts.
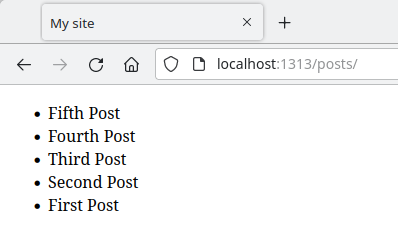
Don’t worry about the styling yet. Just focus on getting the structure right.
Next, it would be lovely if we could click on one of these items and it would navigate right to that post. We can do that with an anchor tag. There are different methods of getting the URL of a page, but the .RelPermalink method does the job nicely.
{{ define "main" }}
<ul>
{{ range .Pages.ByPublishDate.Reverse }}
  <li>
    <a href="{{ .RelPermalink }}">
      {{ .Title }}
    </a>
  </li>
{{ end }}
</ul>
{{ end }}
Now we have links!
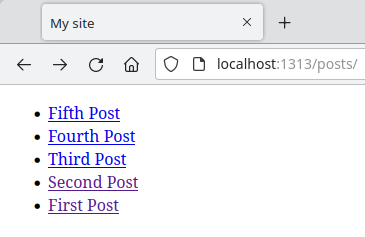
And each link will take us right to the correct post! Fantastic.
Just to show you how powerful this list template is, let’s see it working on tags. We don’t even have to write any more code to do that. It’s ready! We just need to add some tags. I put some random “foo”, “bar” and “baz” tags on my posts, like so:
---
title: "First Post"
date: 2023-12-29T12:01:19-05:00
draft: true
tags: ["foo", "bar"]
---

This is my very first post
When you’ve done that, go to localhost:1313/tags and behold your list of tags:
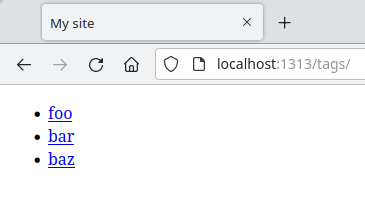
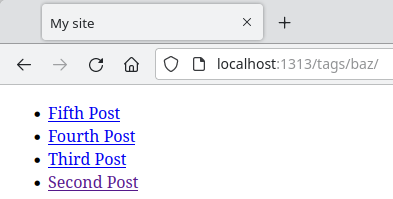
Click on any one of them, like “baz” and it will direct you to localhost:1313/tags/baz and will then display a list of all the posts with that tag. Fantastic.
It would be nice to have a menu, say across the top of the site that let us get to different parts of the site, like the home page, the list of posts, the list of tags. This is surprisingly easy with basic HTML.
We’d like this navigation to appear at the top of every page, so let’s put it in baseof.html.
<!DOCTYPE html>
<html>
  <head>
      <meta charset="utf-8">
      <meta name="viewport" content="width=device-width, initial-scale=1.0">
      <title>My site</title>
  </head>
  <body>
    <nav>
      <a href="/">Home</a>
      <a href="/posts">Posts</a>
      <a href="/tags">Tags</a>
    </nav>
    {{ block "main" . }}
    {{ end }}
  </body>
</html>
This simply uses the native nav element with links showing each section and the path to get there. Here’s what it looks like on the posts page:
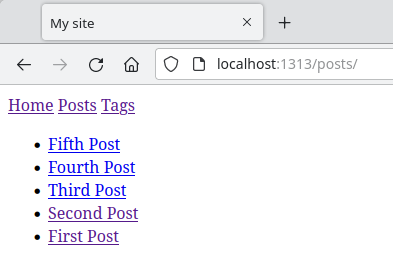
I’ll also mention that you can create a more powerful and dynamic menu system in your Hugo config. Read the documention on menus. You’d still probably wind up putting some code in the same part of your baseof.html file. So this is still relevant - especially when we get into “partials” in the next article.
At this point, the site is basically functional. We can navigate all around it, go from any page to any other within a couple of clicks. Our home page works, our list page works on different types of lists, and our single pages work on every post.
This is probably a pretty good place to take a break. In Part 3 of this series we’ll flesh out some of these pages a little bit more, and we’ll wrap up in Part 4 with some styling.
Header Image 'Binary code' by Christiaan Colen is licensed under CC BY-SA 2.0