Pinebook Pro Saga and Review
Back Story
A while back I bought a Pinebook laptop. This was the original 11-inch, white plastic model. It cost $99 plus shipping.

The idea was great – a cheap ARM laptop that you could grab and go and not worry too much what happened with it. But in practice, it was not even remotely usable. The specs on processor and network speed and memory were just not there. You couldn’t watch YouTube on it. Just loading any non-trivial web page was painfully slow. The touchpad was meh, but the keyboard was just atrocious. Not so much the feel, but the layout. Way too cramped. Keys for common symbols like | and " required a modifier key AND a shift key, turning them into a three-key combo. And the right hand shift key wasn’t even the size of a regular key. I could NEVER hit that one correctly.

It was just unpleasant to use. So it’s been sitting in my unused hardware pile ever since. Occasionally I take it out and try to do something with it, but it’s not worth it.
The Upgrade
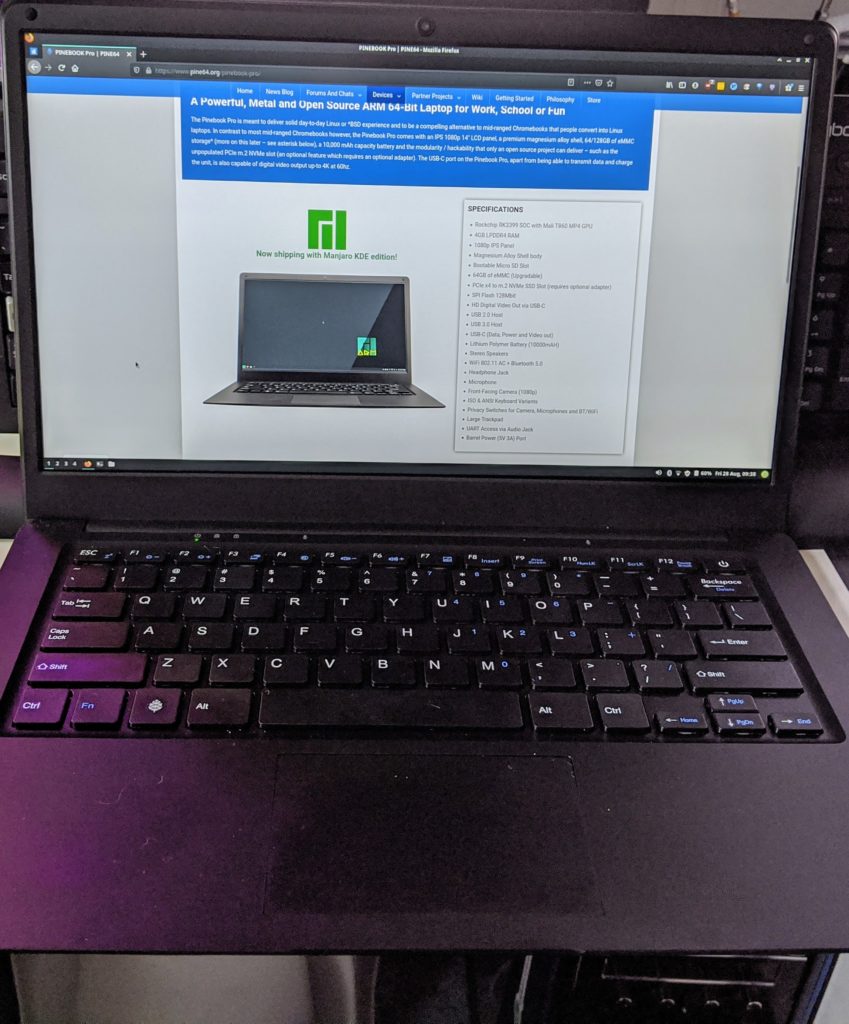
Then the Pinebook Pro came out and I started hearing some good reviews. The first thing I did was check out the keyboard layout. It actually looked OK. This version costs $199 plus shipping. But has a much better processor, more memory and all around decent specs. It’s still a cheap ARM machine, but from all reports it seemed to be usable. It’s been in the back of my mind to give it a try for a while, but each time I checked it out, they were out of stock. They get made in batches, so sometimes you just can’t order. Recently I got interested again and saw that pre-orders were open and shipping on August 25. I pulled the trigger. Amazingly, not only did it actually ship on the 25th, but it got from Hong Kong to Boston in just two days. I was stunned.
It Arrives! I Brick It!
If you just want a review, skip to the end of this post. Stick around if you want to hear an epic tale of stupidity.
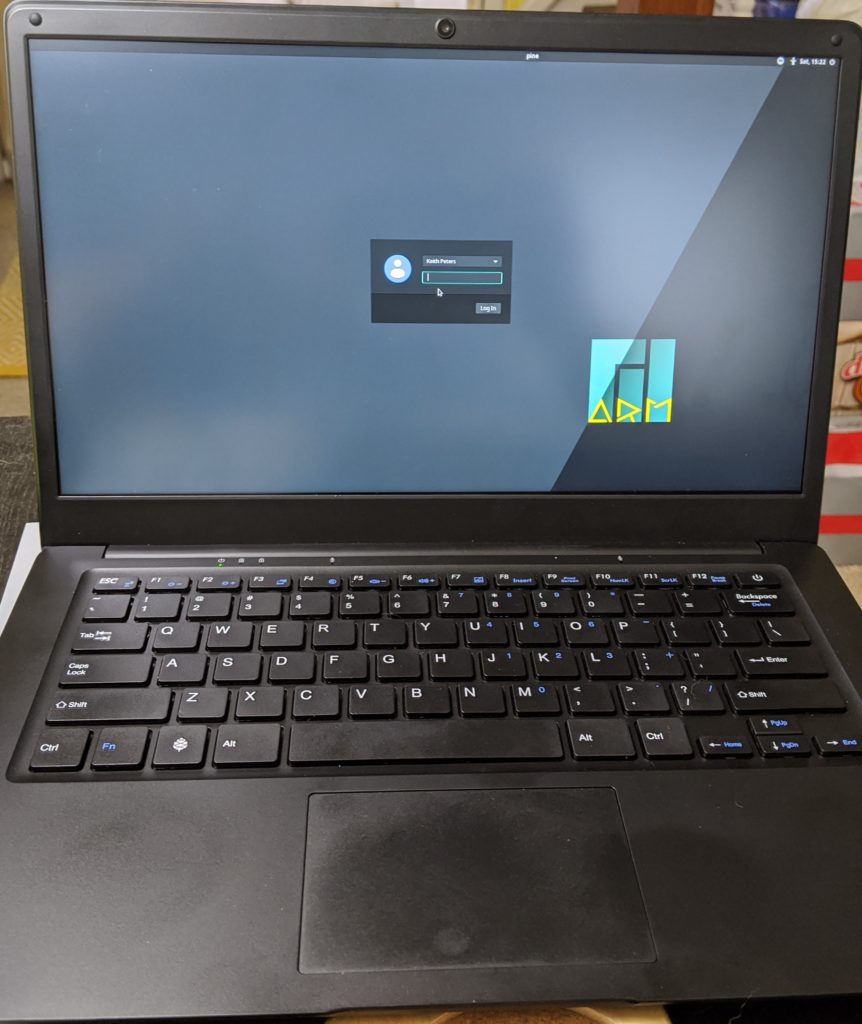
I opened up the package. I’ll get more into the build, etc. later. But first, my tale of woe. I booted it up. It had 86% battery and comes preinstalled with Manjaro KDE ARM. Got into it, set up my user, all good. First of all I love Manjaro. That’s what I run these days on any Linux desktop. But I like the XFCE version. KDE is nice. If XFCE vanished tomorrow, I’d go to KDE. But since there’s Pinebook Pro Manjaro XFCE image available, I wanted to use that.
A little understanding of PBP hardware. It’s main “hard drive” is an eMMC memory module. An eMMC is flash memory that’s better than an SD card, but not as great as an SSD. The PBP comes with a 64GB eMMC. It also has an SD slot that you an boot from. If there’s a bootable card in the slot, it will boot from that, otherwise it goes to the eMMC. So you can get a supported OS image and burn it onto an SD card and boot from that. But really you want to install the new OS to the eMMC. So there are eMMC install images specially made to do that. But every image I tried just installed onto the SD card. So I had to try an alternate way to install to the eMMC. Spoiler alert: this was where my stupidity enters in.
I found another installer method here: https://gitlab.manjaro.org/manjaro-arm/applications/manjaro-arm-installer
This seems to download the image of your choice, burn it to an SD card and then flash it back to the eMMC all in one script. Ran that and it seemed to be fine. Until it ran into an error and the power light started flashing red and green and everything froze up.
I rebooted. No. I tried to reboot. Nothing. Not even a power light. I knew the battery wasn’t dead. So this looked bad. Read some help. It gave some advice that involved opening up the computer. Well… that escalated quickly. But in fairness, the PBP is designed to be hackable. It opens very easily. There’s add on items you can put in there, etc. There’s also a switch in there to disable the eMMC, a reset button, and a few other physical controls.
All the connections were good, the eMMC was enabled. No joy.
Unbricking
I was pretty sure I had hard bricked it. But the more I read, the more I saw people saying that you CANNOT brick a PBP via flashing images. You can soft brick it, which is what I did, but it’s recoverable. Promising. What you do is disable the eMMC with that switch. Then it should power up and boot off the SD card. After probably a couple of hours of despair, I got it booting off the SD card! Whew.
OK, back in business, sort of. I still have to flash the eMMC, but now I have a catch 22. I can’t flash the eMMC because it’s disabled. But if I enable it, then the machine won’t boot.
Option one: apparently, you can do this thing where you boot the machine with eMMC disabled, and exactly two seconds into the boot, you flip the switch to enable it. That allows you to boot from the SD card and then have access to the eMMC. I had no luck with this method.
Option two: someone figured out that you could boot disabled, later enable it, and then run a few commands to mount it. This one worked!
OK, I was officially unbricked. Now I’m back to the point where I needed to flash the OS.
Another Failed Flash, But No Brick
There’s not a lot of magic in the flashing process. It comes down to using the dd tool to write the image to the eMMC. You can just do that manually as long as the eMMC is mounted. There are also some scripts out there that do that will run the command correctly for you. I got one of those, got the right image and ran it. It seemed to go fine. Reported success. Rebooted, and it tried to load, but would not fully boot.
The plus point is that the eMMC itself seemed fixed. I didn’t have to disable it to boot off the SD card. So I could close up the back of the computer again.
Back to Square One… and Success!
OK, now I was back to my original question of how to flash an image onto the eMMC. More reading up on people dding images led to more discussions about the eMMC installer images that never worked for me in the first place. But they seemed to work for others. It turns out that I was always going for the latest release. When I looked back a couple of releases, I found one that was very explicitly labeled emmc-installer-image. OMG. Slap on the forehead moment.
Well this sounded like exactly what I wanted originally. Downloaded it, burnt it to an SD card and booted it up. And it sat there on the loading screen forever. Sigh…
Tried some other images, other SD cards, all the same.
More reading and I see this little mention of a bug in the eMMC installer where it seems to hang. Oh! That’s me! The complicated fix is to… hit the escape key. Surely it couldn’t be that simple. But, yes, yes, it was. That was the final piece of the puzzle. Finally I was able to flash Manjaro XFCE Arm onto the Pinebook Pro. And it was only a little after midnight. Played around with it for a few minutes and then went to bed with a headache.
The Review
OK, so what is this thing like, now that I finally had it running with the OS I wanted?
First, let me say that most of the above is my fault. If I’d only looked around a little bit and found the eMMC installer image, I would have saved several hours. I’d even seen a message about the hang and escape fix, but had forgotten all about it hours later. But the documentation on all of this could have been a lot better. Most of what I learned was on various forum posts. So that’s the first takeaway. This is NOT a consumer device. If you want something that you can just plug in and have it work, this aint it. You gotta be ready and willing to dig in and search and experiment and tweak things. I’m fine with all that, personally.
OK, onto the review…
Build-wise, it’s surprisingly nice for a $200 machine. It’s got a full metal case. Magnesium alloy I think. Feels solid, heavier than I expected. Maybe like Macbook Air thickness. The hinge is good. The body itself is a bit flexible though.
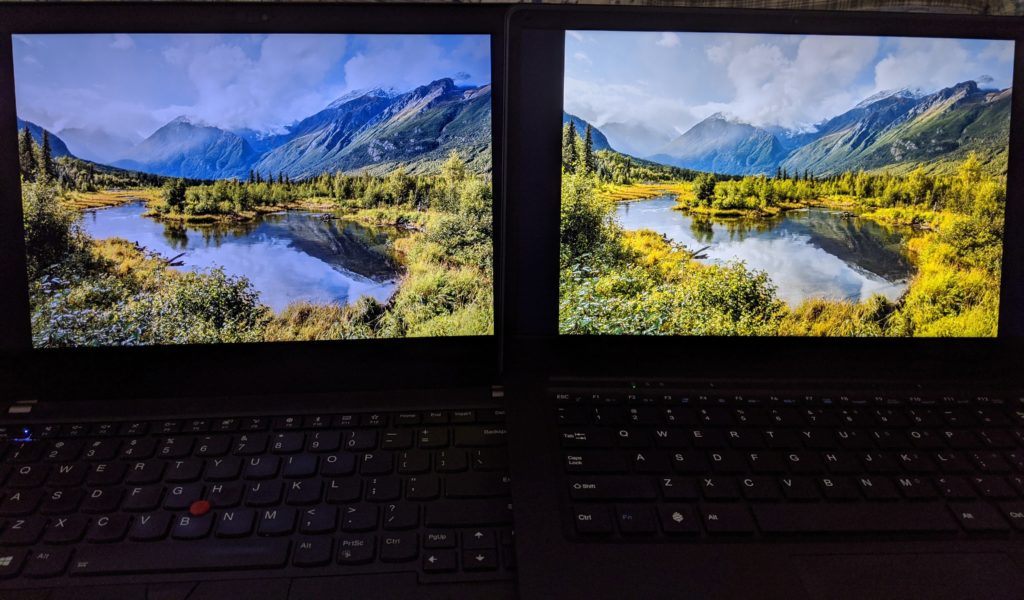
The screen is pretty decent. 1920×1080. In fact it’s on par, if not better than the screen on my ThinkPad T480. Granted, that’s a low bar, but again, for the price point, that’s impressive.
The keyboard is not bad at all. Not the best ever, but I’m comfortable typing on it. No problems with the layout. Everything is where it should be and the size it should be. No funky modifiers needed for common keys.

The touchpad is one of the weak points. Out of the box at least. I hated it. Sluggish, unresponsive, hard to get it on the thing you want to click. But with some research and tweaking of settings, I’ve now got it to the point where it’s workable for me. I was actually pretty happy with how much I was able to improve it with settings. Luckily I’d been through this plenty of times in the past with Linux on laptops. I know my way around all those settings.
Sound is awful. Not just quality but volume. Cranked all the way up, I literally can’t understand anything if the air conditioner is on nearby. Even with headphones plugged in, the volume on those is really low. I might be able to find some settings to improve that eventually. But I don’t plan on using this for media anyway.
Webcam is meh. Better than I thought it would be actually.
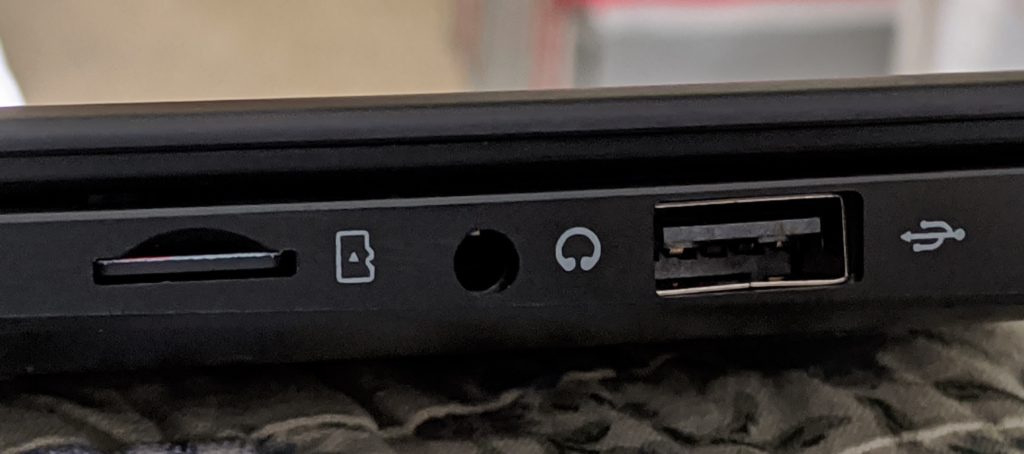
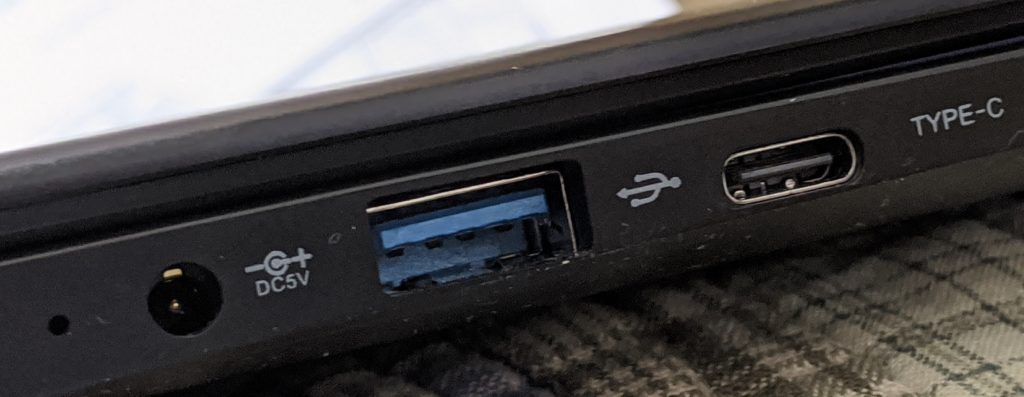
Ports: on the right, SD card, headphones, USB A.
On the left, USB C, USB A, power barrel connector. You can also power and charge over USB C, which is great.
Performance is not too bad. It doesn’t compare with a full x86 laptop or desktop of course, but it’s functional. Web pages load decently. A bit slower than I’m used to, but workable. I played some full screen 1080p video from YouTube and it was fine. No lag, nice and crisp, audio in sync with video. I was impressed. Currently, services like Netflix and Hulu do not work. I assume that’s due to the DRM software not working on ARM. There might be ways around that. I haven’t had a chance to test it out yet.
Mostly I intend to use the computer for some lightweight dev stuff. The price, size and low power consumption make it a great machine to grab and go with. So I’ve been testing some of my existing code projects on it.
I got my blgo framework up and running. I had to download the ARM version of Golang, but that was easy enough. Definitely compiles and runs stuff slower than on my other machines, but perfectly fine for on the go hacking on stuff. It also definitely has some hard limits on memory. I can create a 300 frame animated gif. But Imagemagick crashes on anything longer than that. And for creating sill images, I was able to do 1920×1080, and double that – 3840×2160, but beyond that things don’t render right. Once it even crashed me right out of my session, which I don’t think I’ve ever seen before. The computer was still running, but it kicked me back to the login screen.
I also got my bitlib_c library projects running with no problem whatsoever. I didn’t stress test those, but I assume they’ll have the same hard limits.
And I’ve currently got a Java project I started working on. Was able to install the latest OpenJDK and got that project running without a hitch.
Summary
Overall, I’m very happy with it. It’s a fun machine and completely functional once you know its limits. It’s a perfect machine for throwing in a bag and commuting with, or maybe traveling with or just bringing with you somewhere where you might want to use a computer but don’t want to bring your main machine. If you want a cheap Linux machine to hack on, this is way better than getting a Chromebook and trying to force Linux to work on that. I speak from experience.
Comments? Best way to shout at me is on Mastodon ![]()