2020 Desktop Build!
After upgrading my 2011 desktop recently with a new CPU and RAM, I caught the PC building bug and started wanting to build a whole new machine. My initial plans were to take it slow. But there’s only so much I can do there. If I got a modern motherboard, my existing CPU and RAM isn’t going to work, so those three need to be done at once. But I figured I could start with a case anyway.
I went with Phanteks Enthoo Pro.
![]()
A few things I was looking for that influenced my decision:
- Plenty of space for internal storage. I boot from an SSD, but have my home directory on a 3.5″ HDD, with another one for backup, and yet another for dual booting Windows. And I'd like to have the option to add more if I want to set up a RAID down the line.
- Front bays. I do use a CD/DVD drive regularly and want to have the option for other front bay add-ons in the future.
- Good cable management. In my 2011 build, I paid no attention to this at all and getting to the RAM was like pushing your way through an overgrown jungle. I cleaned it up a bit during the recent upgrades, but wanted to make it as clean as possible this time.
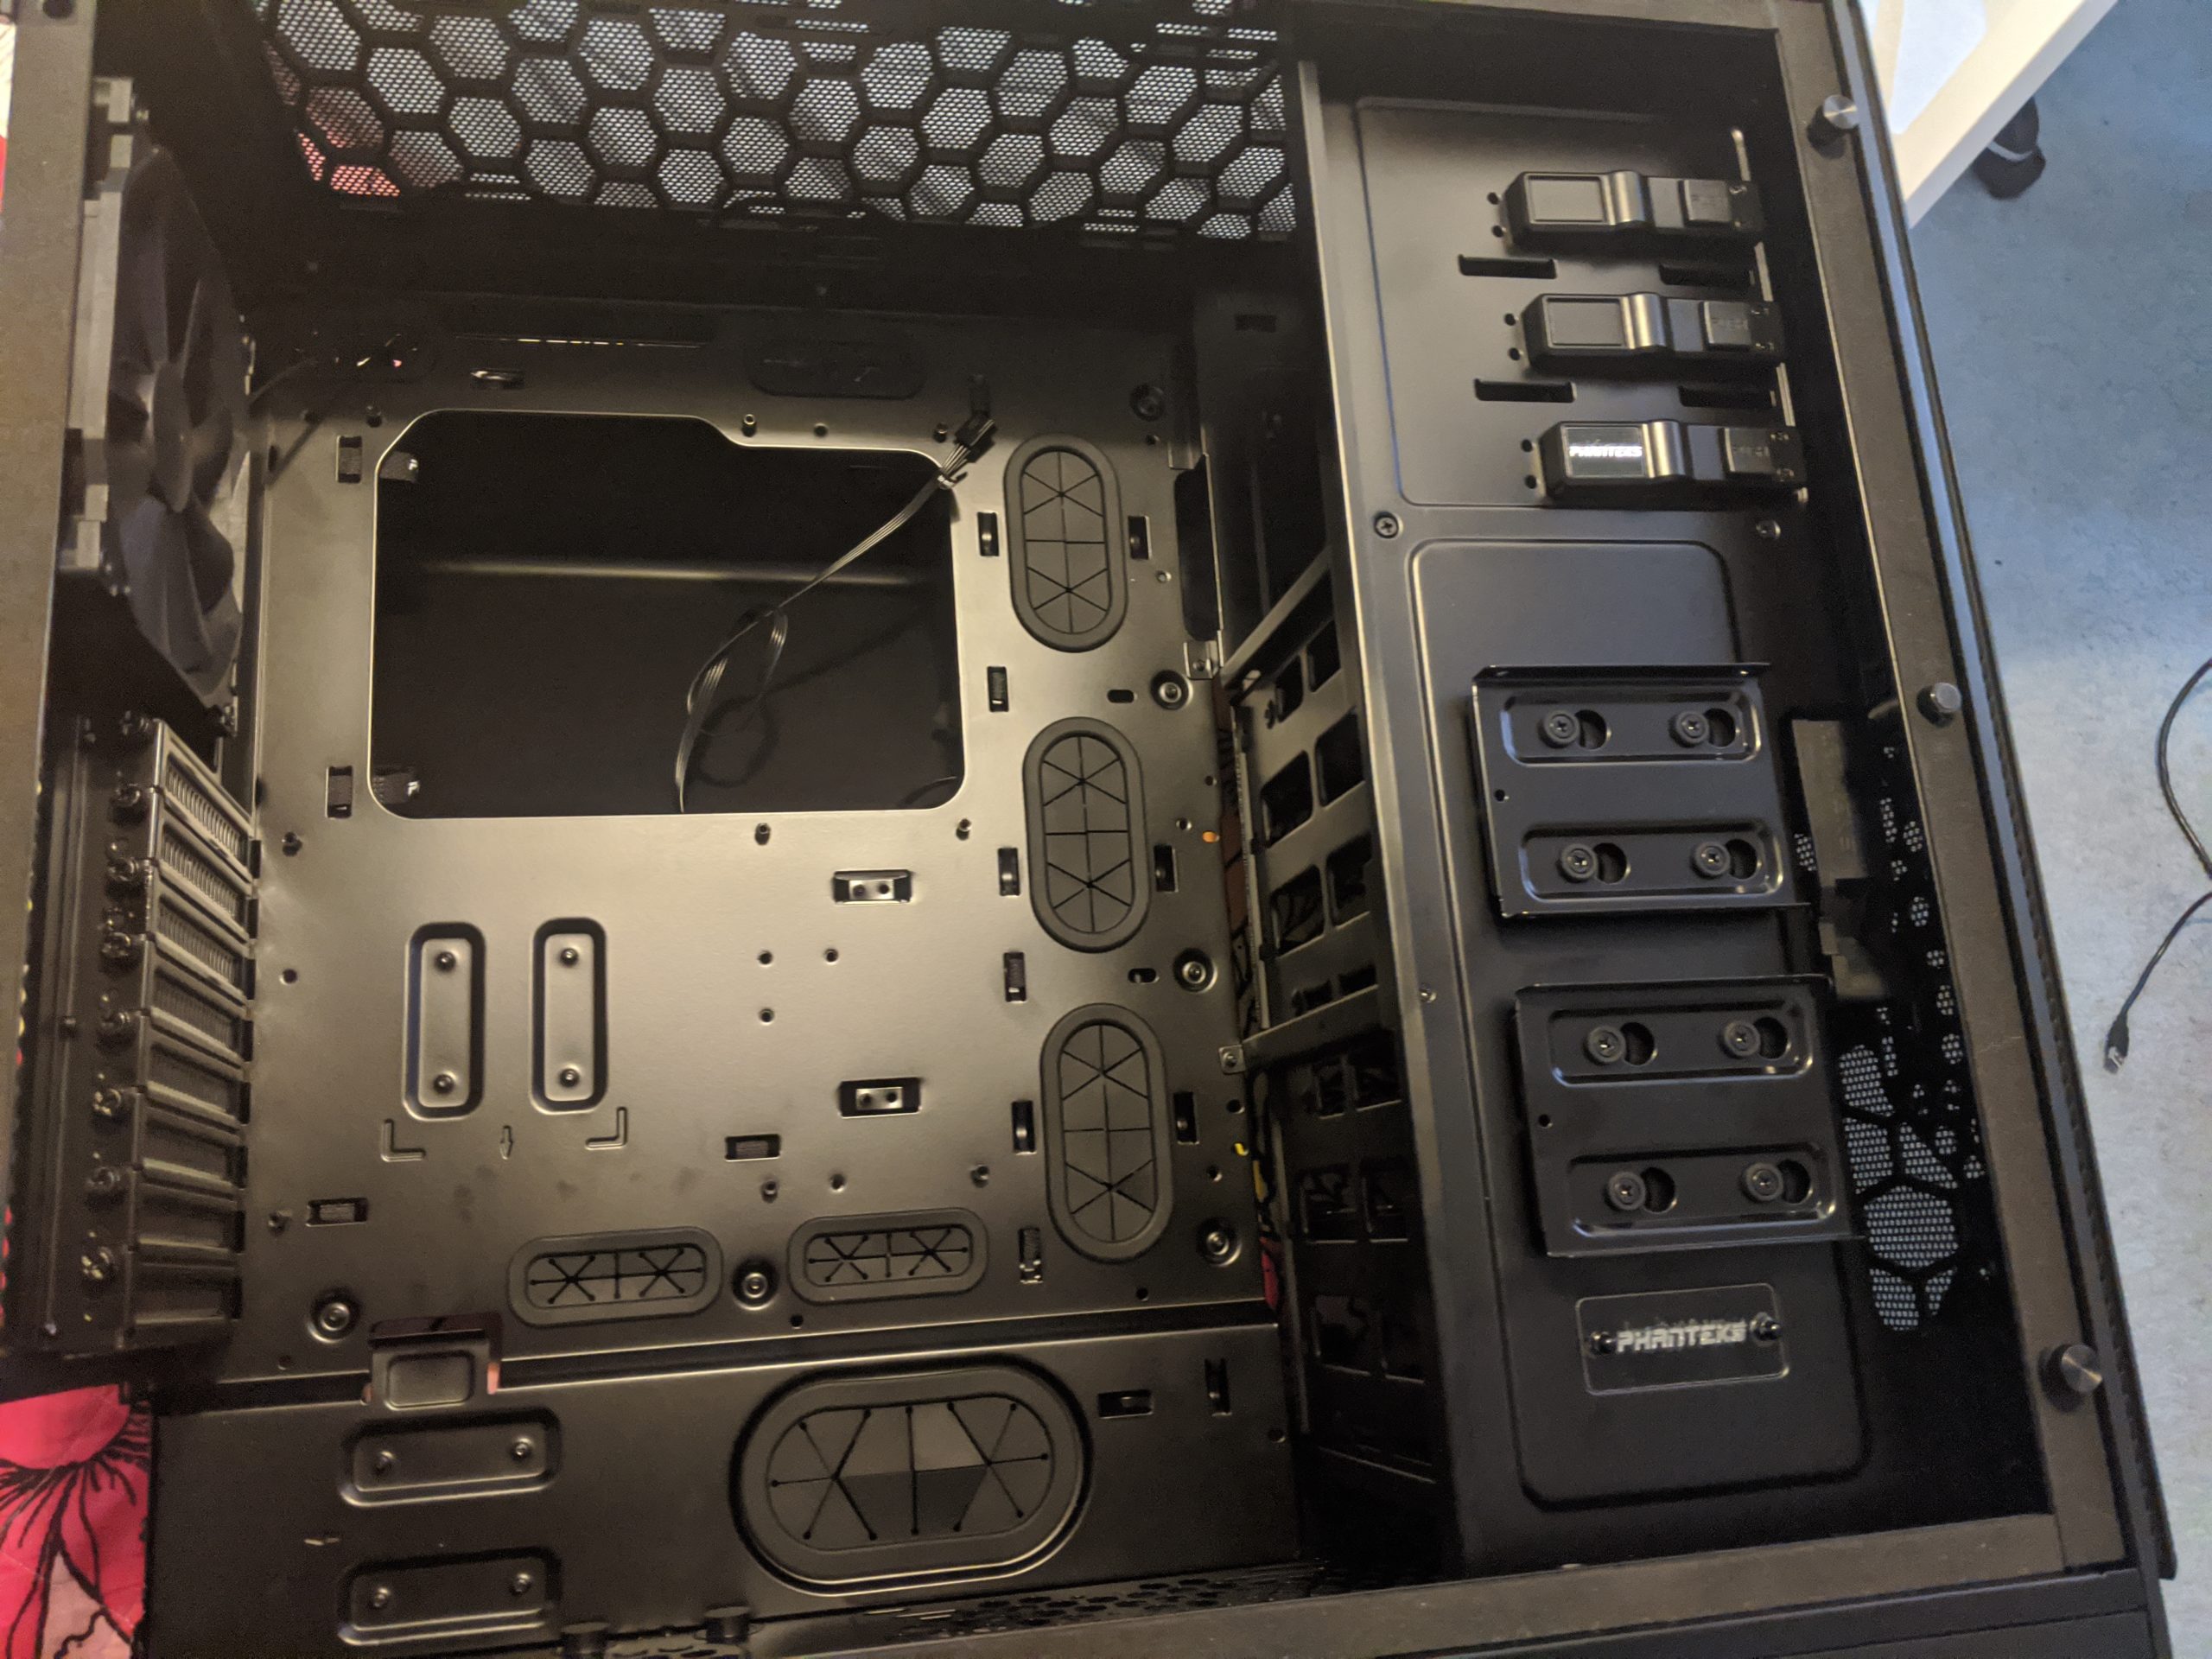
The Phanteks case excels in all these areas. It has 6 internal 3.5″ bays, with the clip-and-slide mounting slots. These come in two cages of three bays each.
It also has three front bays. The top one you see in the photo is actually a preinstalled front panel bay that pivots open. It’s got 2 USB 3 and 2 USB 2 ports, audio jacks, reset and LED buttons. Then three open bays below that.
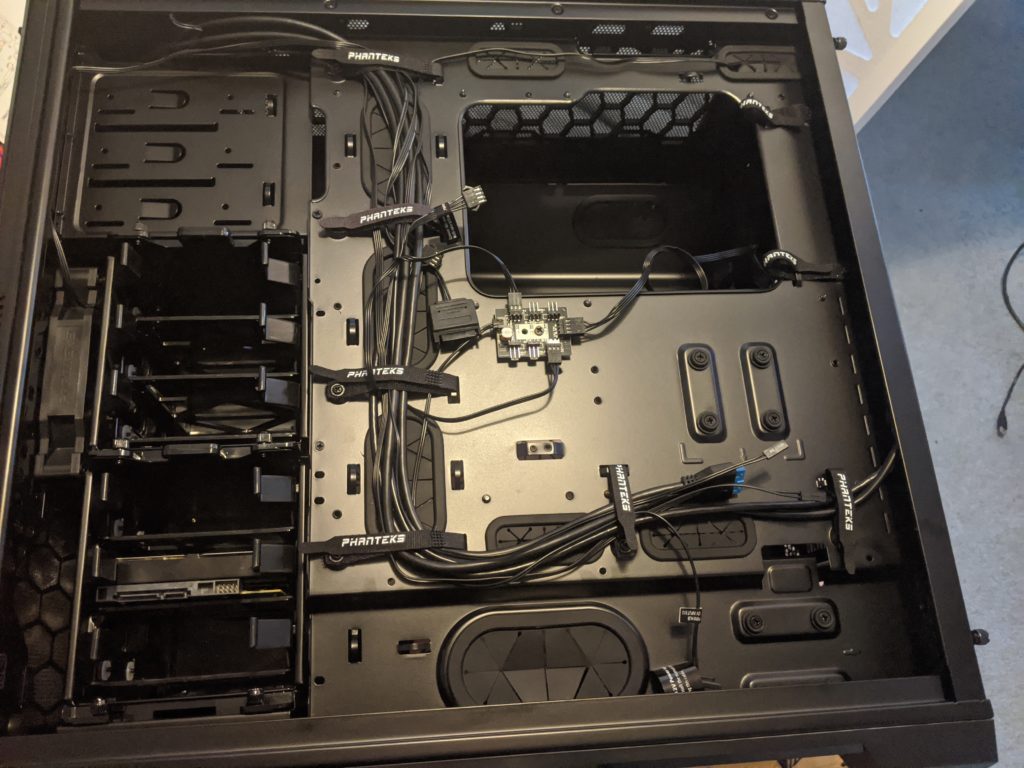
I watched a few YouTube video reviews of this case and everyone raved about the cable management. Lots of grommeted pass-through holes to the back space, which has something like an inch of space for cables, and pre-installed velcro strips all over the place. Really really nice.
Also… this case is GIGANTIC. I didn’t realize how big it was till I got it and opened it up. Not a problem for me, but I was definitely surprised. It’s cavernous inside. But I like it a lot. A real quality build and only just over $100. So a really good buy. Very satisfied.
-

The Main Cabin -
Out back -
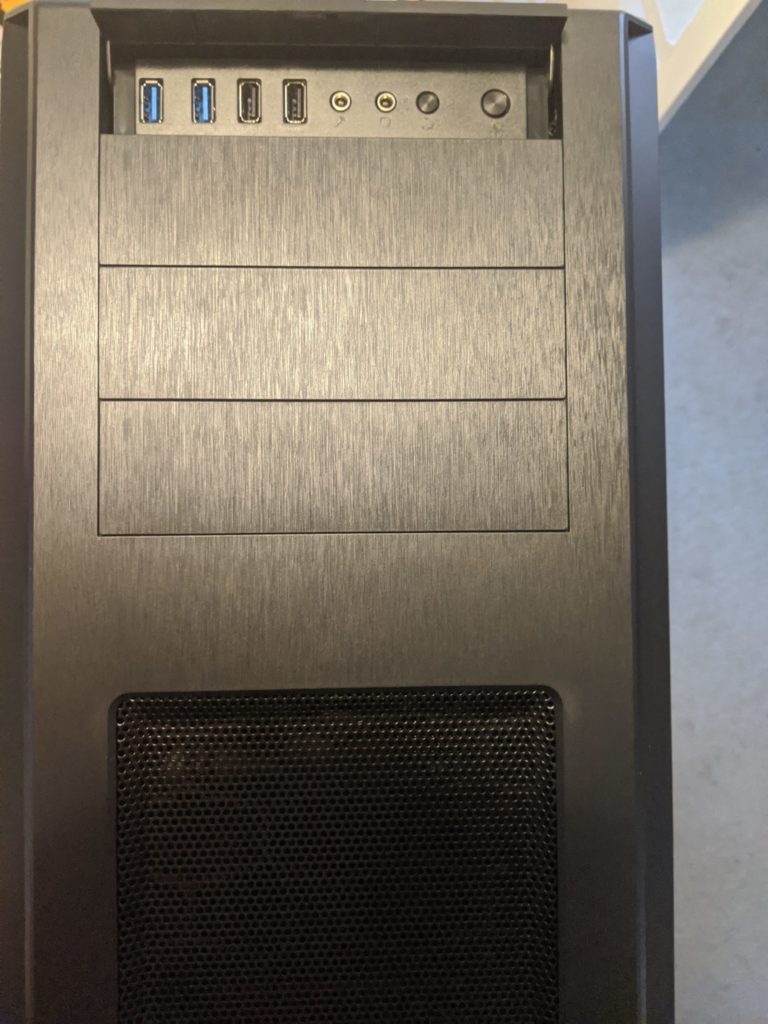
The Front Door


The case came in mid week a couple of weeks ago, so I was planning to move my existing build into it over the weekend. Then, over the coming months I’d do some research, shop around and look for some good deals on a motherboard, CPU and RAM.
Then, my wife saw the new case and said, “Cool! You should get the rest of the stuff now and just build it.” You don’t ask twice about an offer like that.
Years ago I was very much an AMD guy. I went Intel with my 2011 build (not sure why) and all the laptops I’ve had since then have been Intels. But I figured this would be a good time to go back to AMD. It took a bit of research to figure out what chips were compatible with what motherboards and figure out a good price/value combination on everything.
As it turned out, I came into this project at a really good time. The much anticipated new AMD 550 series boards just came out recently. And in fact were hard to get for a while. People had preordered the first round and there were waiting lists for the next available ones. It seems like I came in just at they were all back in stock.
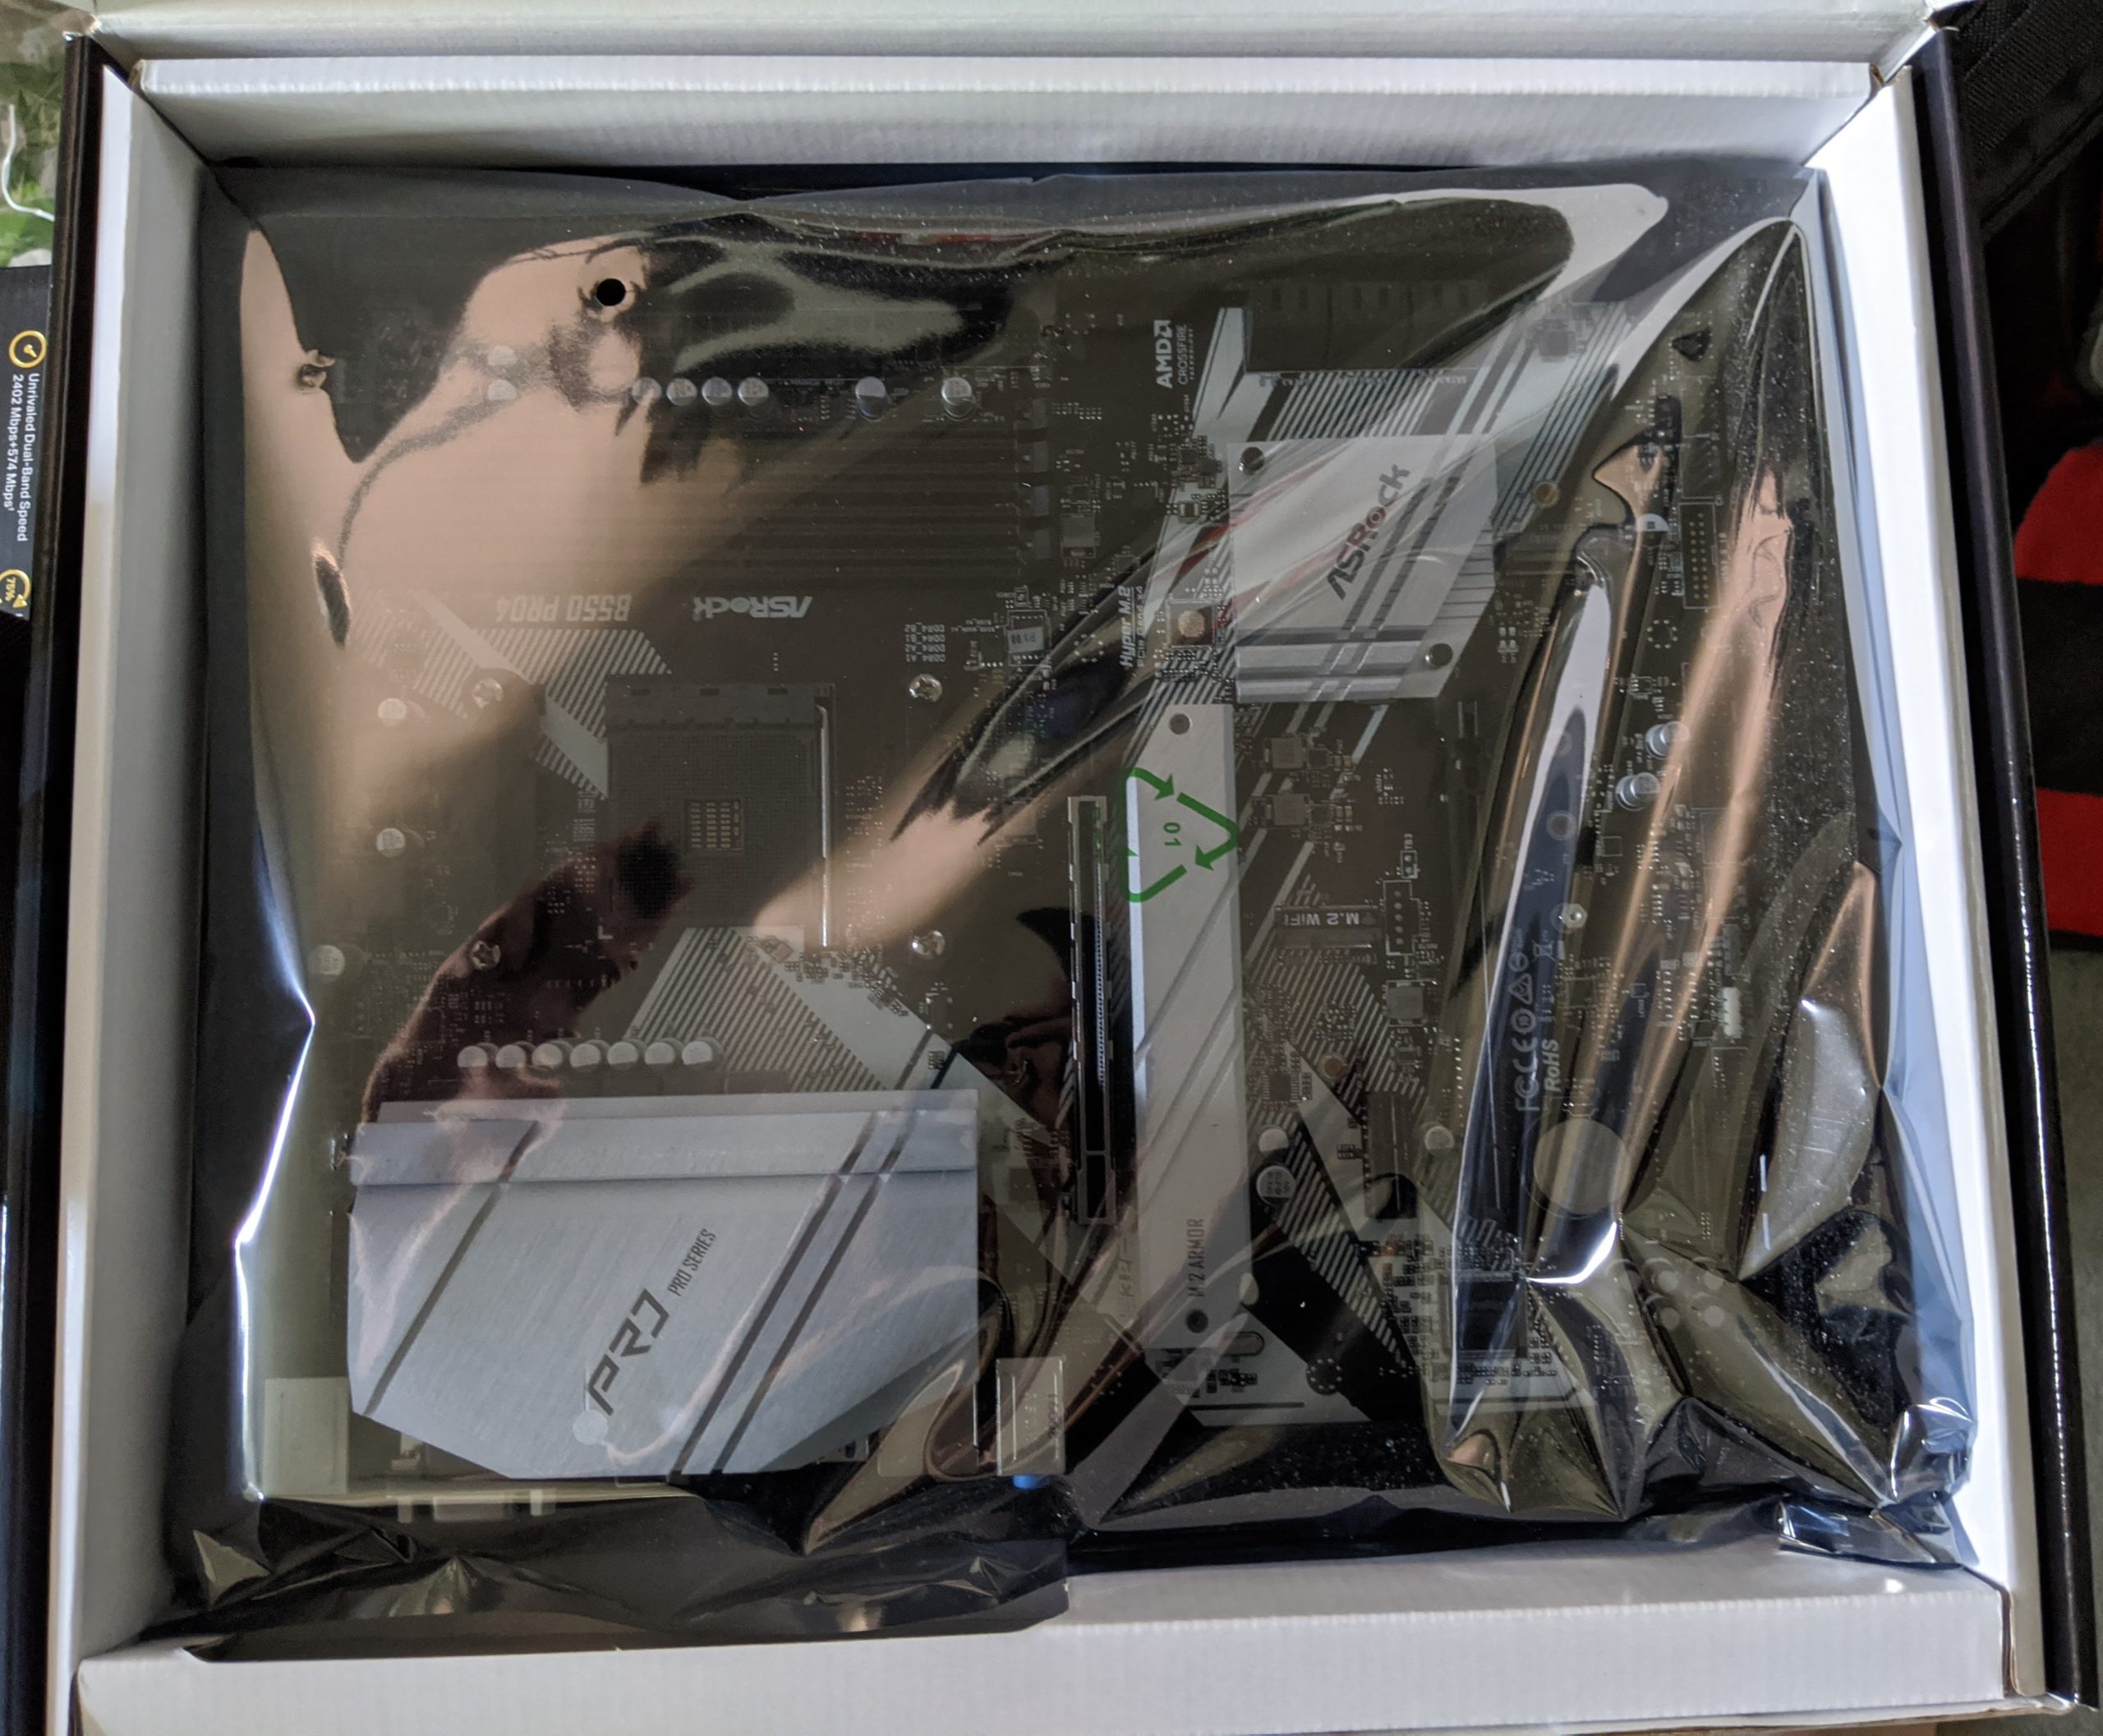
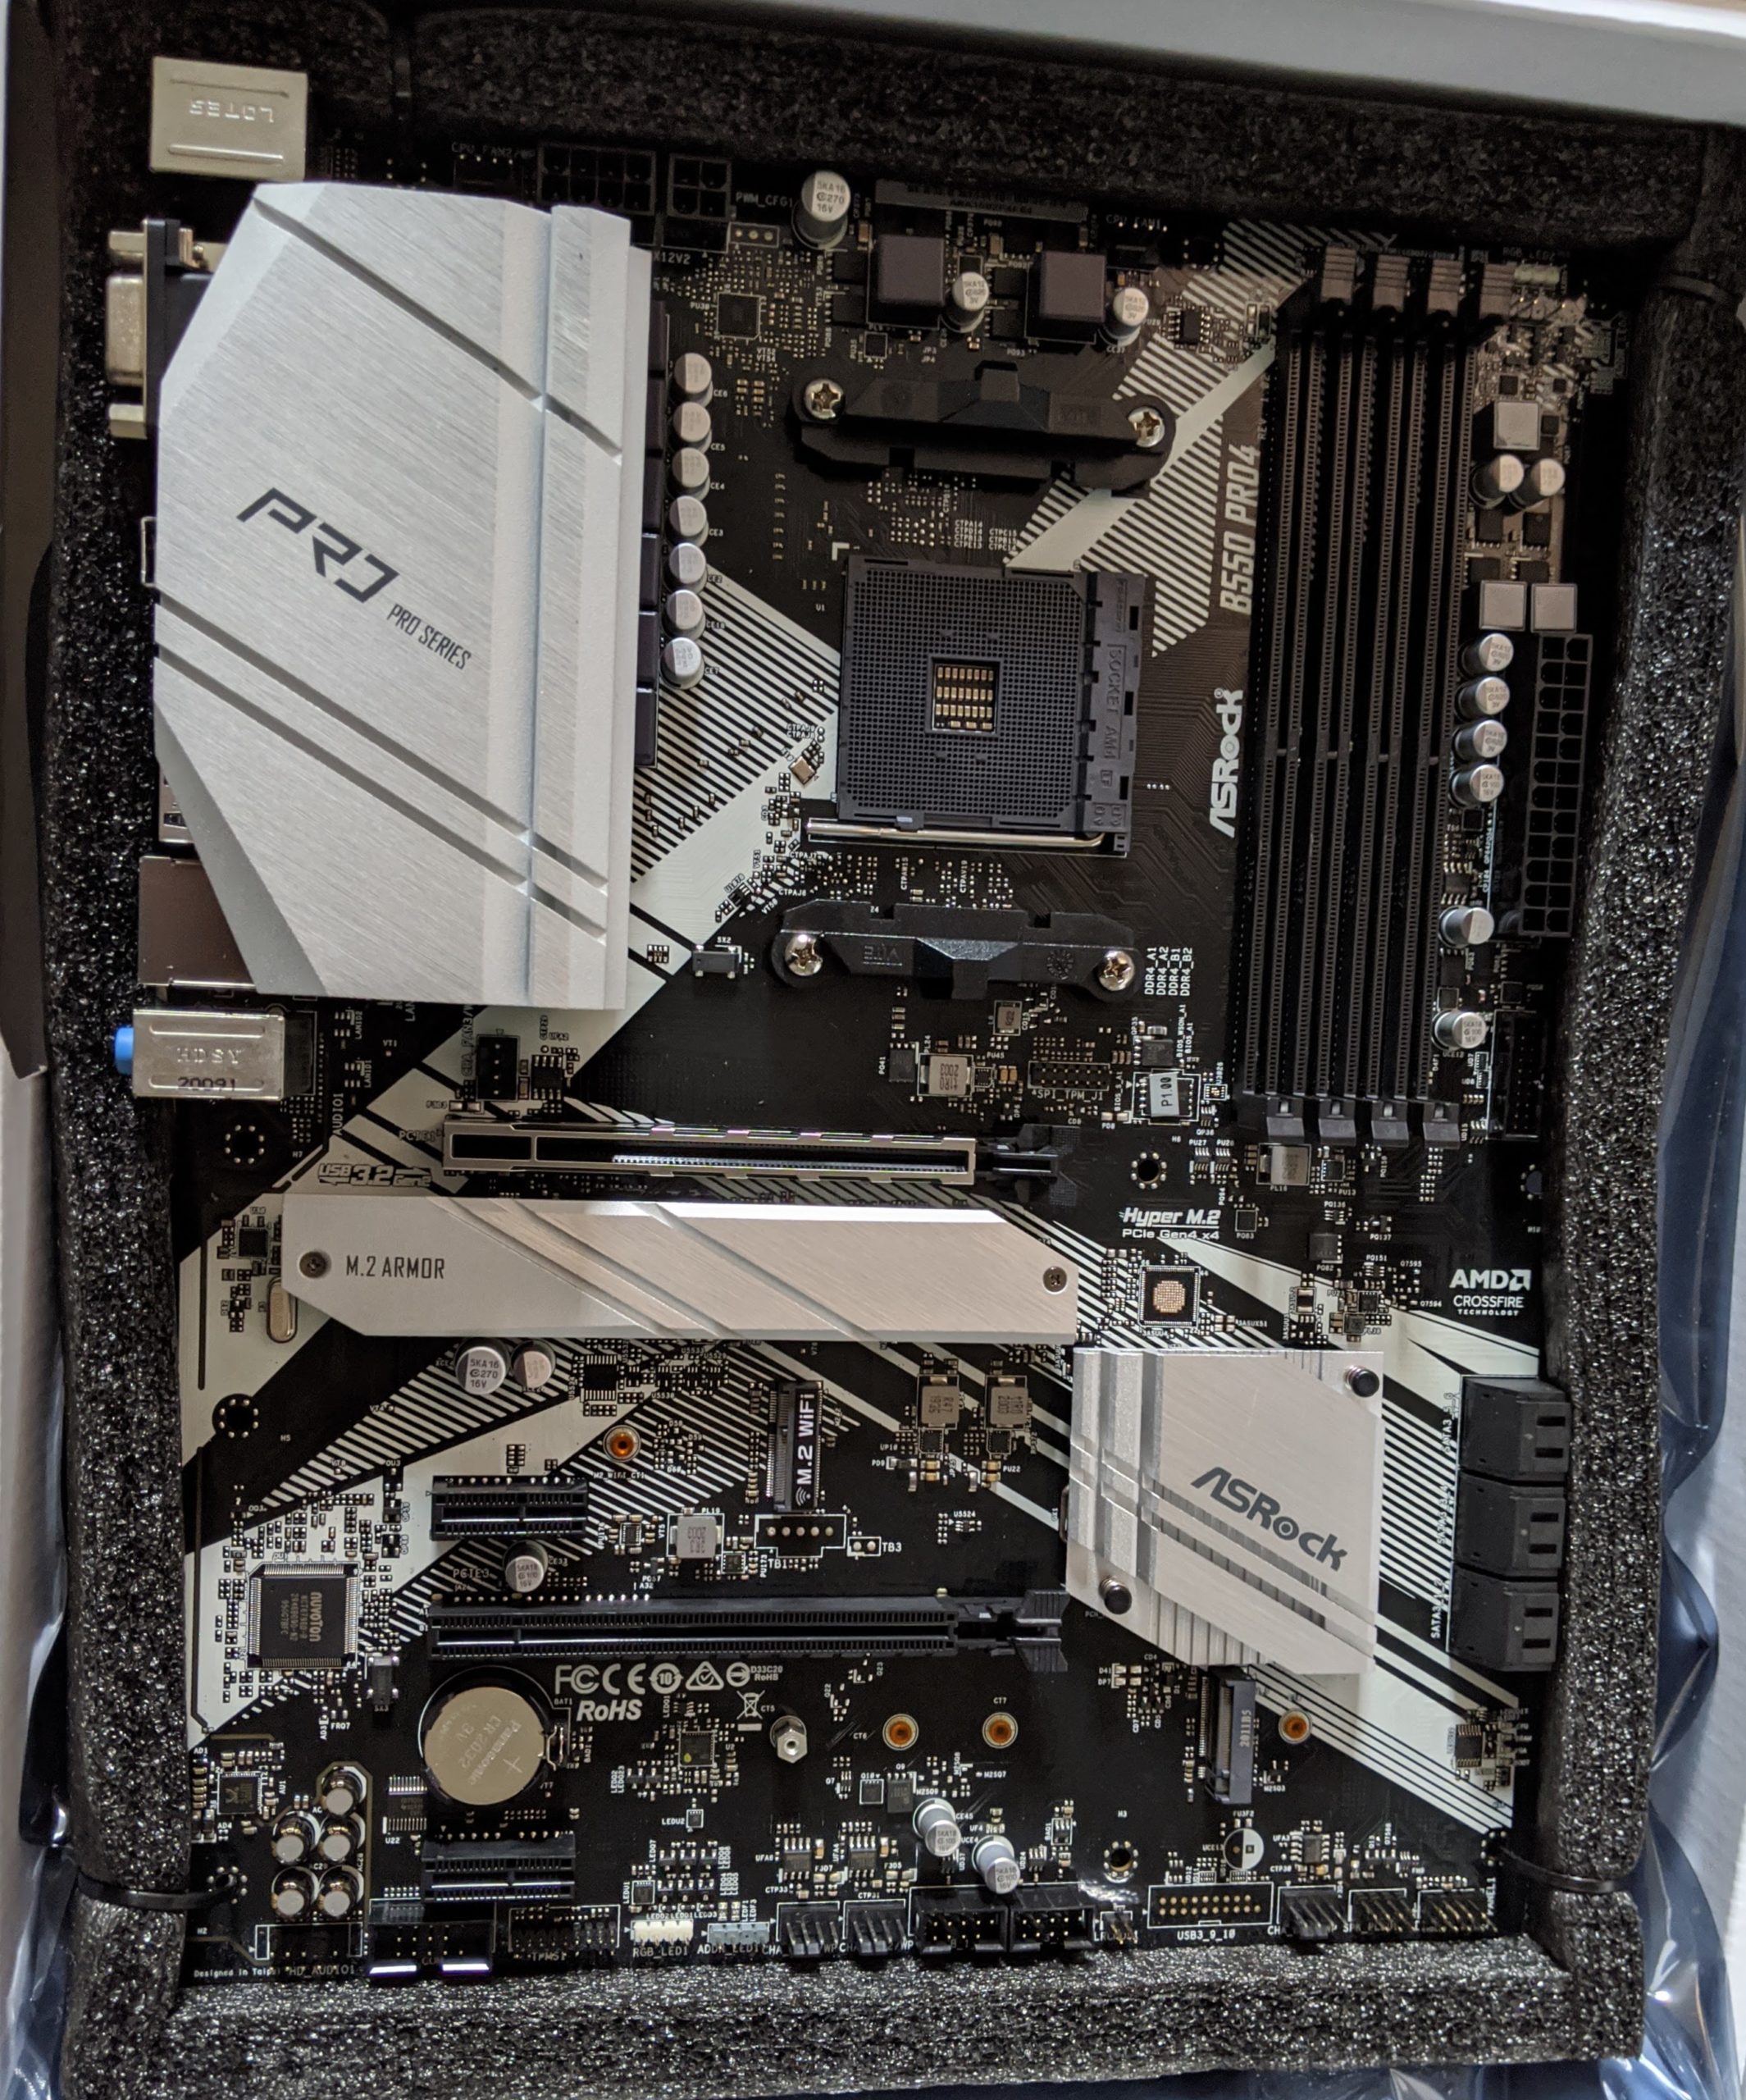
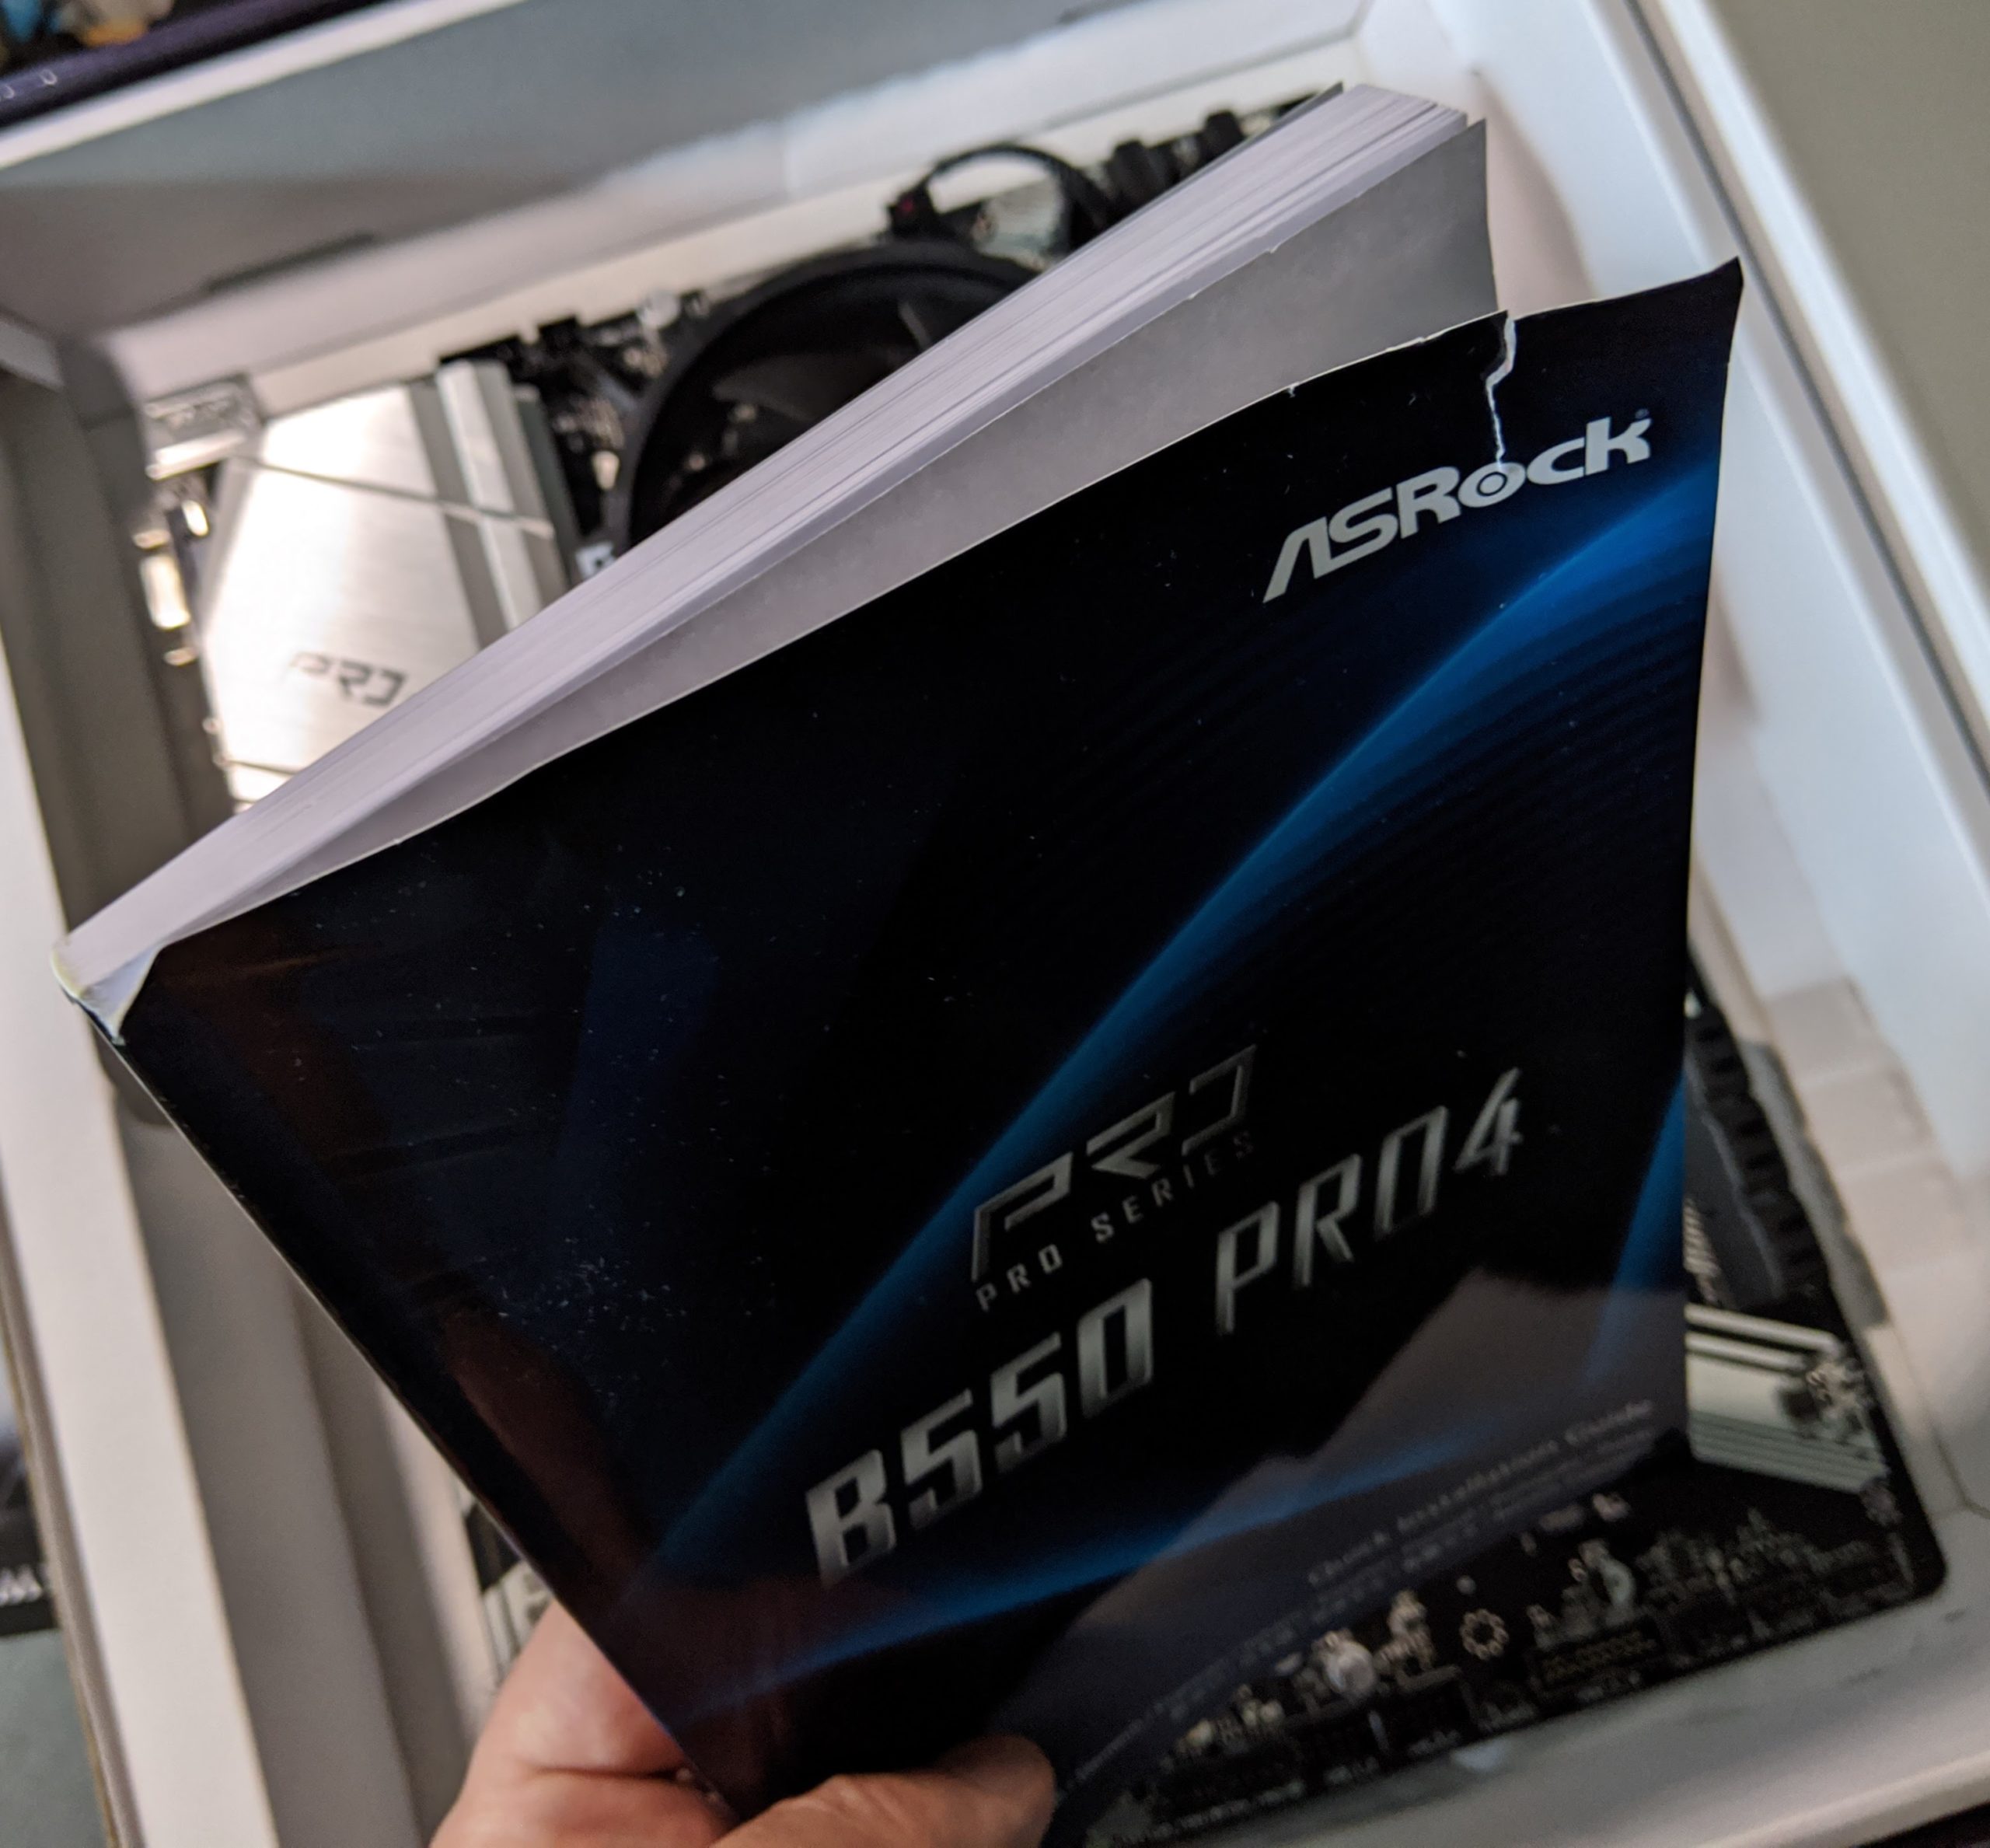
With the giant case I had, there was no way I wasn’t going with a full size ATX board. After looking around, I went with the ASRock B550 PRO4 AM4. It seemed like a good value without going crazy on cost.

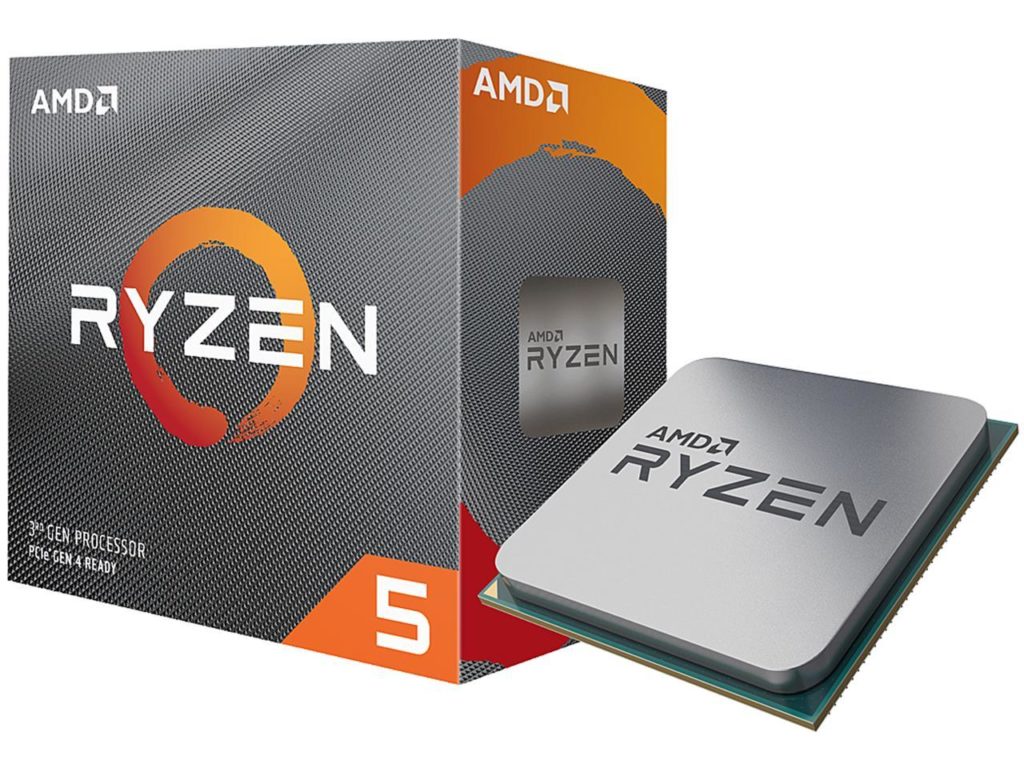
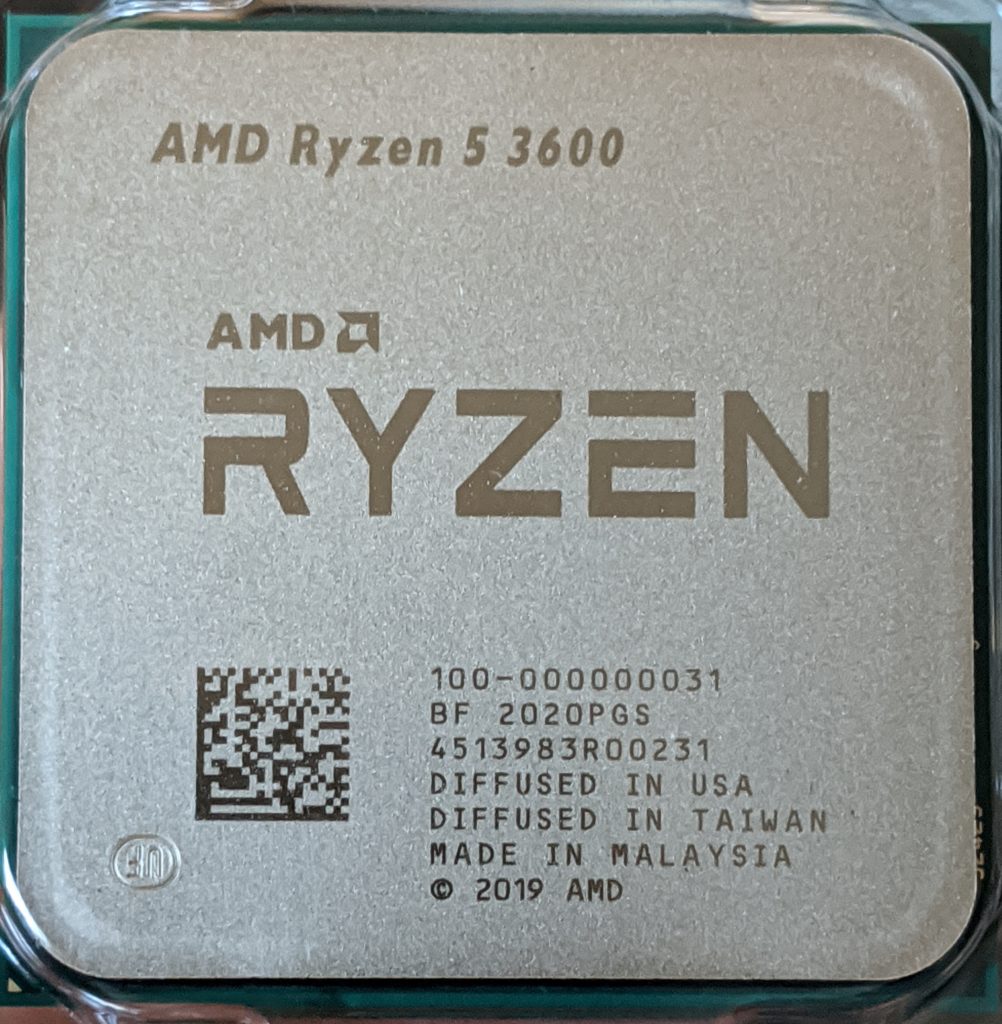
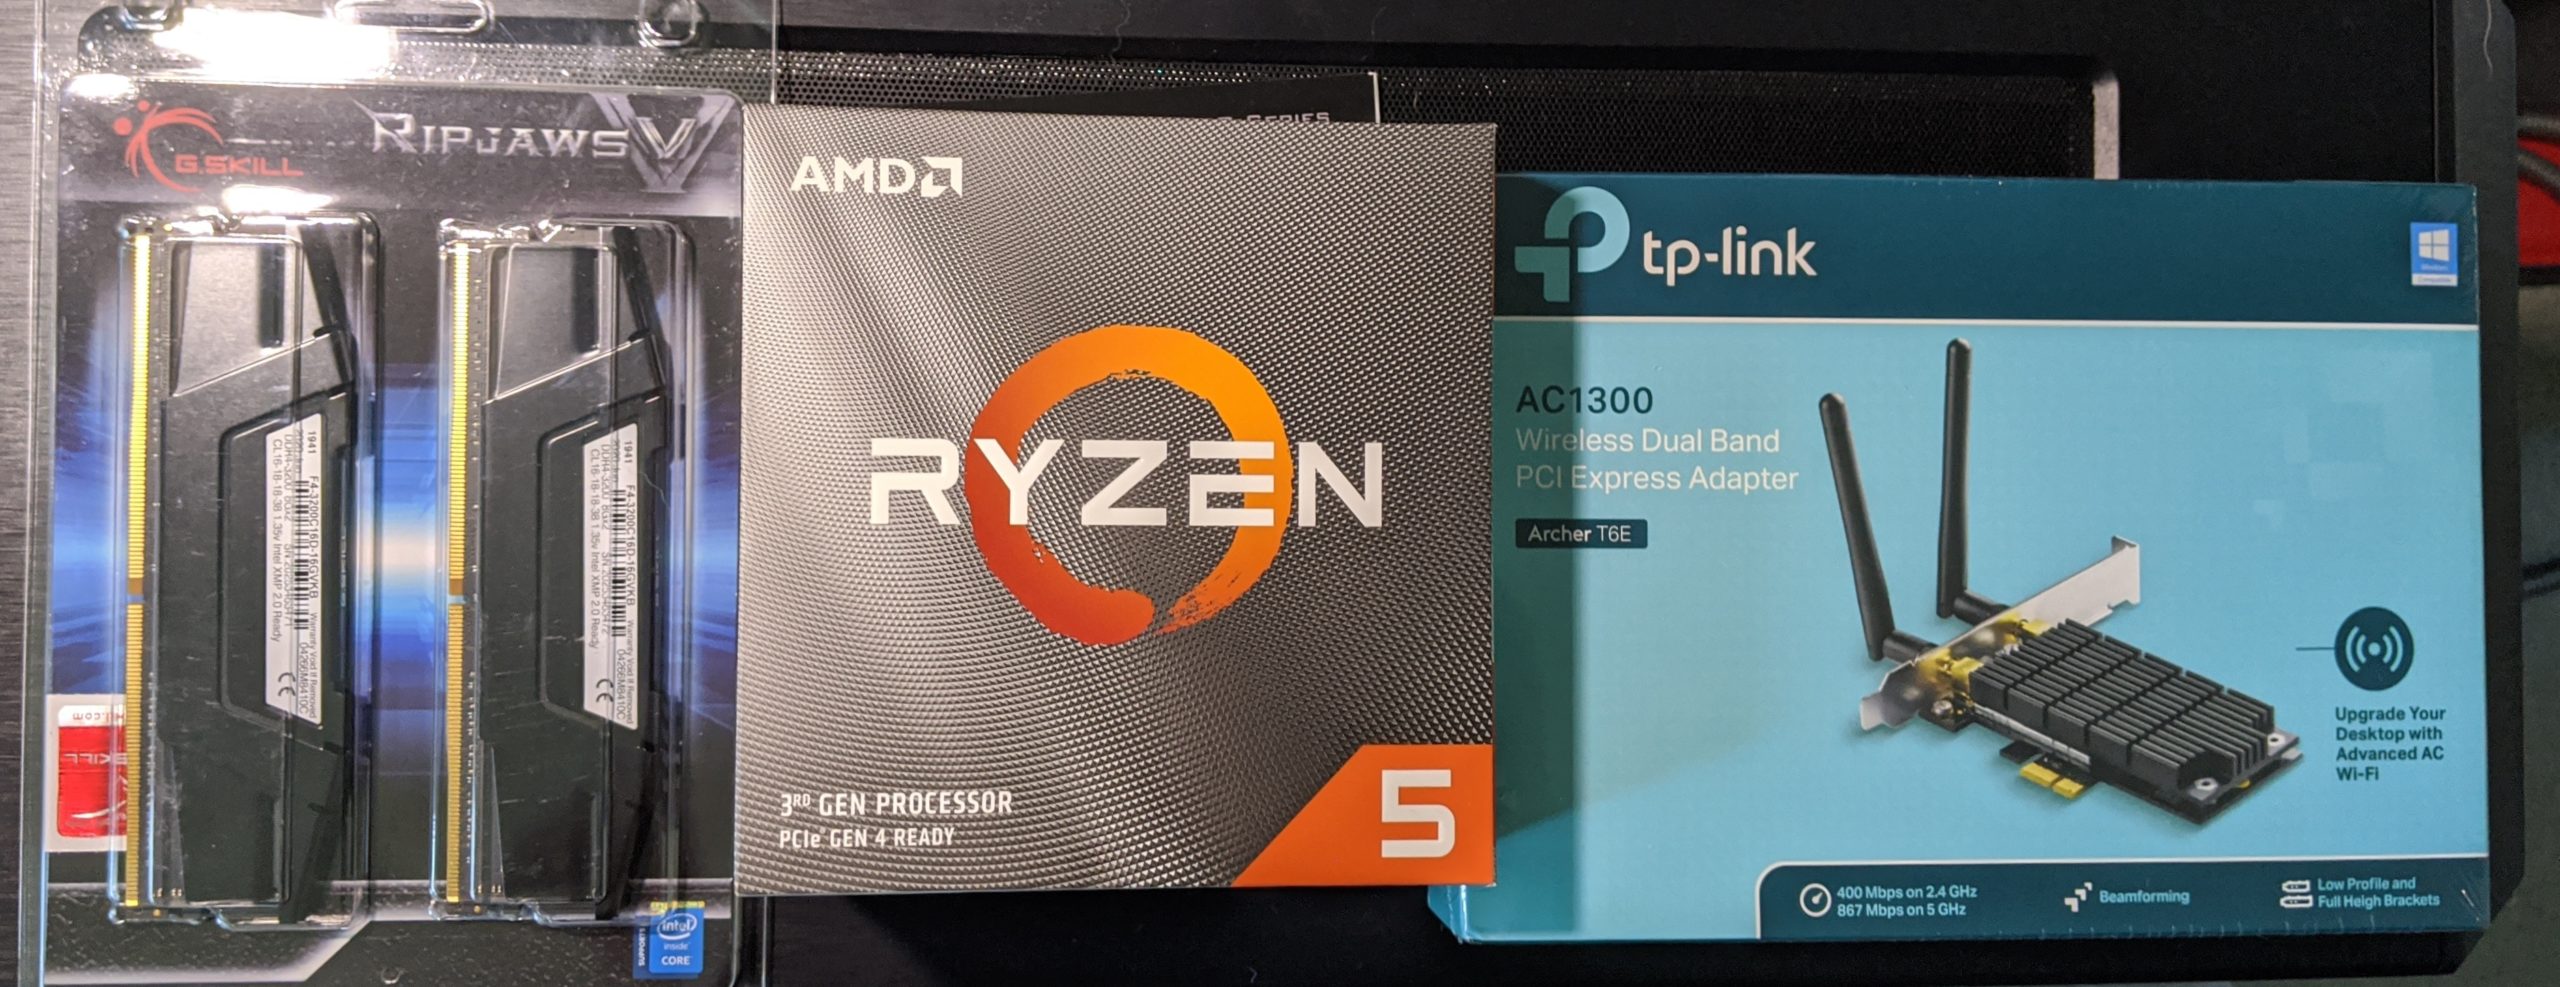
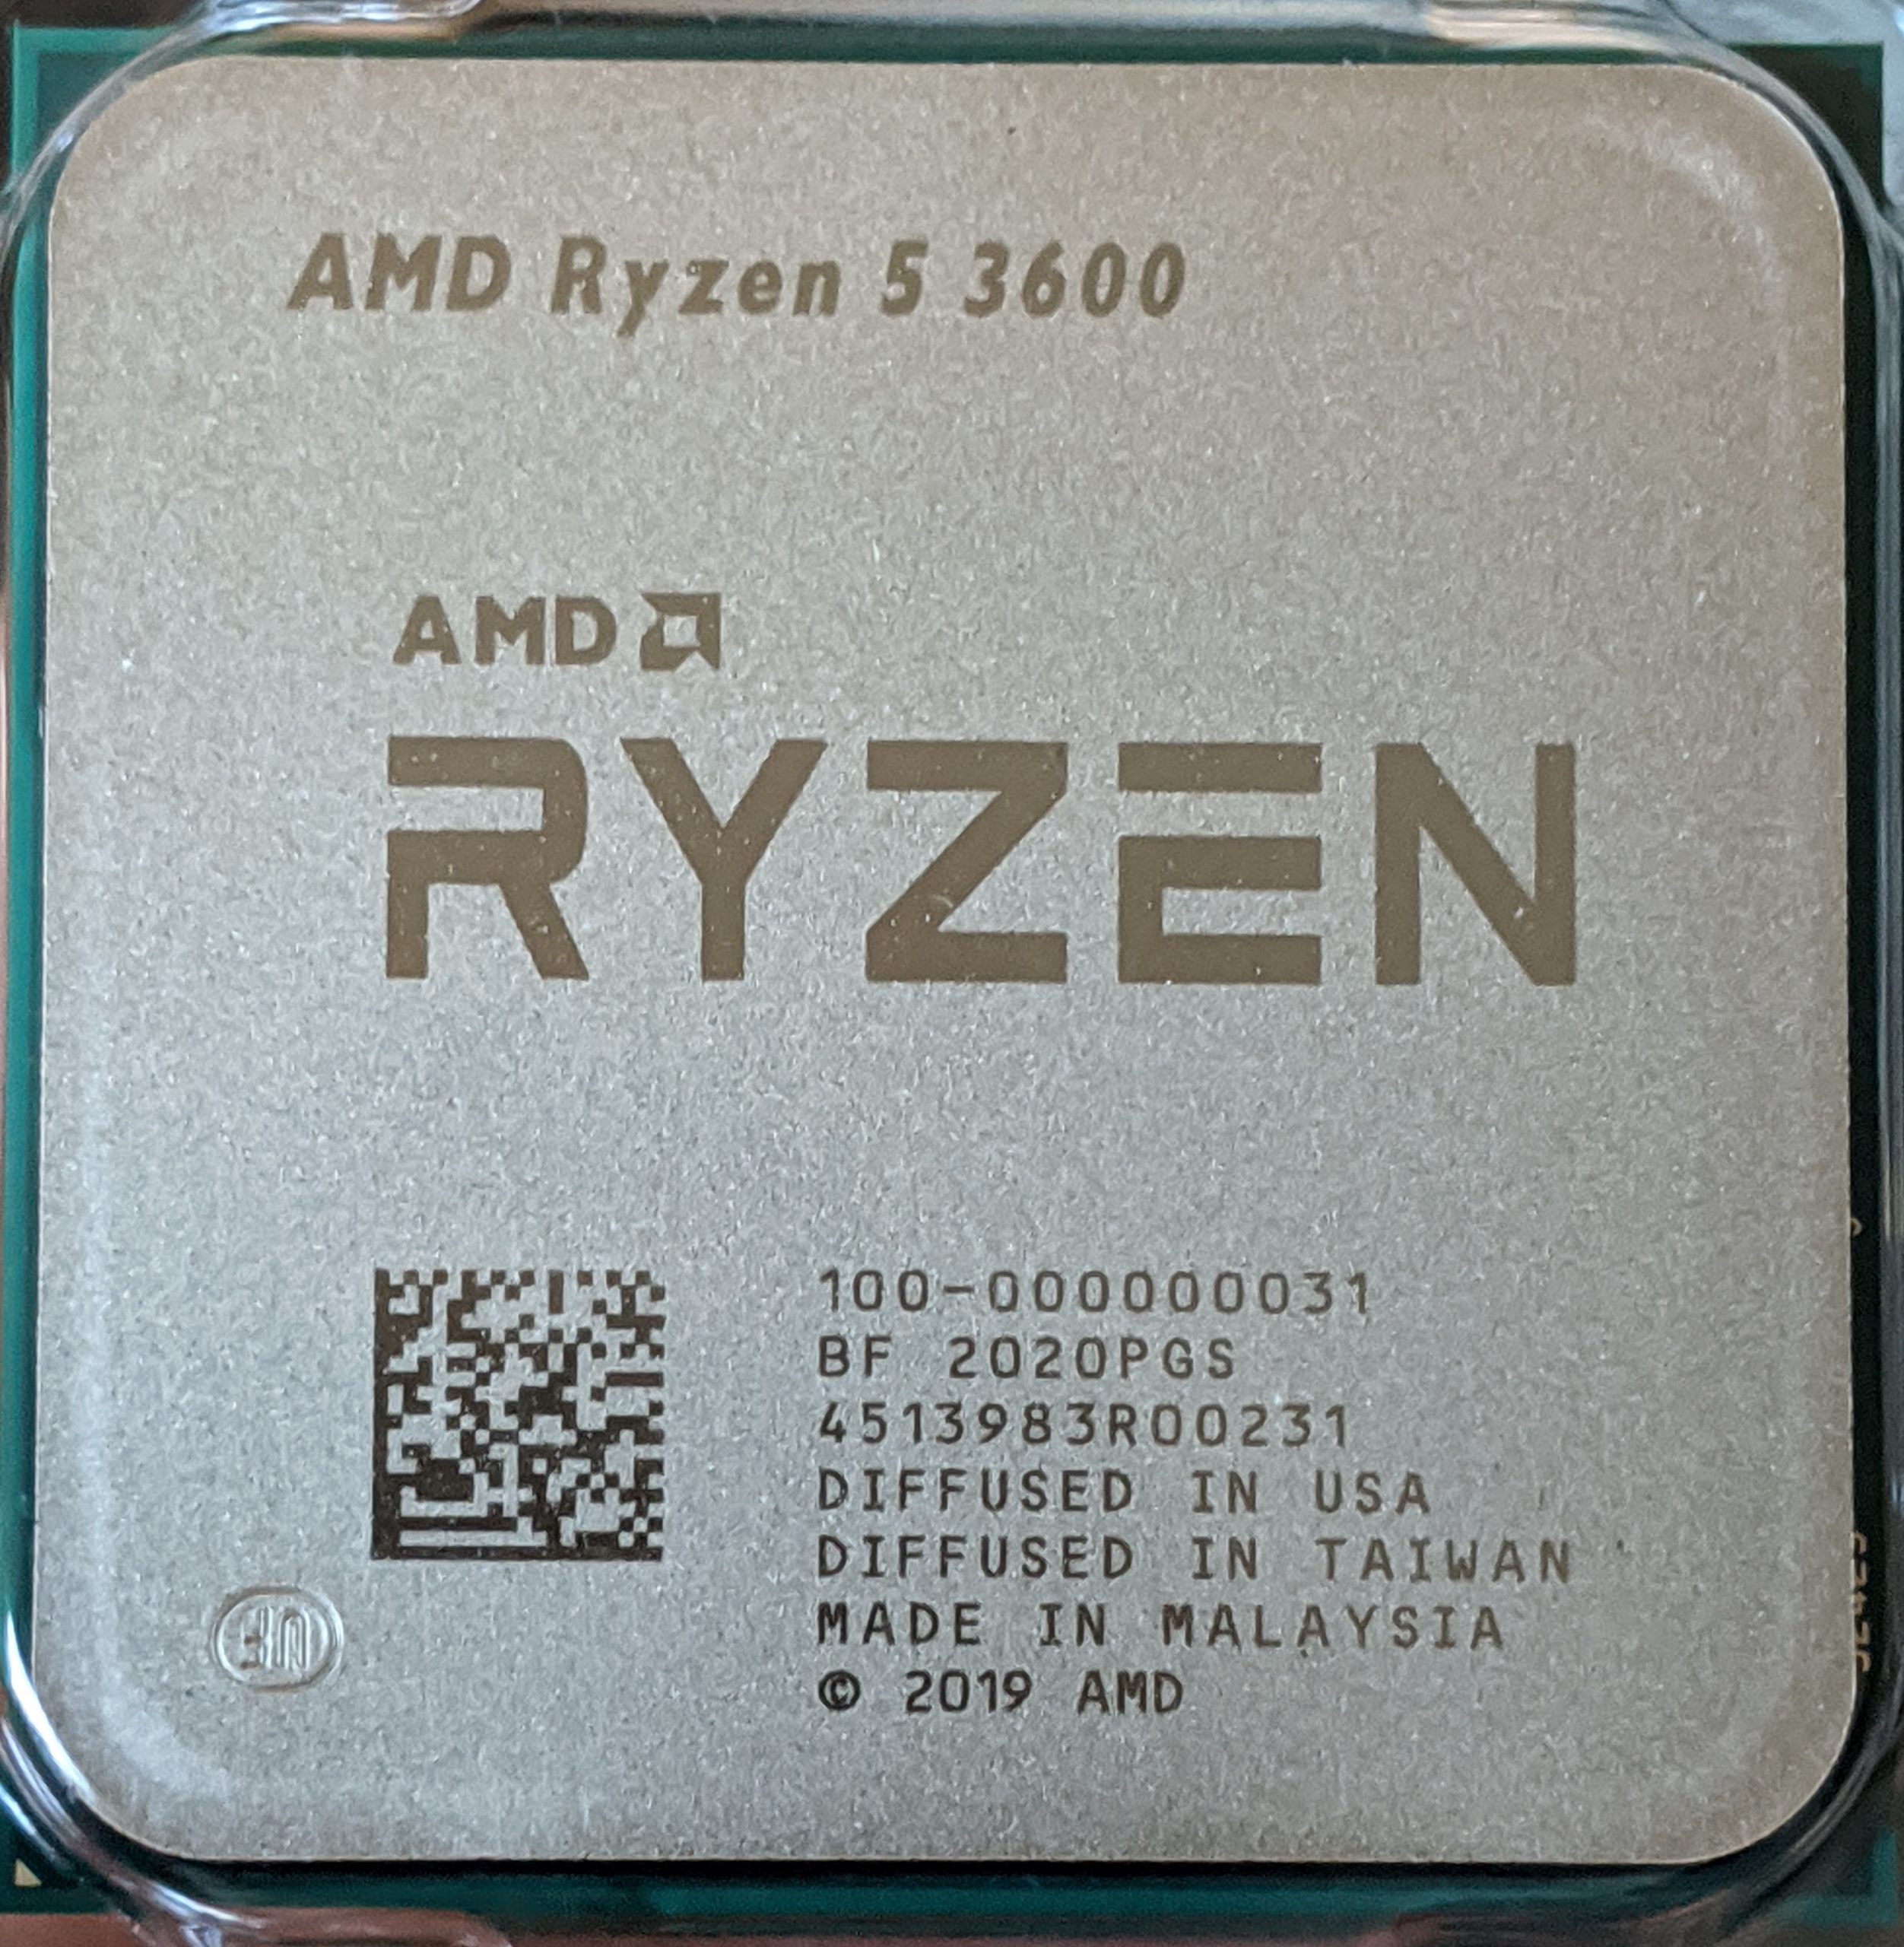
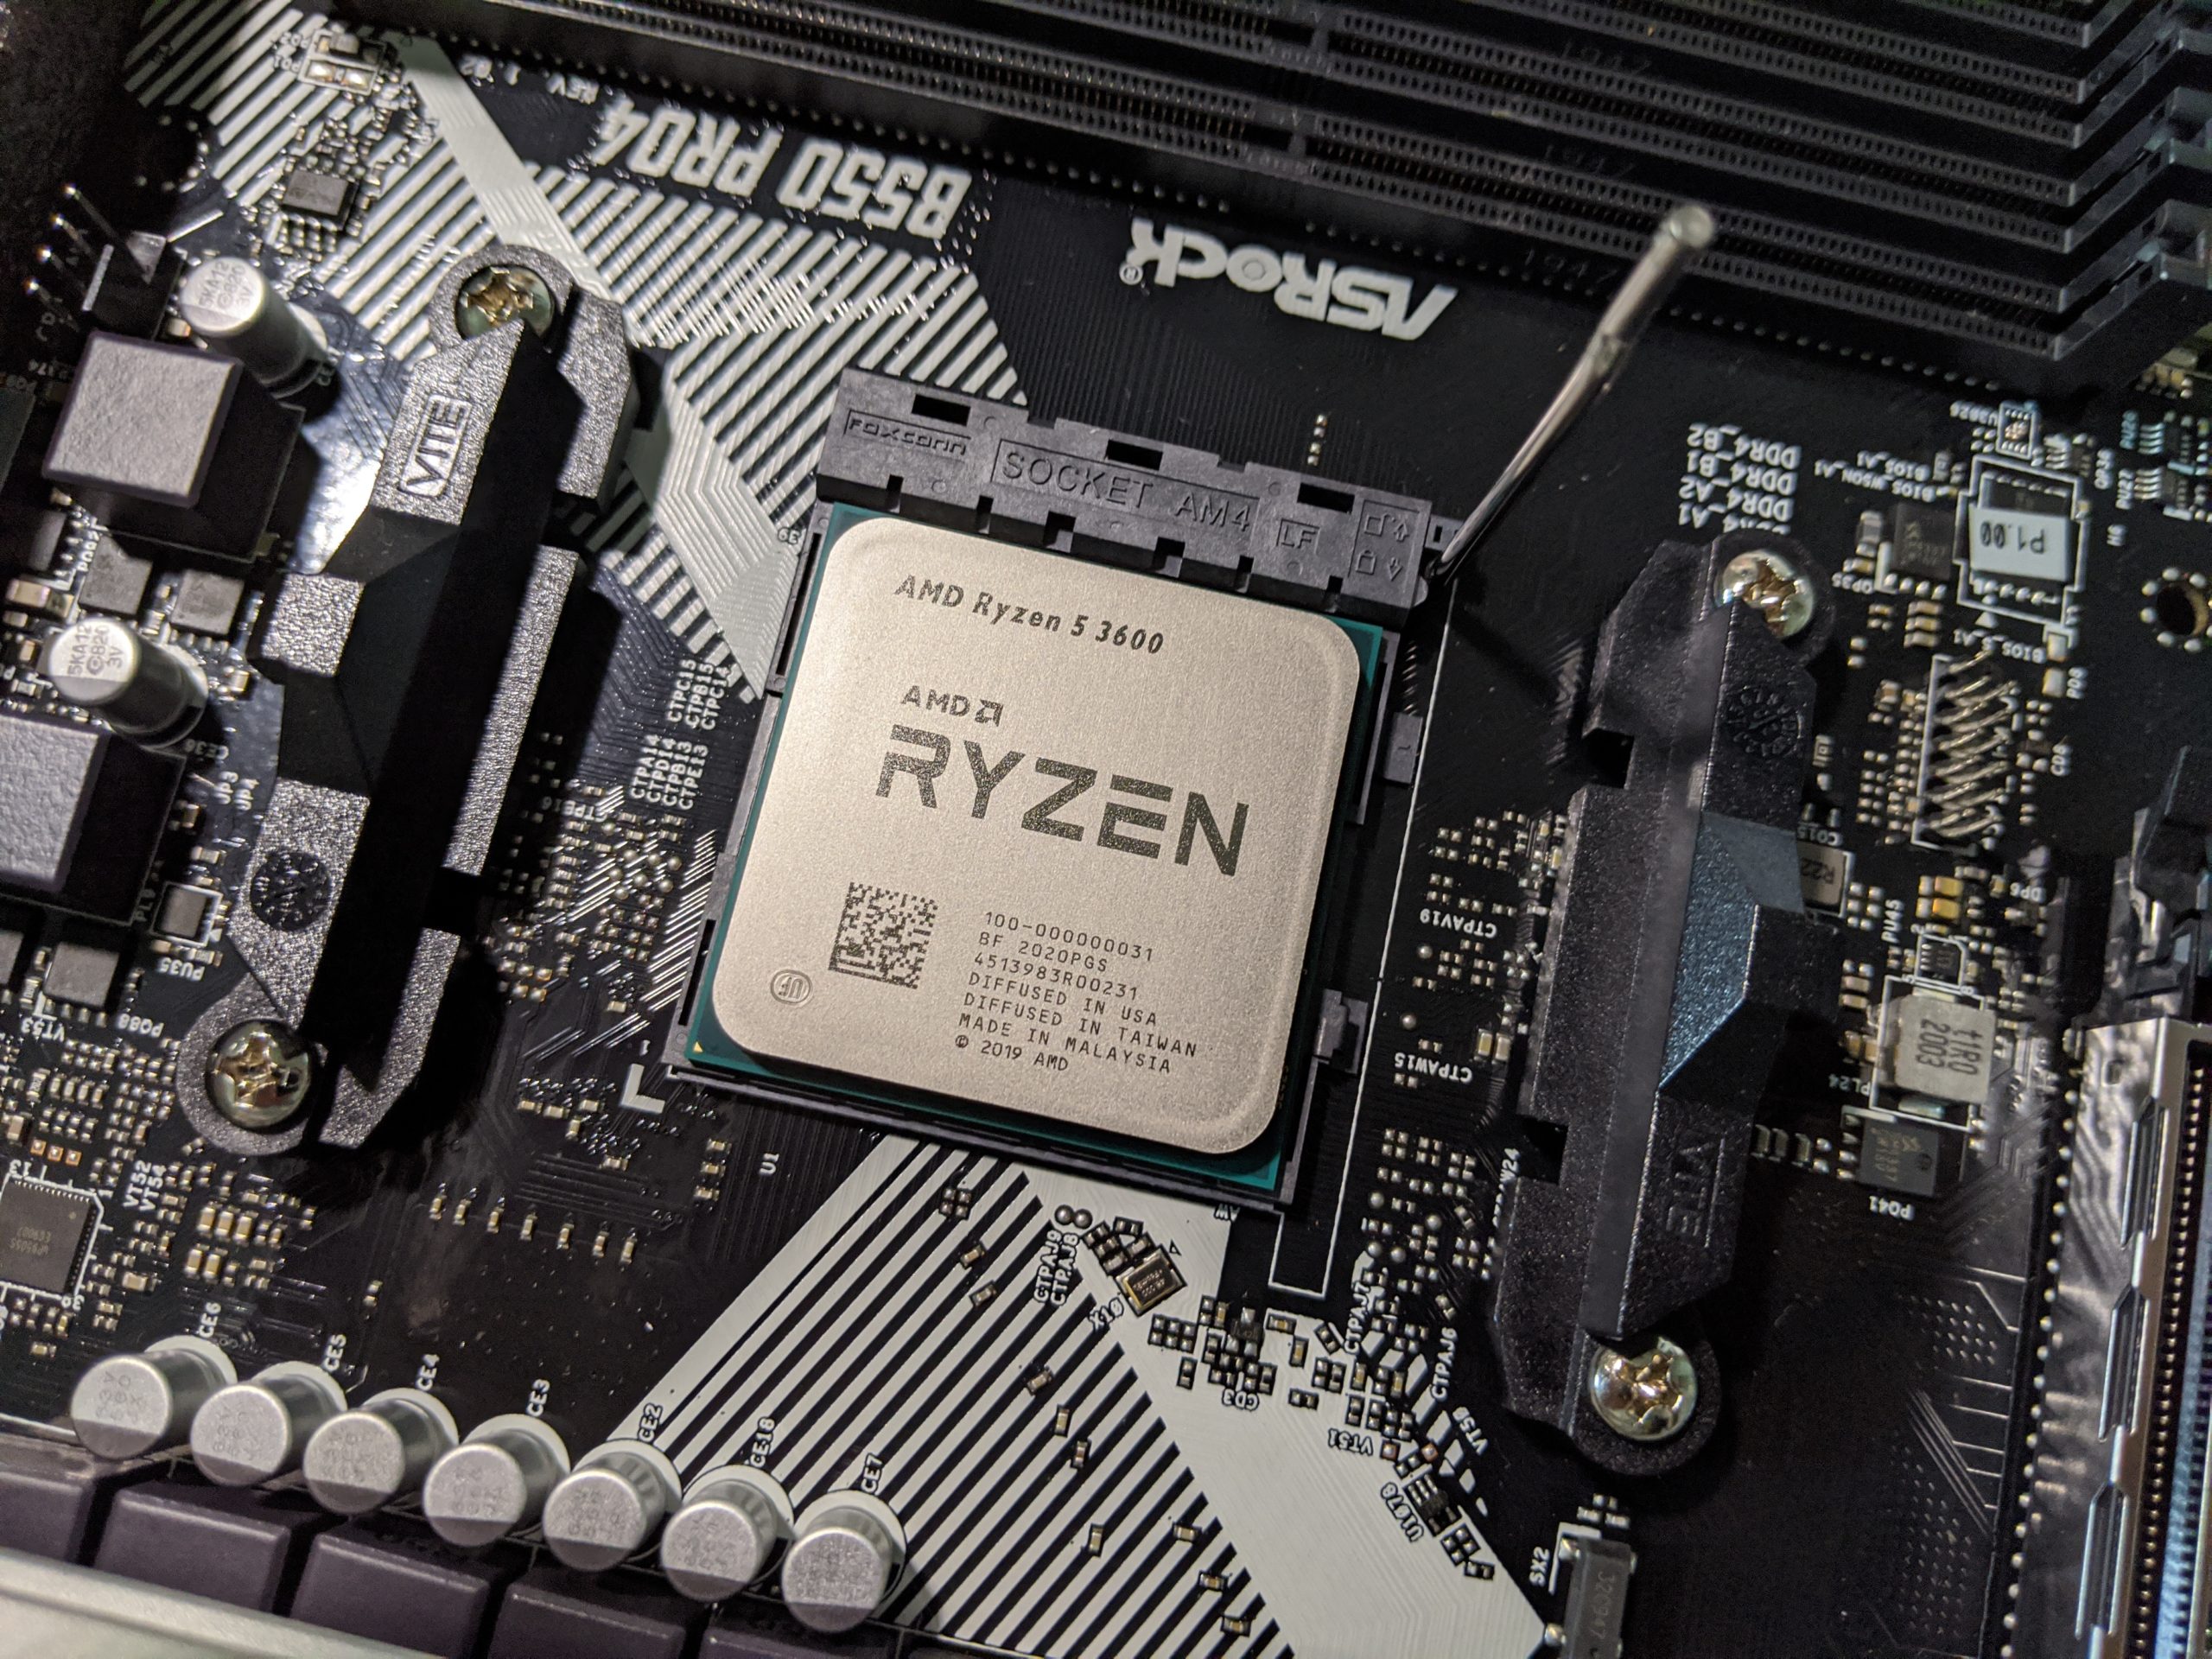
And got a Ryzen 5 3600 to go with it. The price on these dropped about $20 from the time I was first looking at them to when I pushed the button, so I lucked out there. Could have spent an extra $50 on the 3600X but I think this will suit my needs just fine.
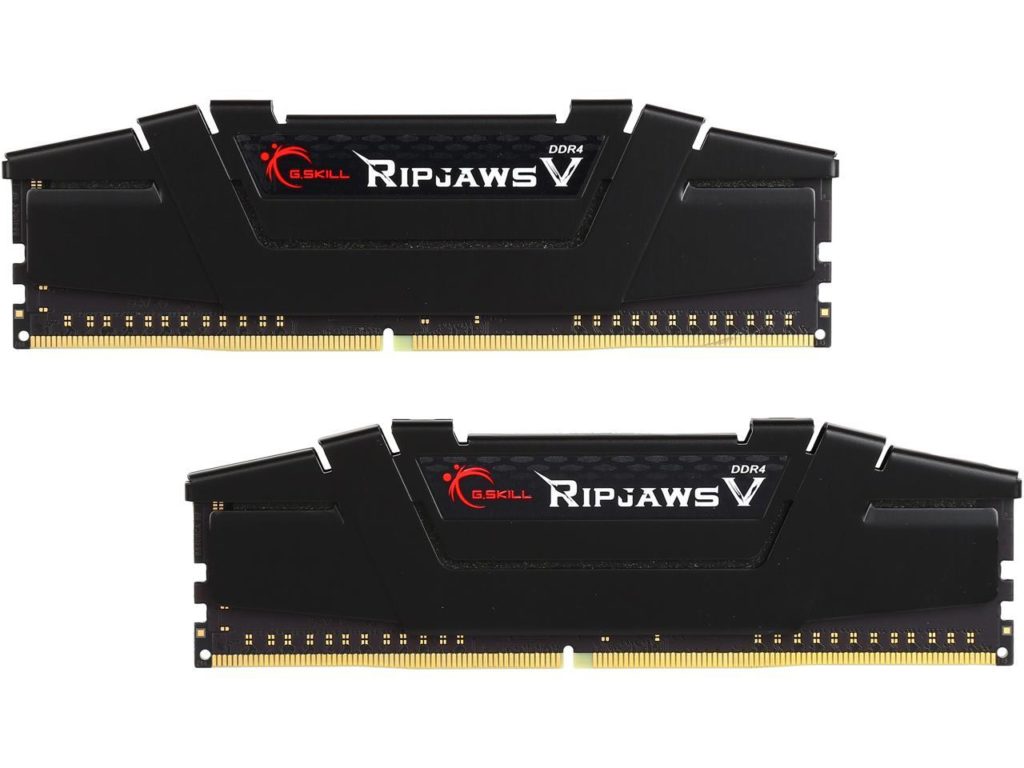
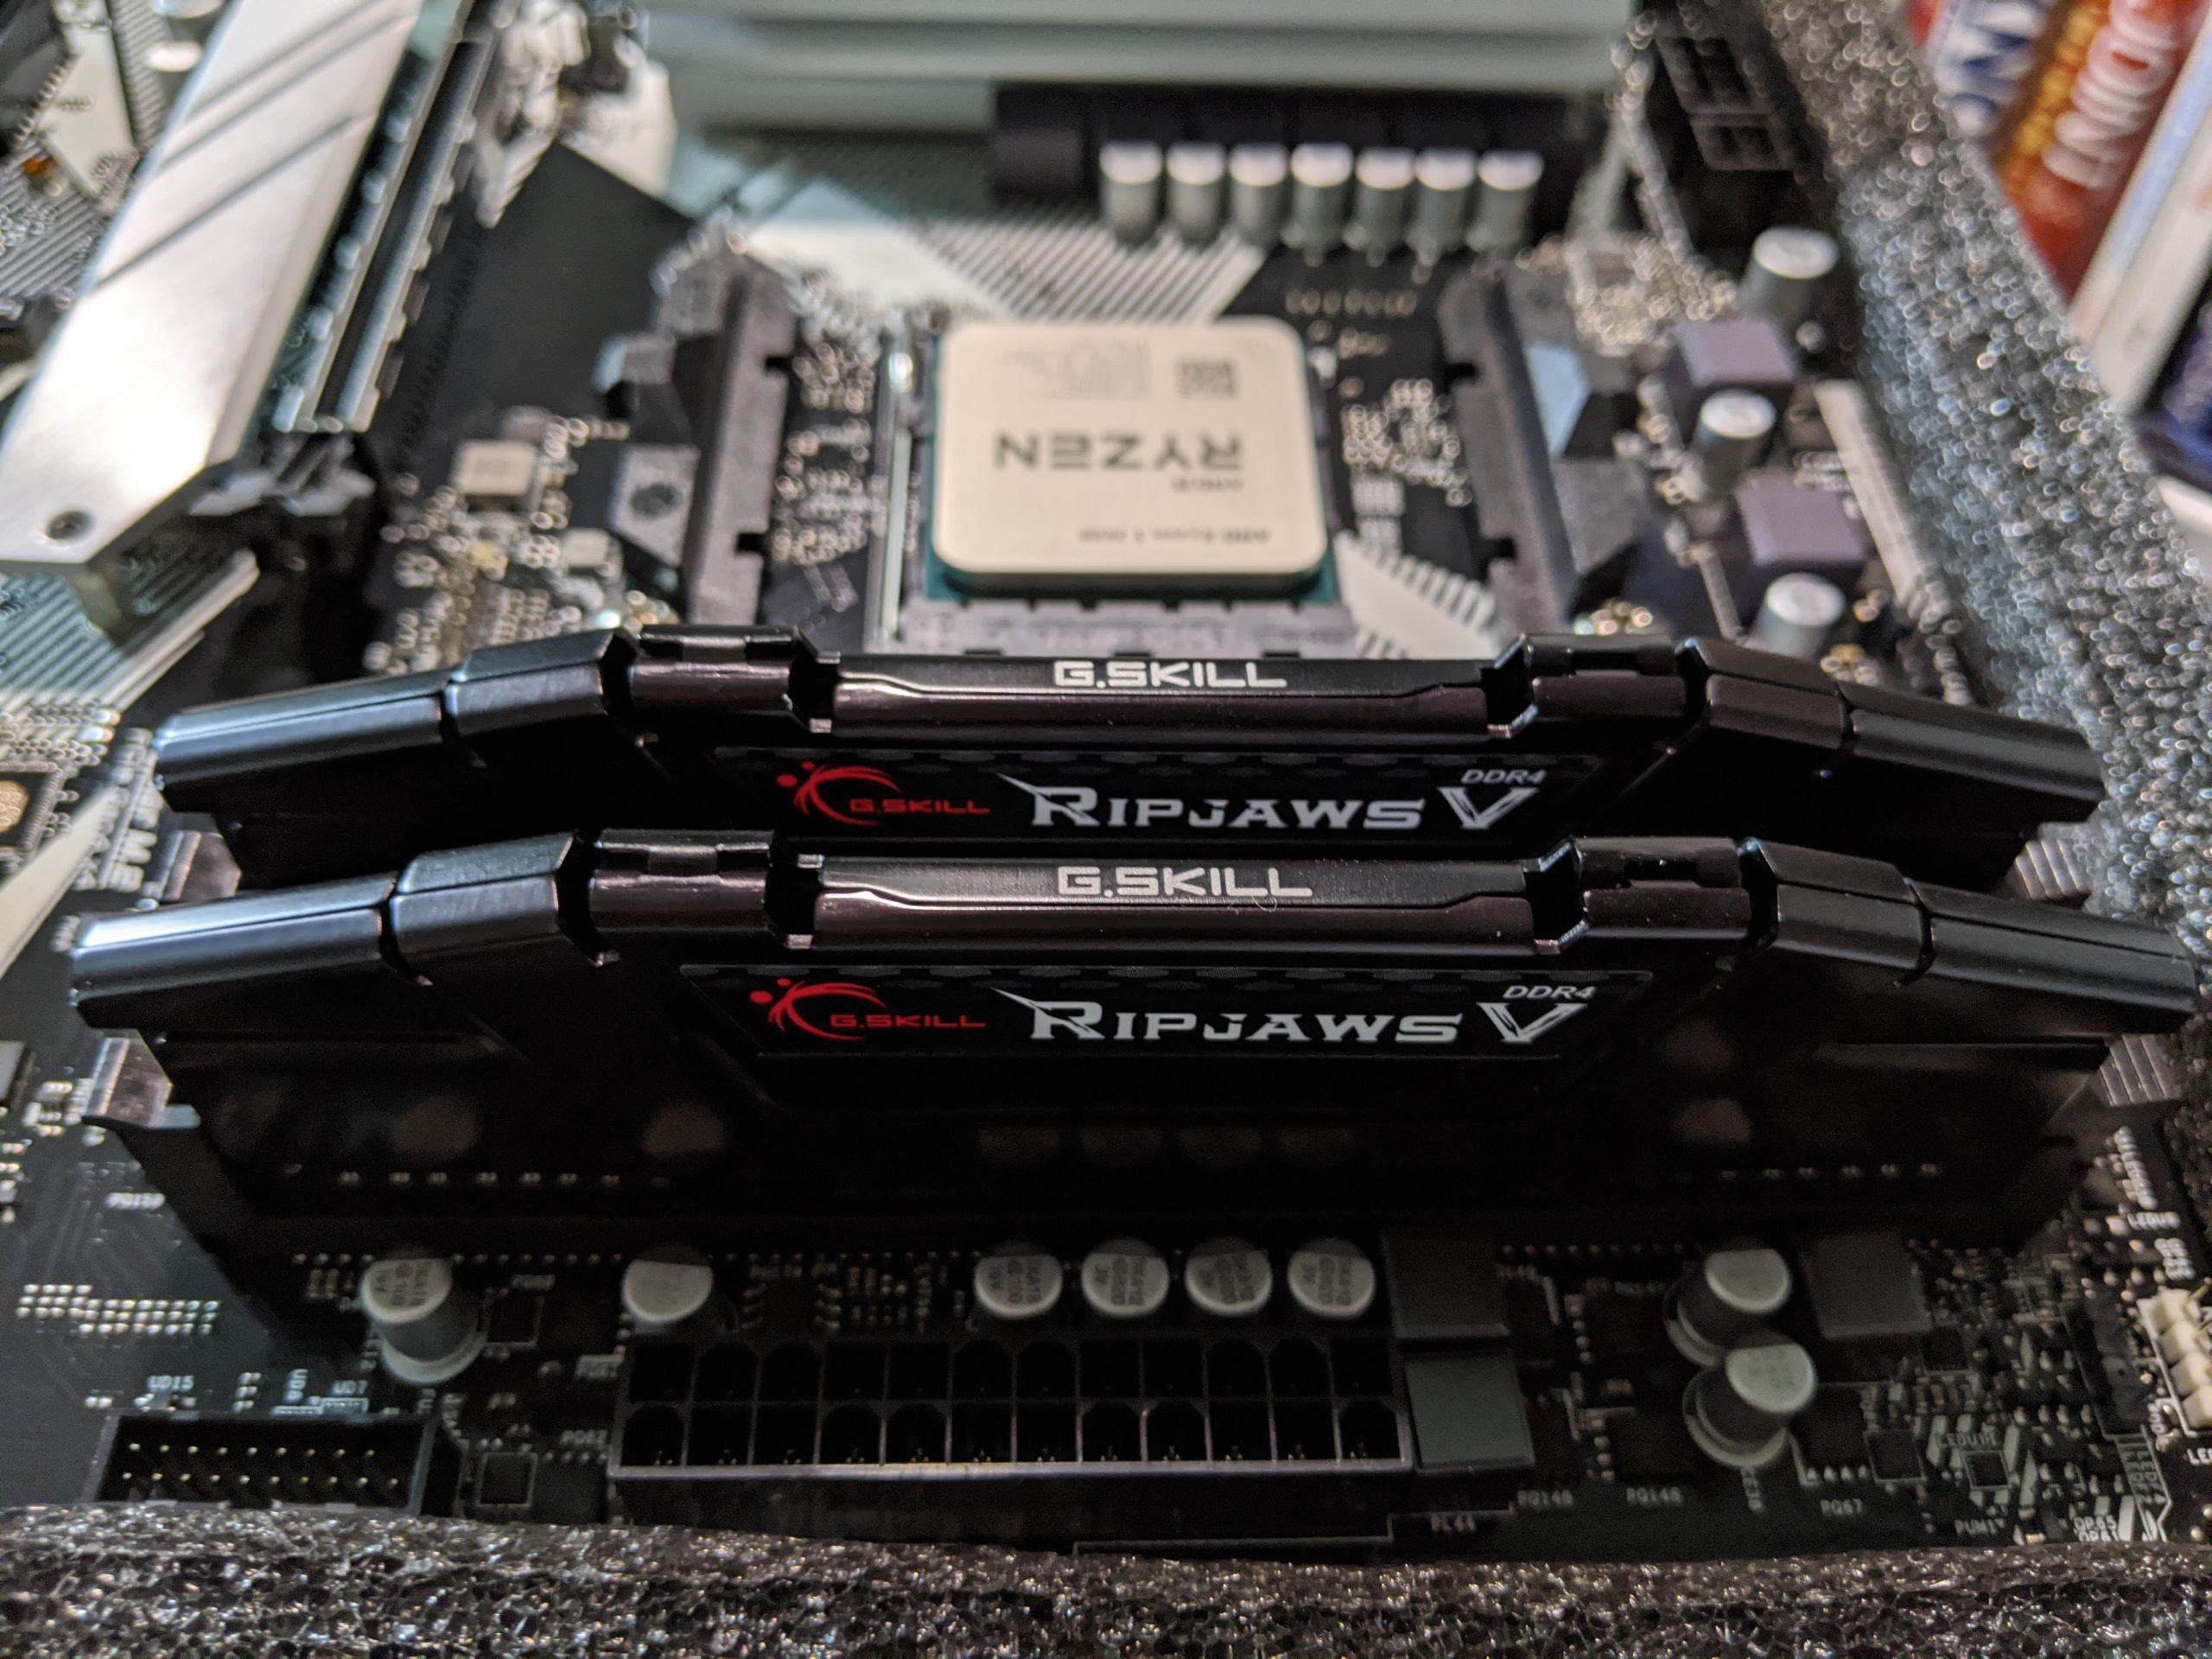
And 2x8GB sticks of G.Skill Ripjaws DDR4 RAM. This starts me out with 16GB and leaves two slots open for expansion.
While I was at it, I added a TP-Link Wifi card to get some better reception up in the office. Better than the stupid USB Wifi dongle I was using.

Everything but the motherboard arrived one day a couple of weeks ago. But the mobo was way slower, so I had to spend last weekend just staring at everything.
-

All the things -

Wifi -
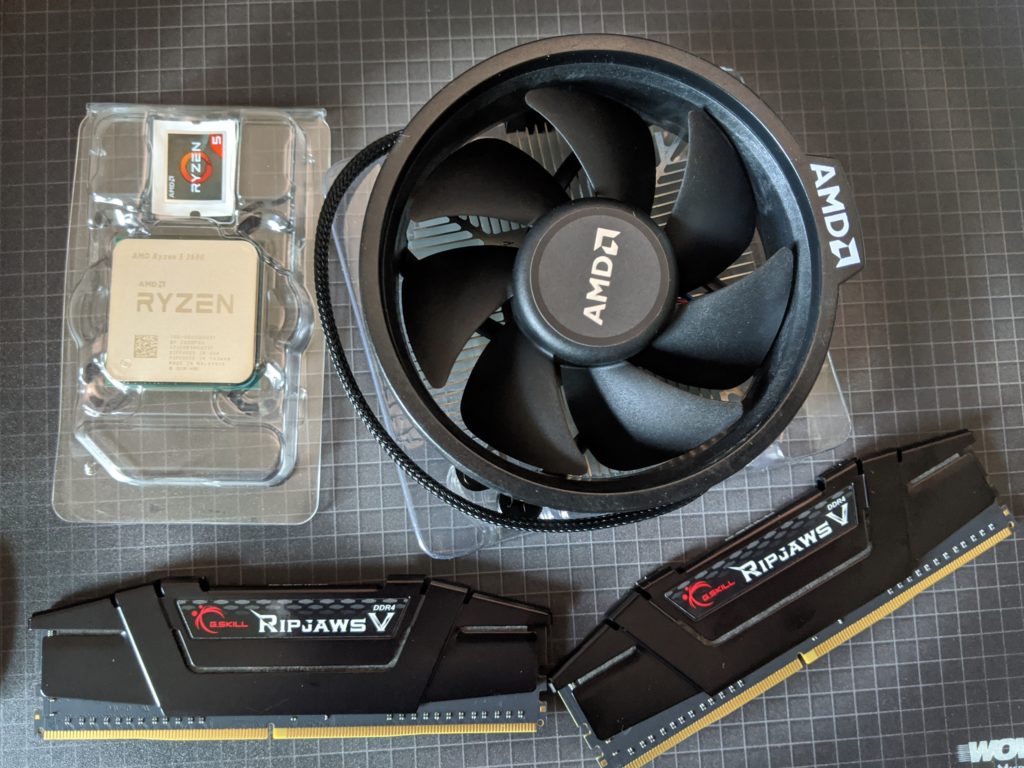
Unboxed -
I always expect CPUs to look flashier. -
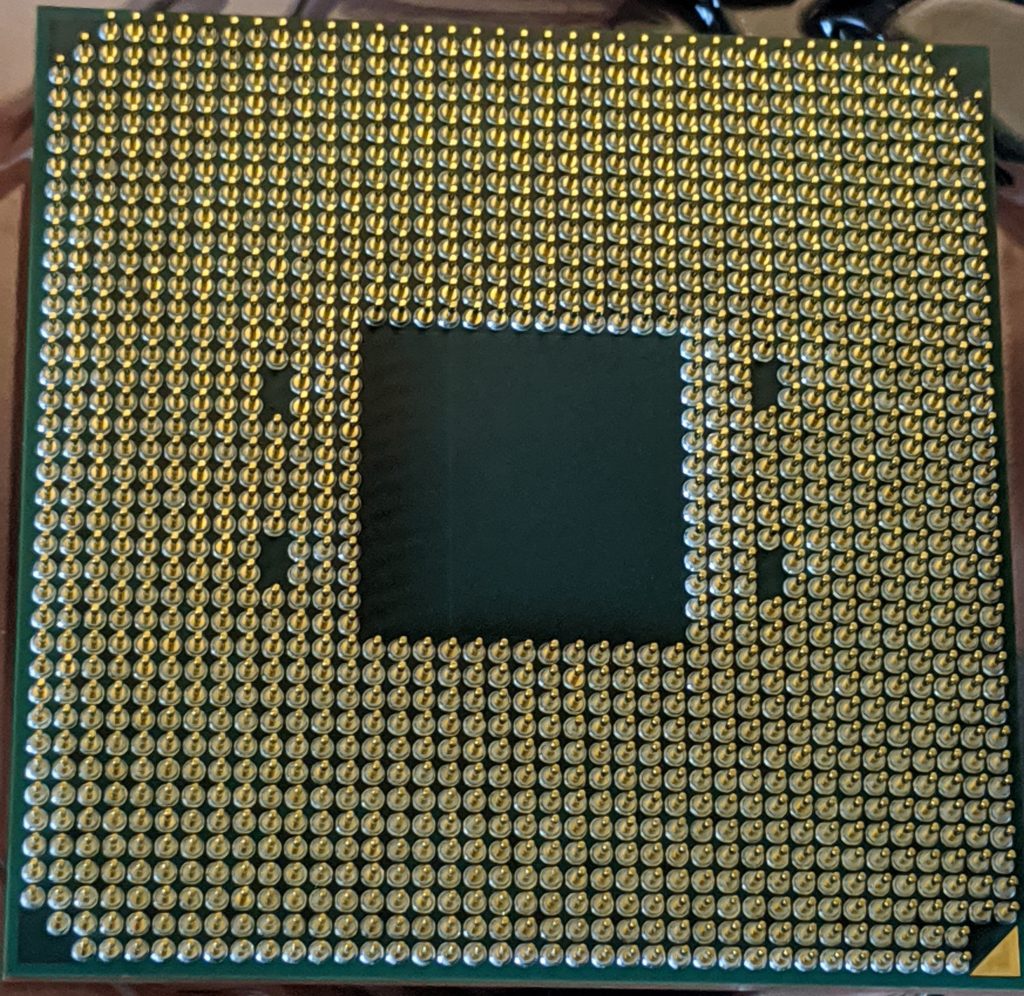
So many pins
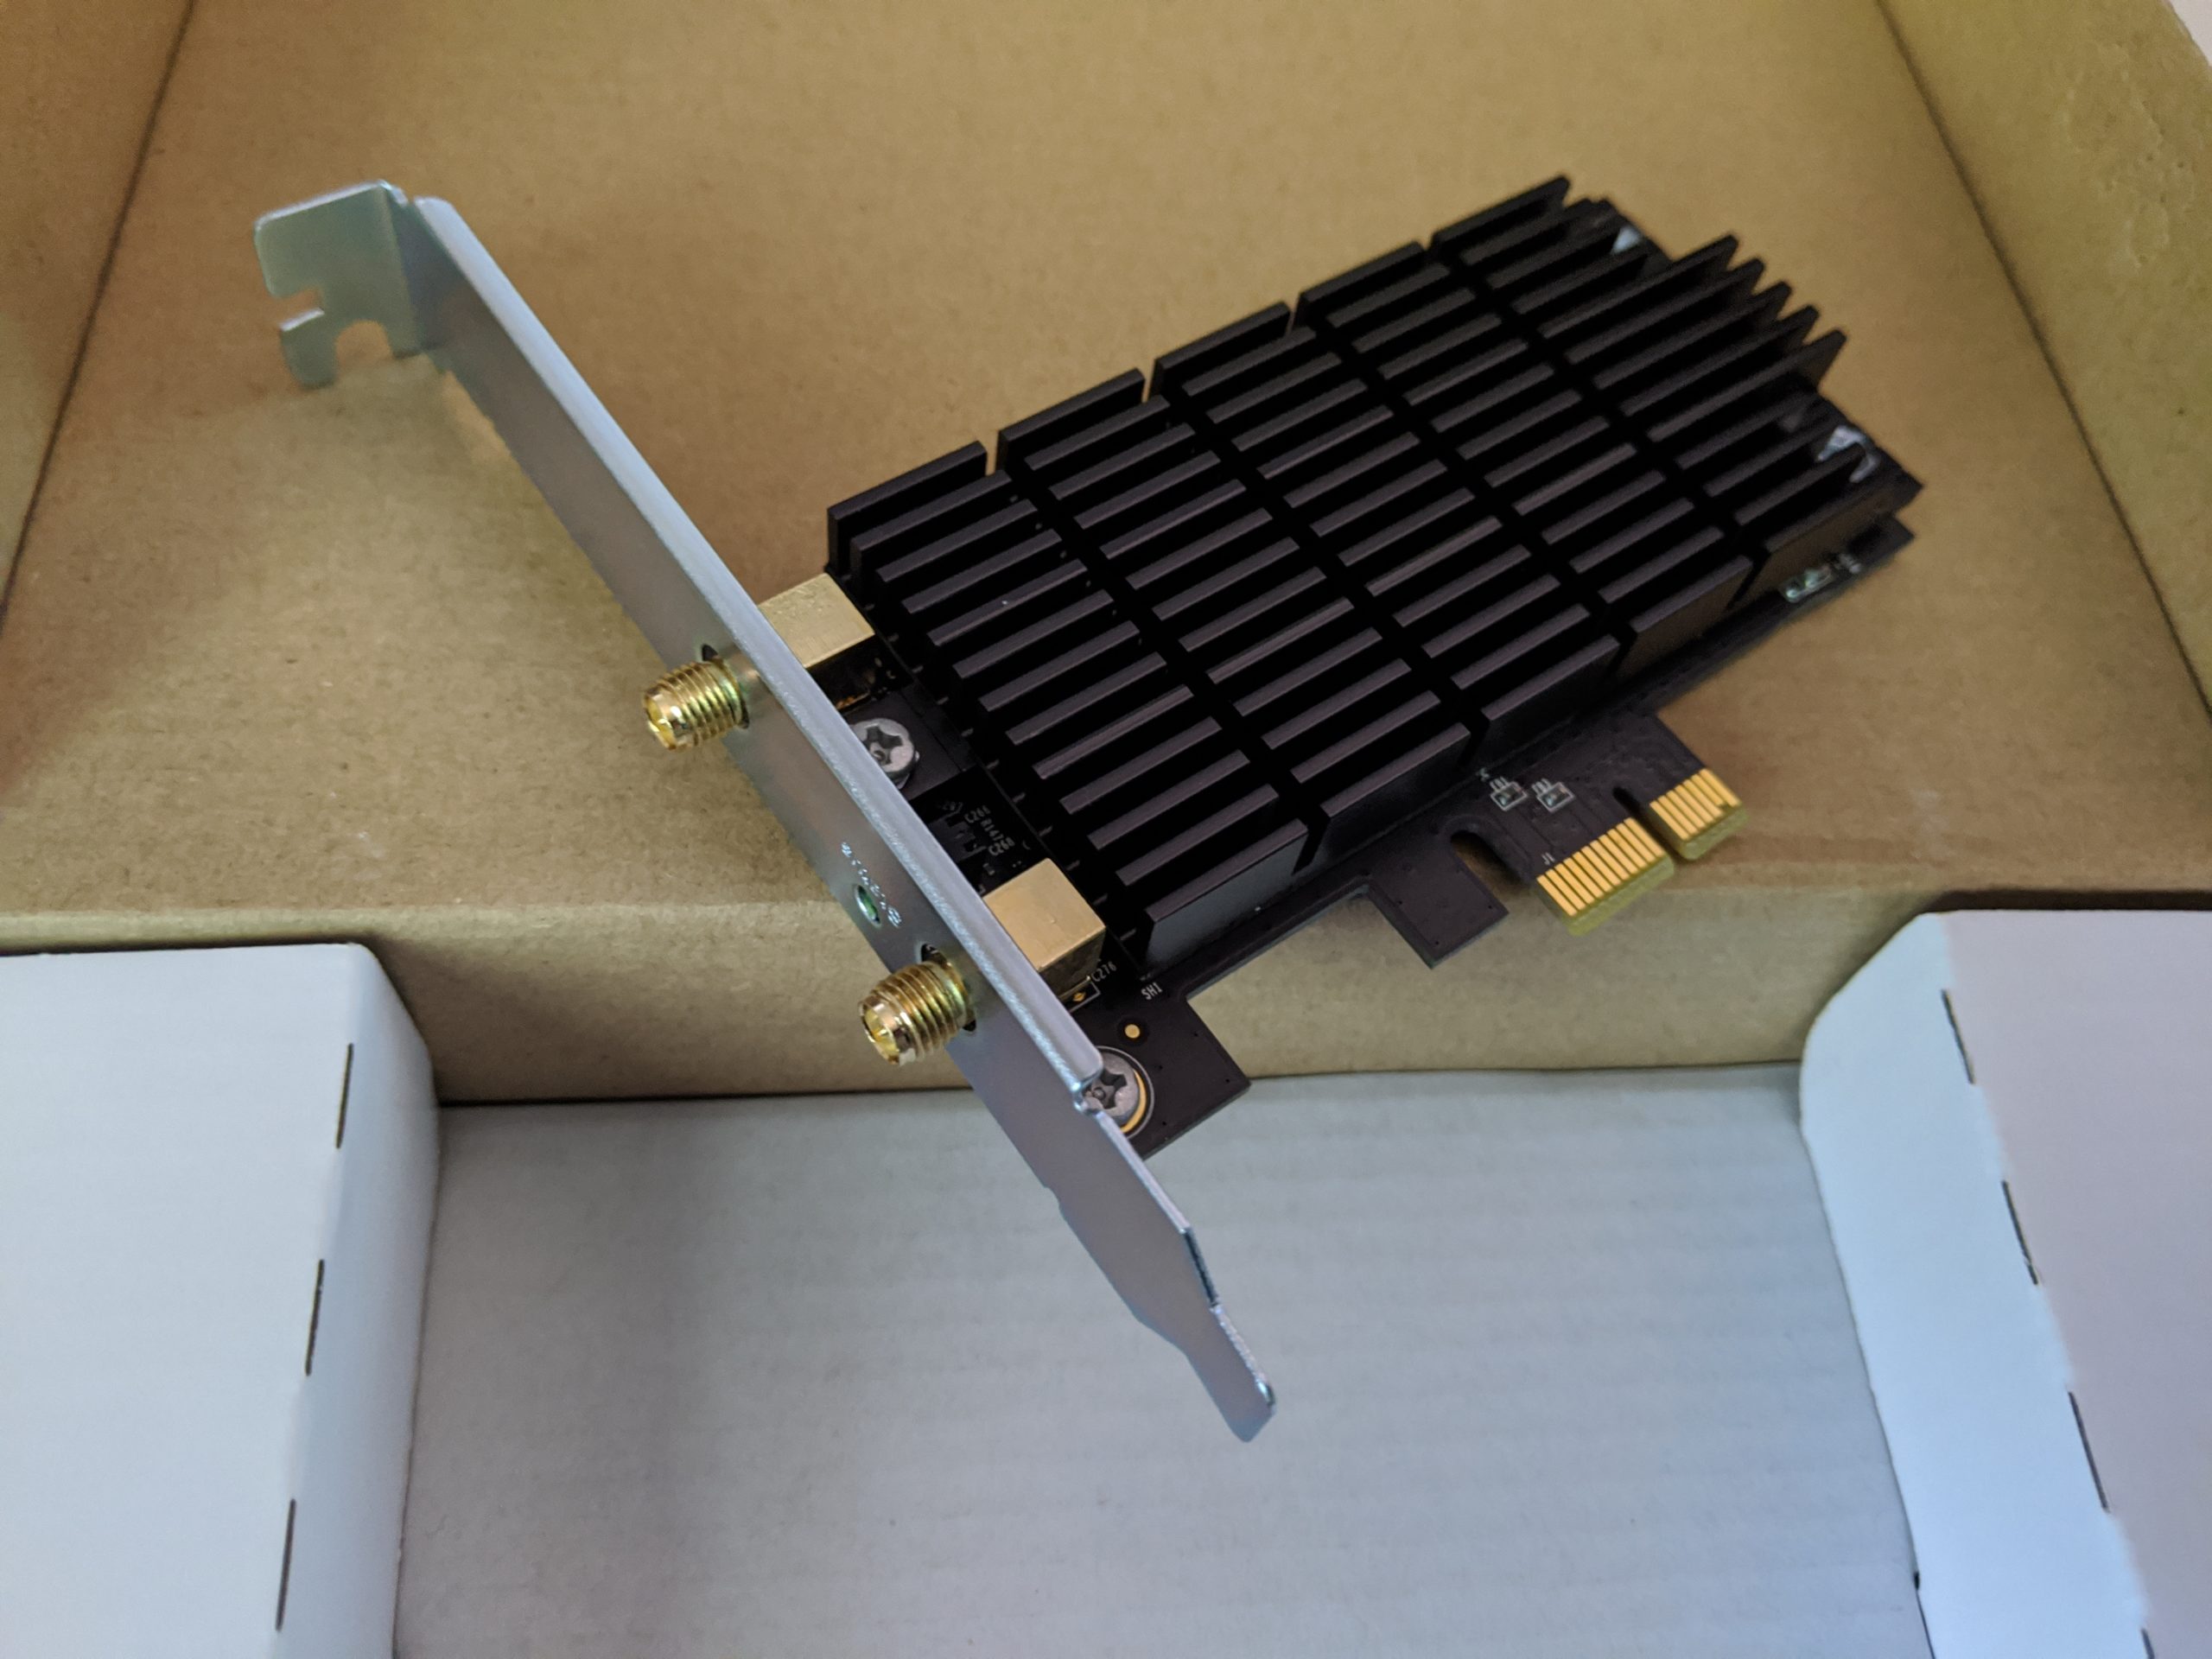


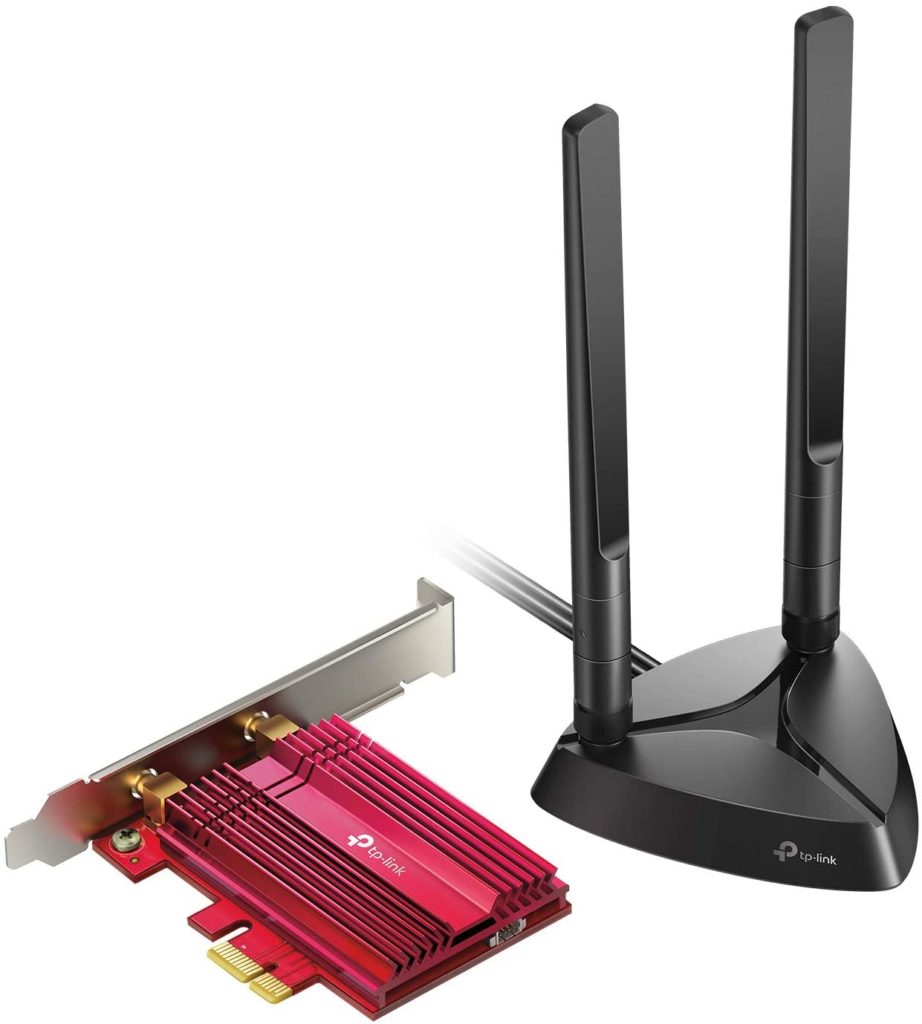
Actually, I did install the wifi card in my existing desktop and it was so much better. One of my wife’s desktops (yes, one of her desktops) was also using one of those USB dongles so I decided to give her an upgrade. I decided to get an upgraded model with external antennas (and bluetooth) for my final build and give her the one I just bought.
Finally the Build!
Last week, the motherboard finally arrived. I had some plans for that night, but those got cancelled and I started building!
Just going to give you a giant dump of all the photos here.
-
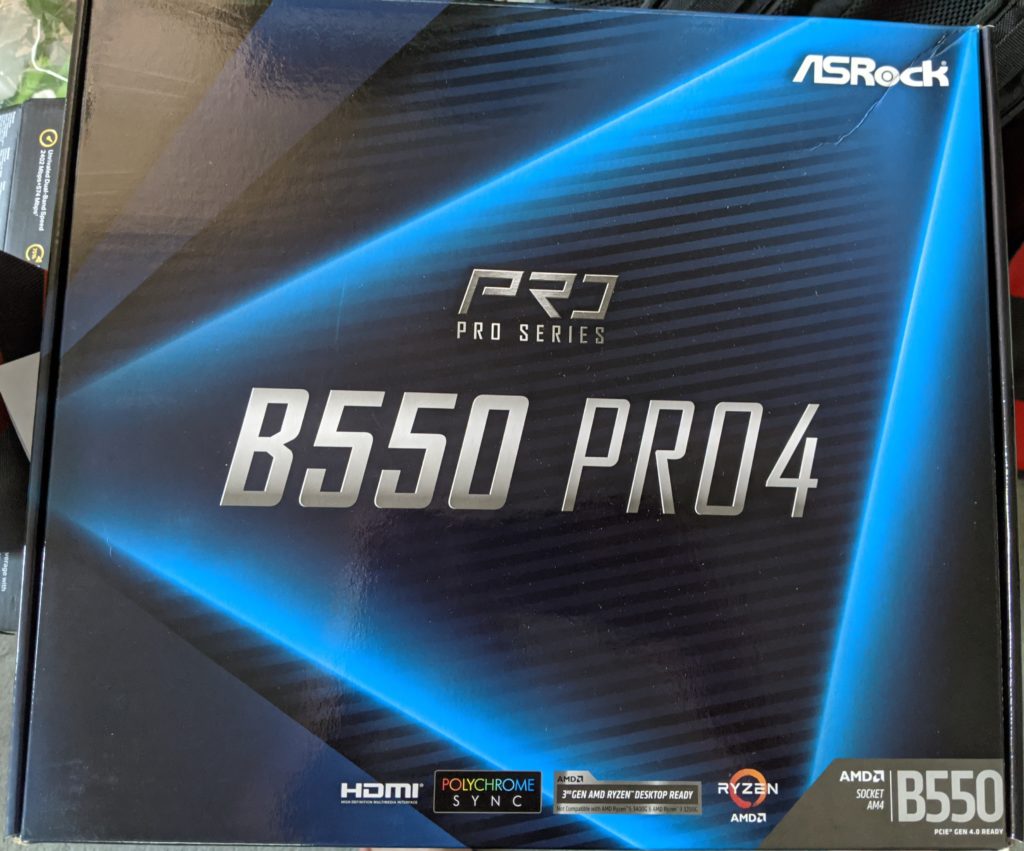
The Box -
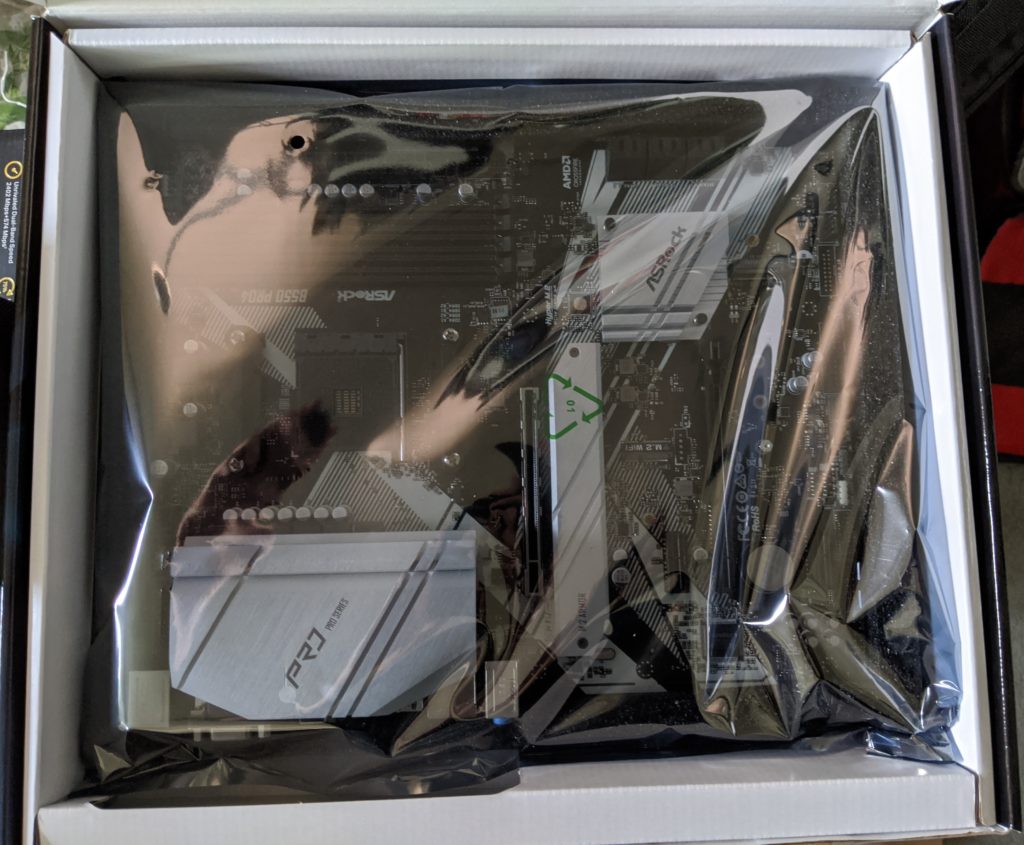
The Bag -
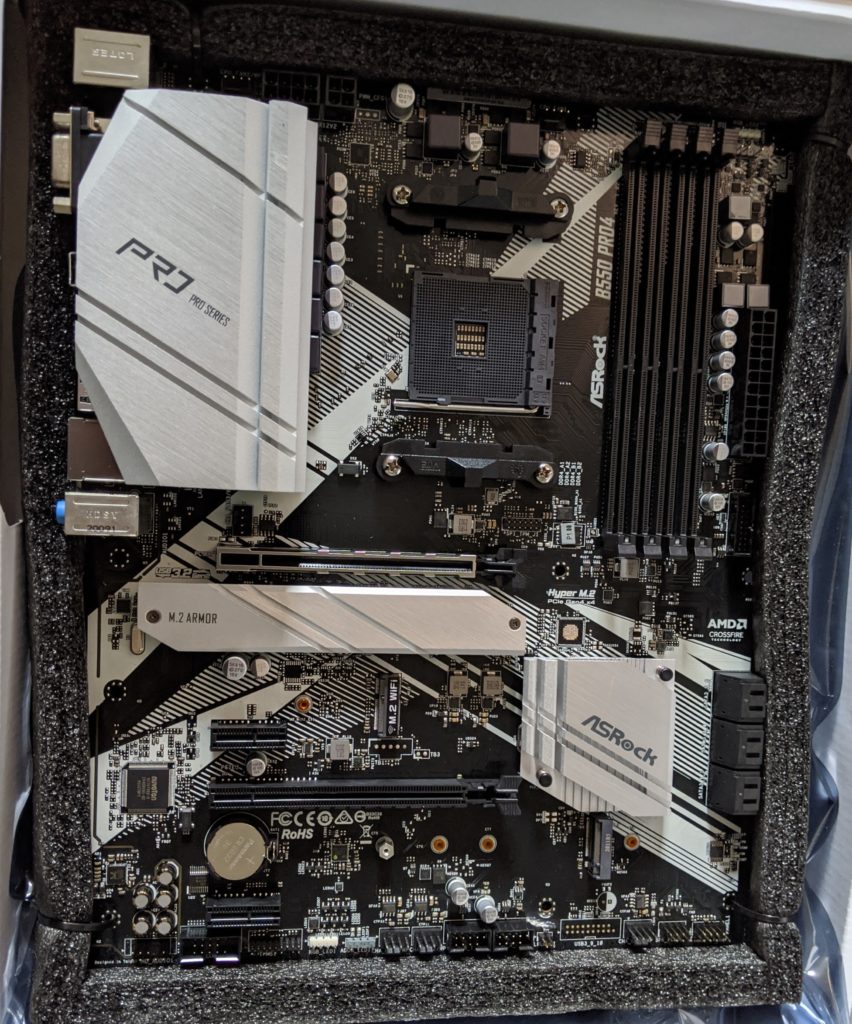
The Board -
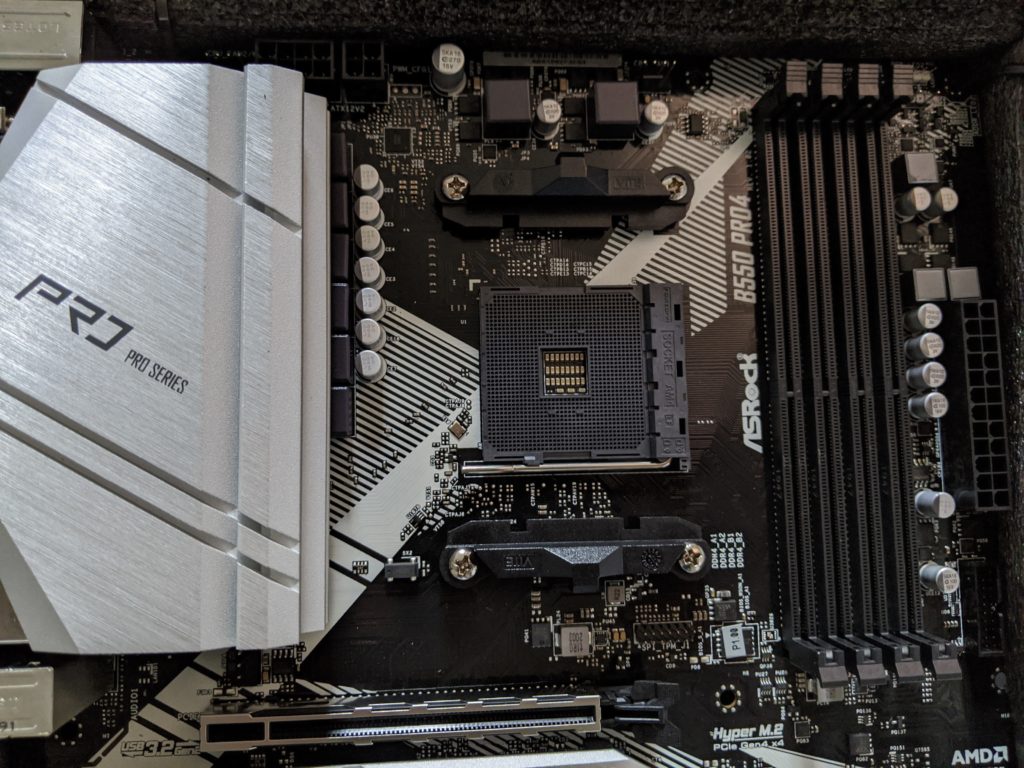
The Socket -
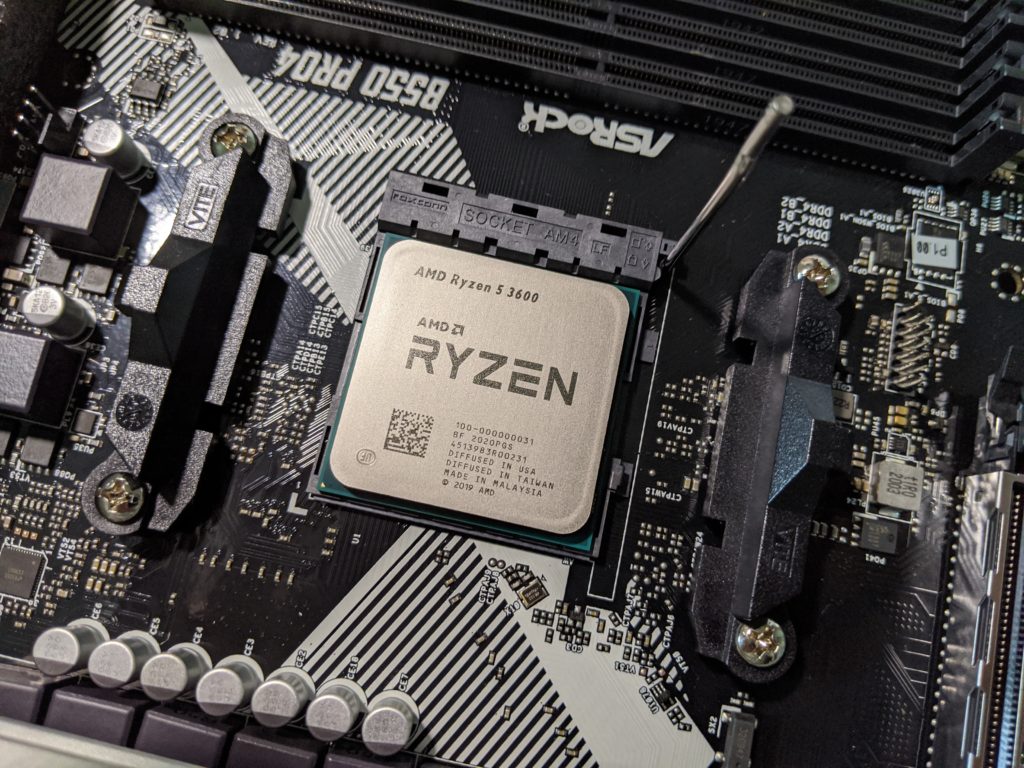
The Chip -

The RAM -
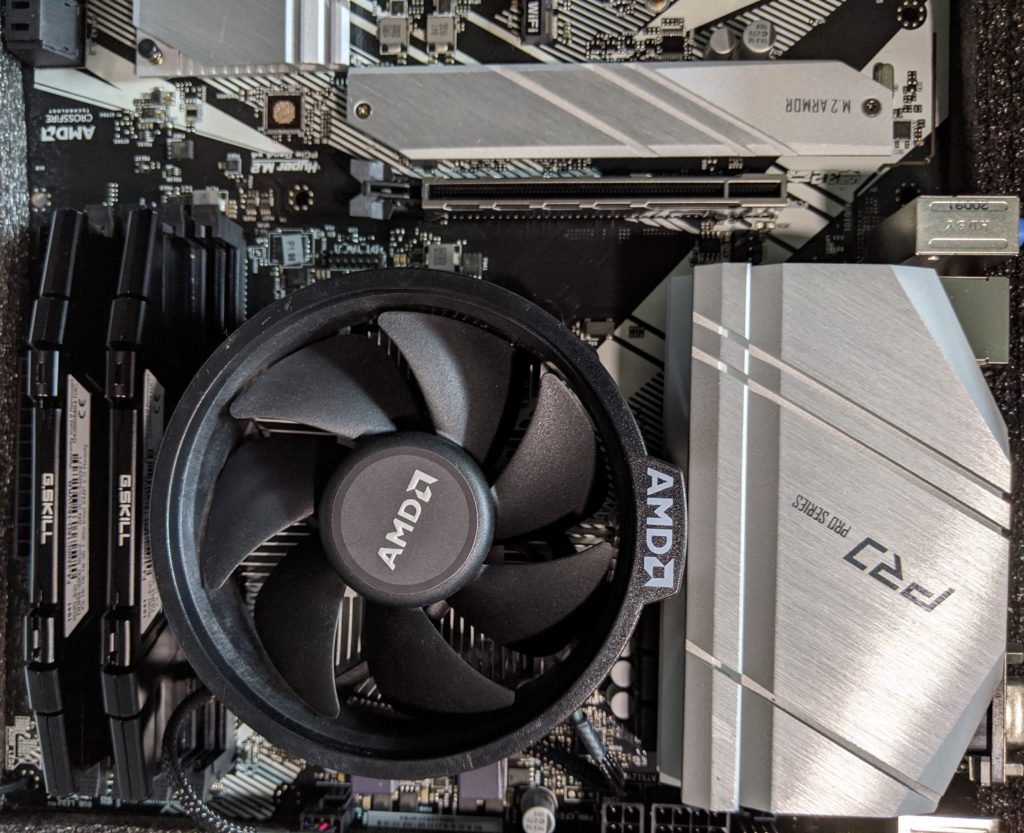
The Fan -

The Manual -
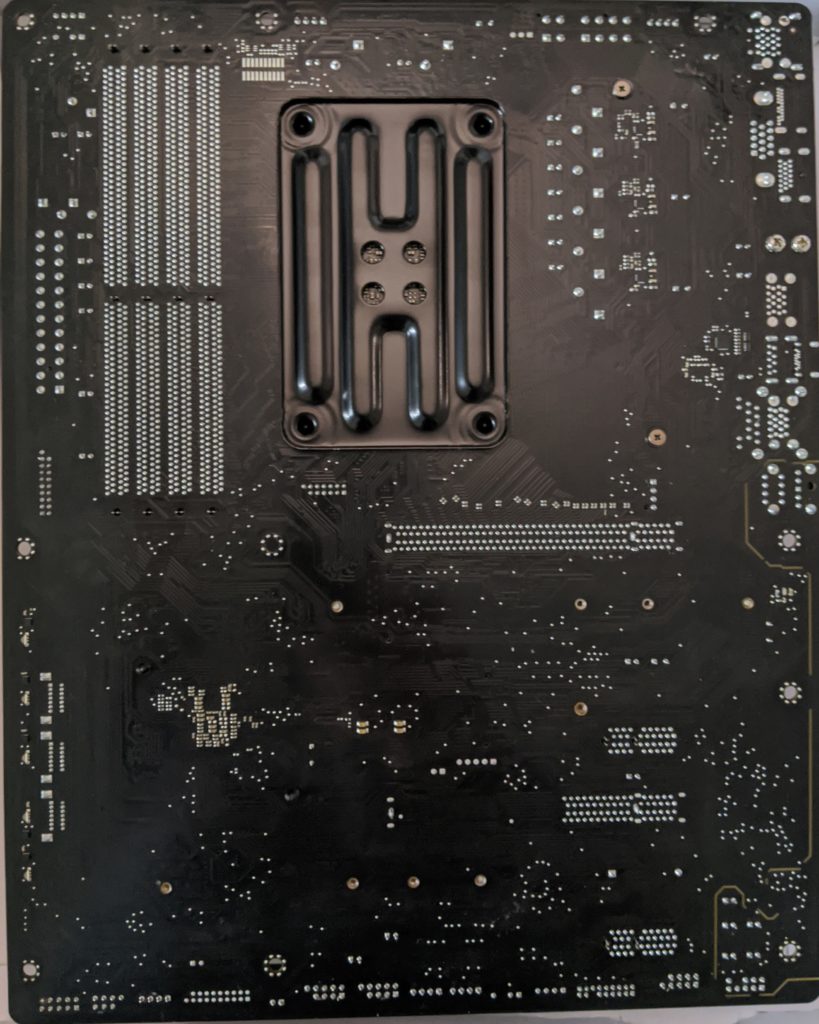
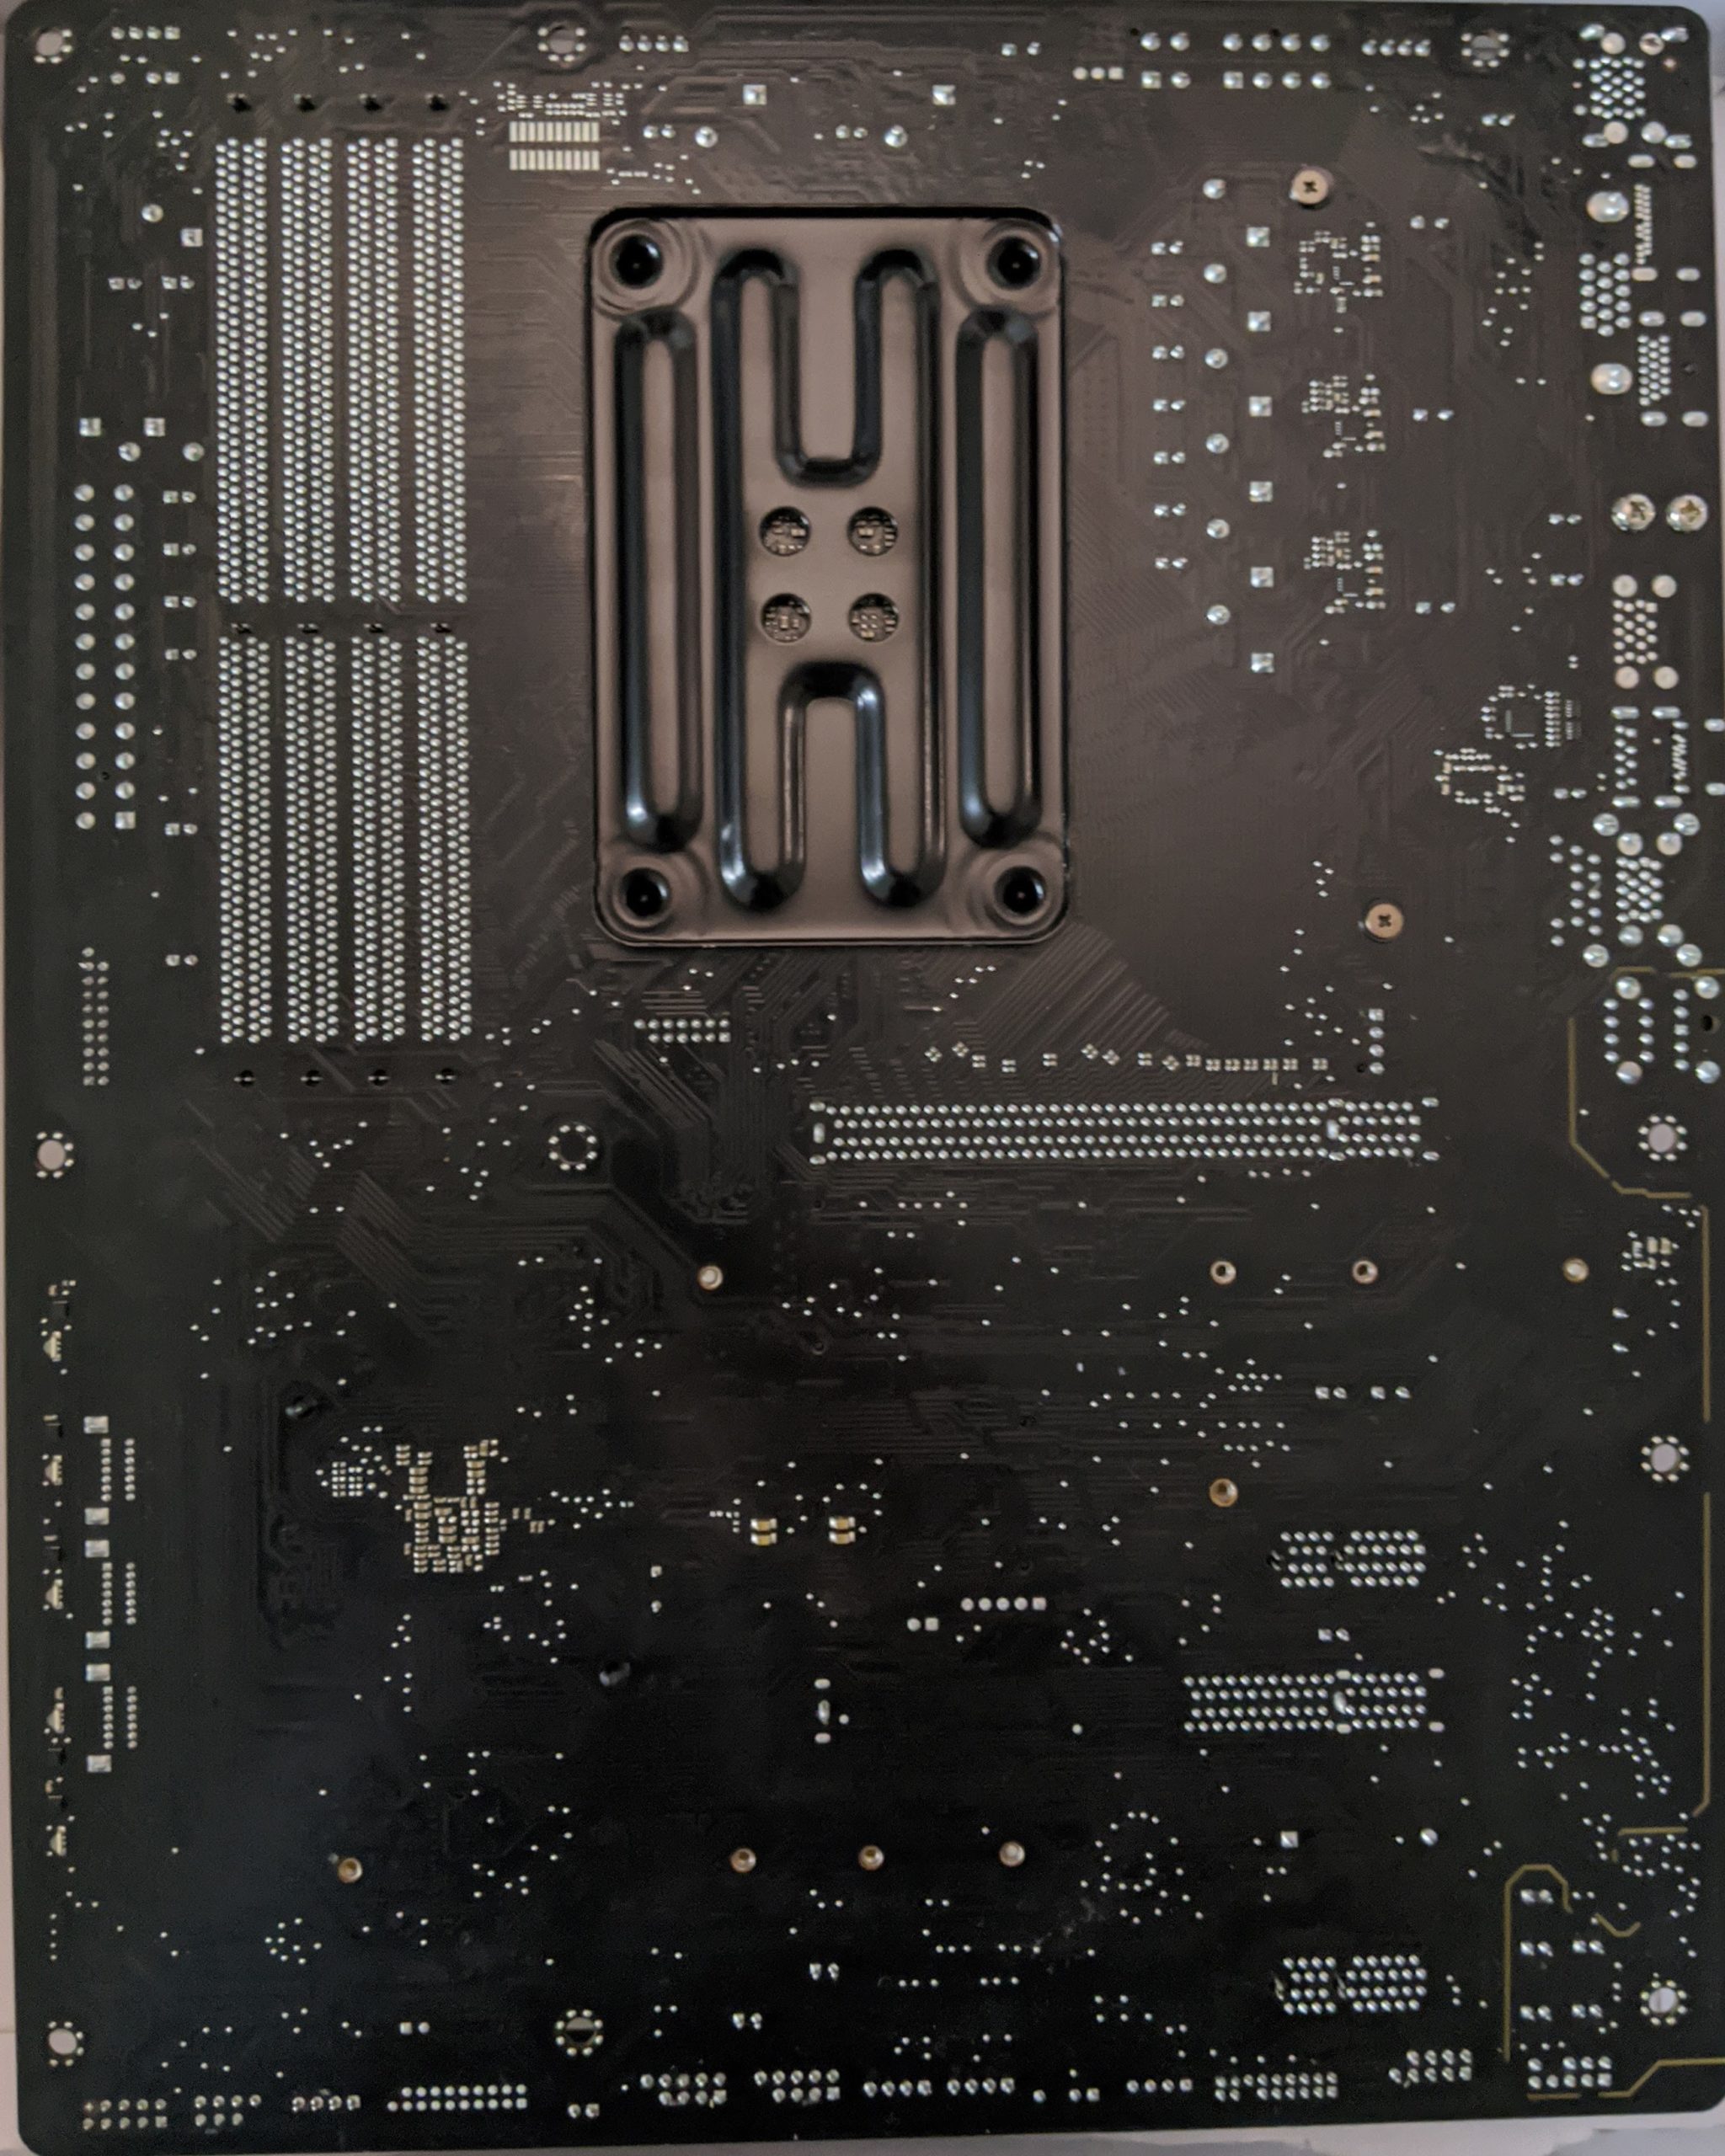
The Back -
Power and Headers connected -
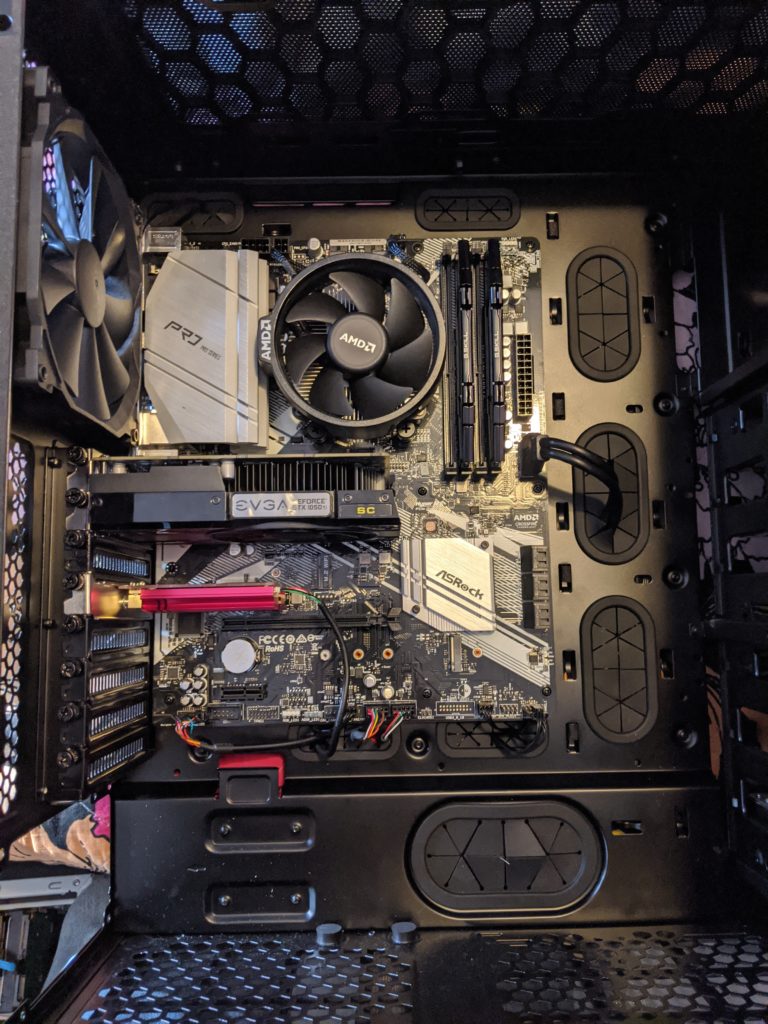
Adding components and wiring. -
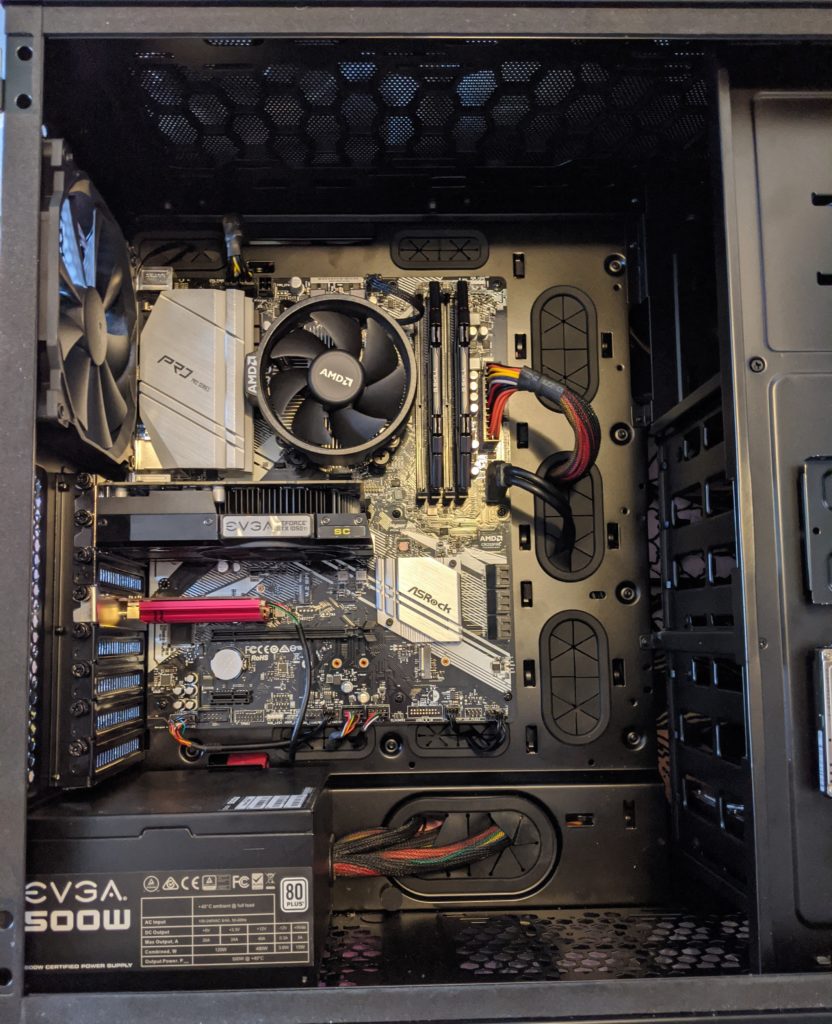
Adding components and wiring. -
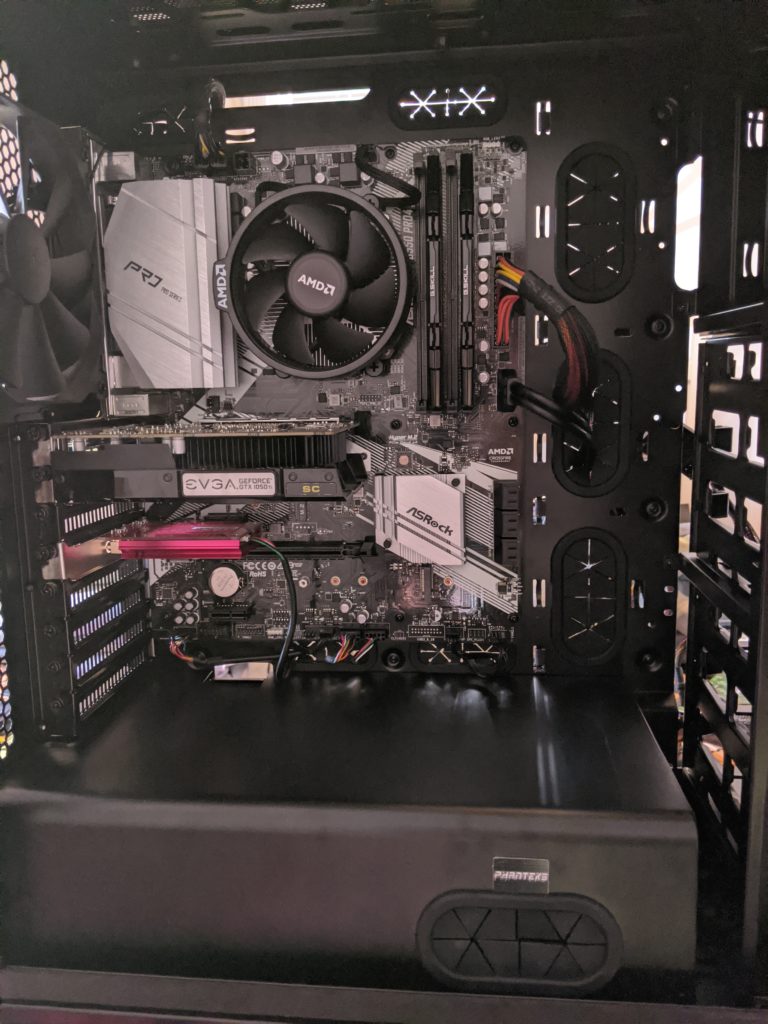
Adding components and wiring. -
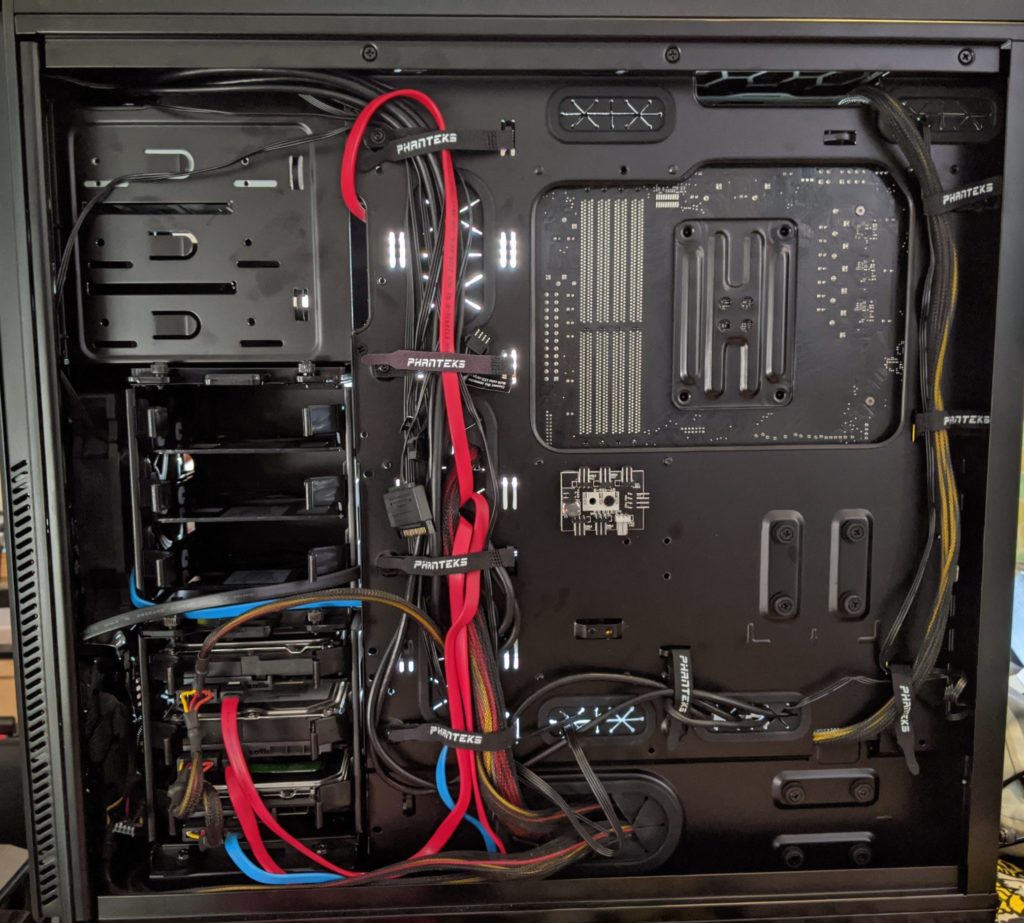
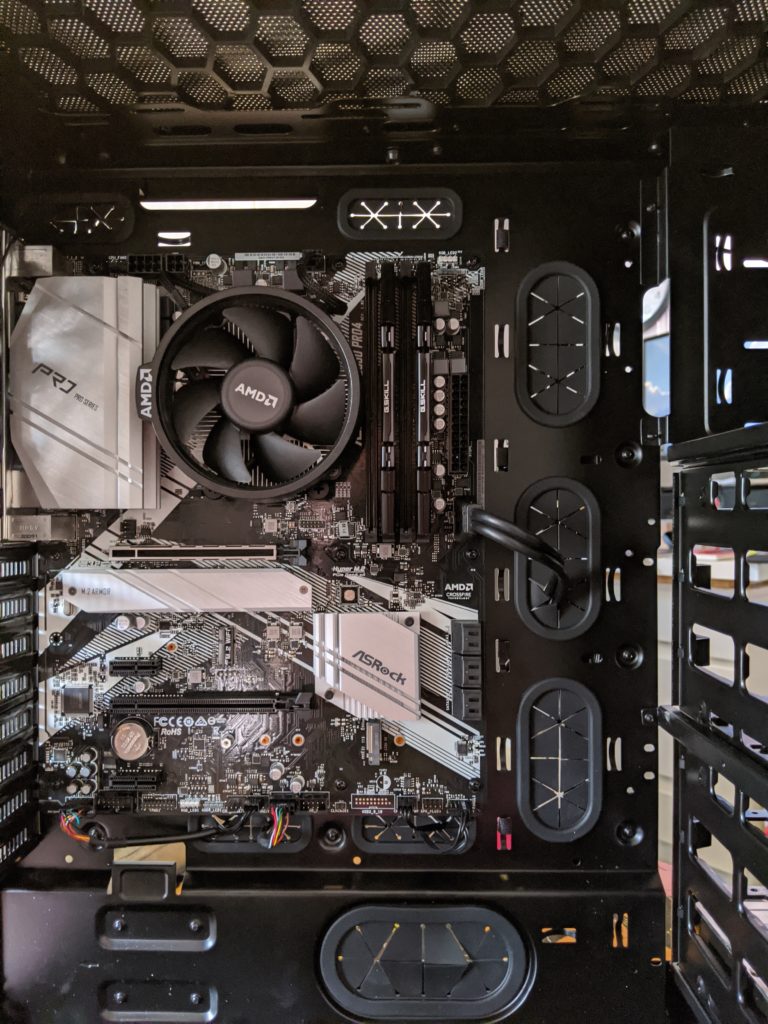
Cable Management -
Fin.


This all went really well and was a lot of fun. The case set up and cable management features are very nice. What you can only partially see in some of those photos is that there are two SSD / 2.5″ HDD mounting brackets in the front. I have my root SSD and one extra 500GB HDD mounted there. There are even two more brackets in the cable management space. I might end up moving them back there at some point. I thought it would look neat to have them up front, but … not so much.
The Moment of Truth
Now came the scary part. I have a fairly complex setup. As I said, I boot off an SDD, with a 2TB HDD for my home folder on Linux, another 2TB HDD for backups, another 1GB HDD for dual booting Windows, and this other 2.5″ HDD that I just had lying around.
I plugged the boot/root SSD into SATA port 1, but I was fairly certain that I was going to have to go into the bios and mess around with boot options. And I figured it was even money that I was going to have to re-install one or both OSes to have them work right. But you never know till you hit the switch.
It powered up and went right into my grub OS selection screen. WTF. I chose Manjaro (Linux) and it booted up. I logged in and everything worked perfectly, like nothing at all had changed (other than being noticeably more performant).
OK… reboot and choose Windows…
Windows of course had to do some extra hardware setup and reboot one more time, but then it was working. I then had to manually install the drivers for the new wifi card, but that went well. And now both OSes are totally functional.
I do get some IRQ warnings that weren’t there before when I boot into Linux. But they just flash on for a second and then it boots fine. I’ll dig into that this coming week.
A few follow up items. One is that I was unable to get a SATA power cable up to the optical drive. Just because the case is so cavernous. So today I went and got a molex to 2x SATA converter and that works fine.
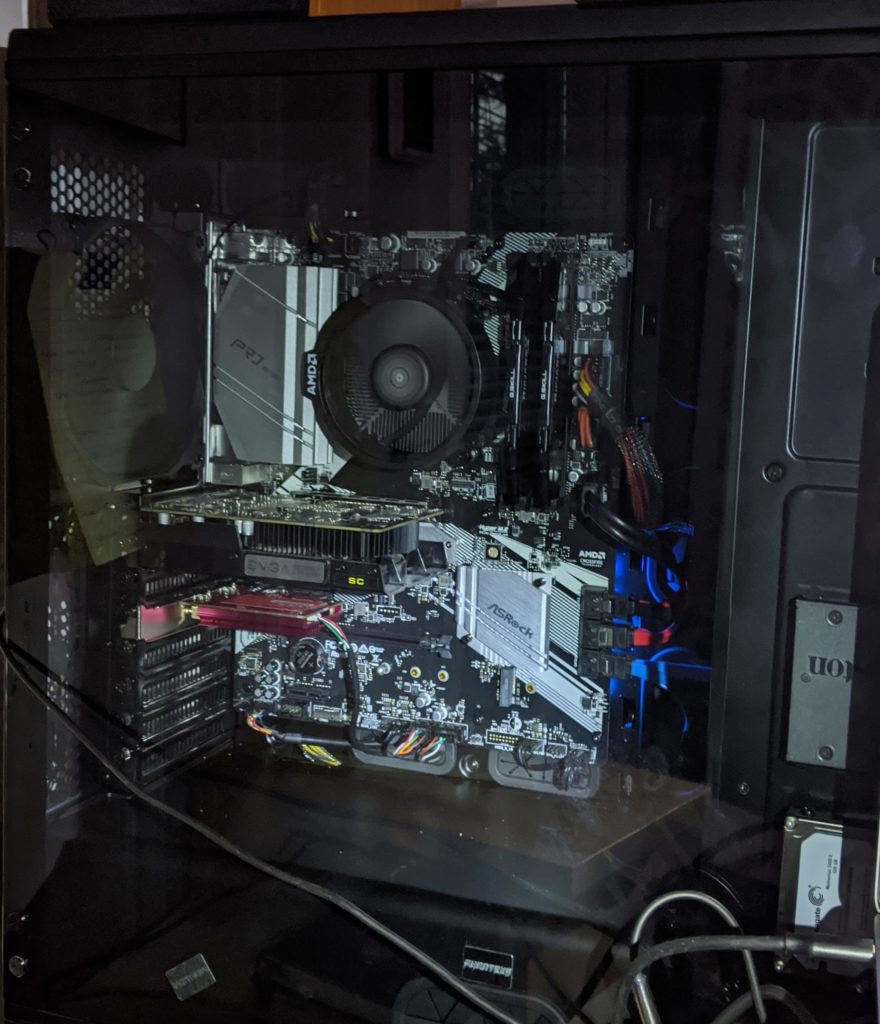
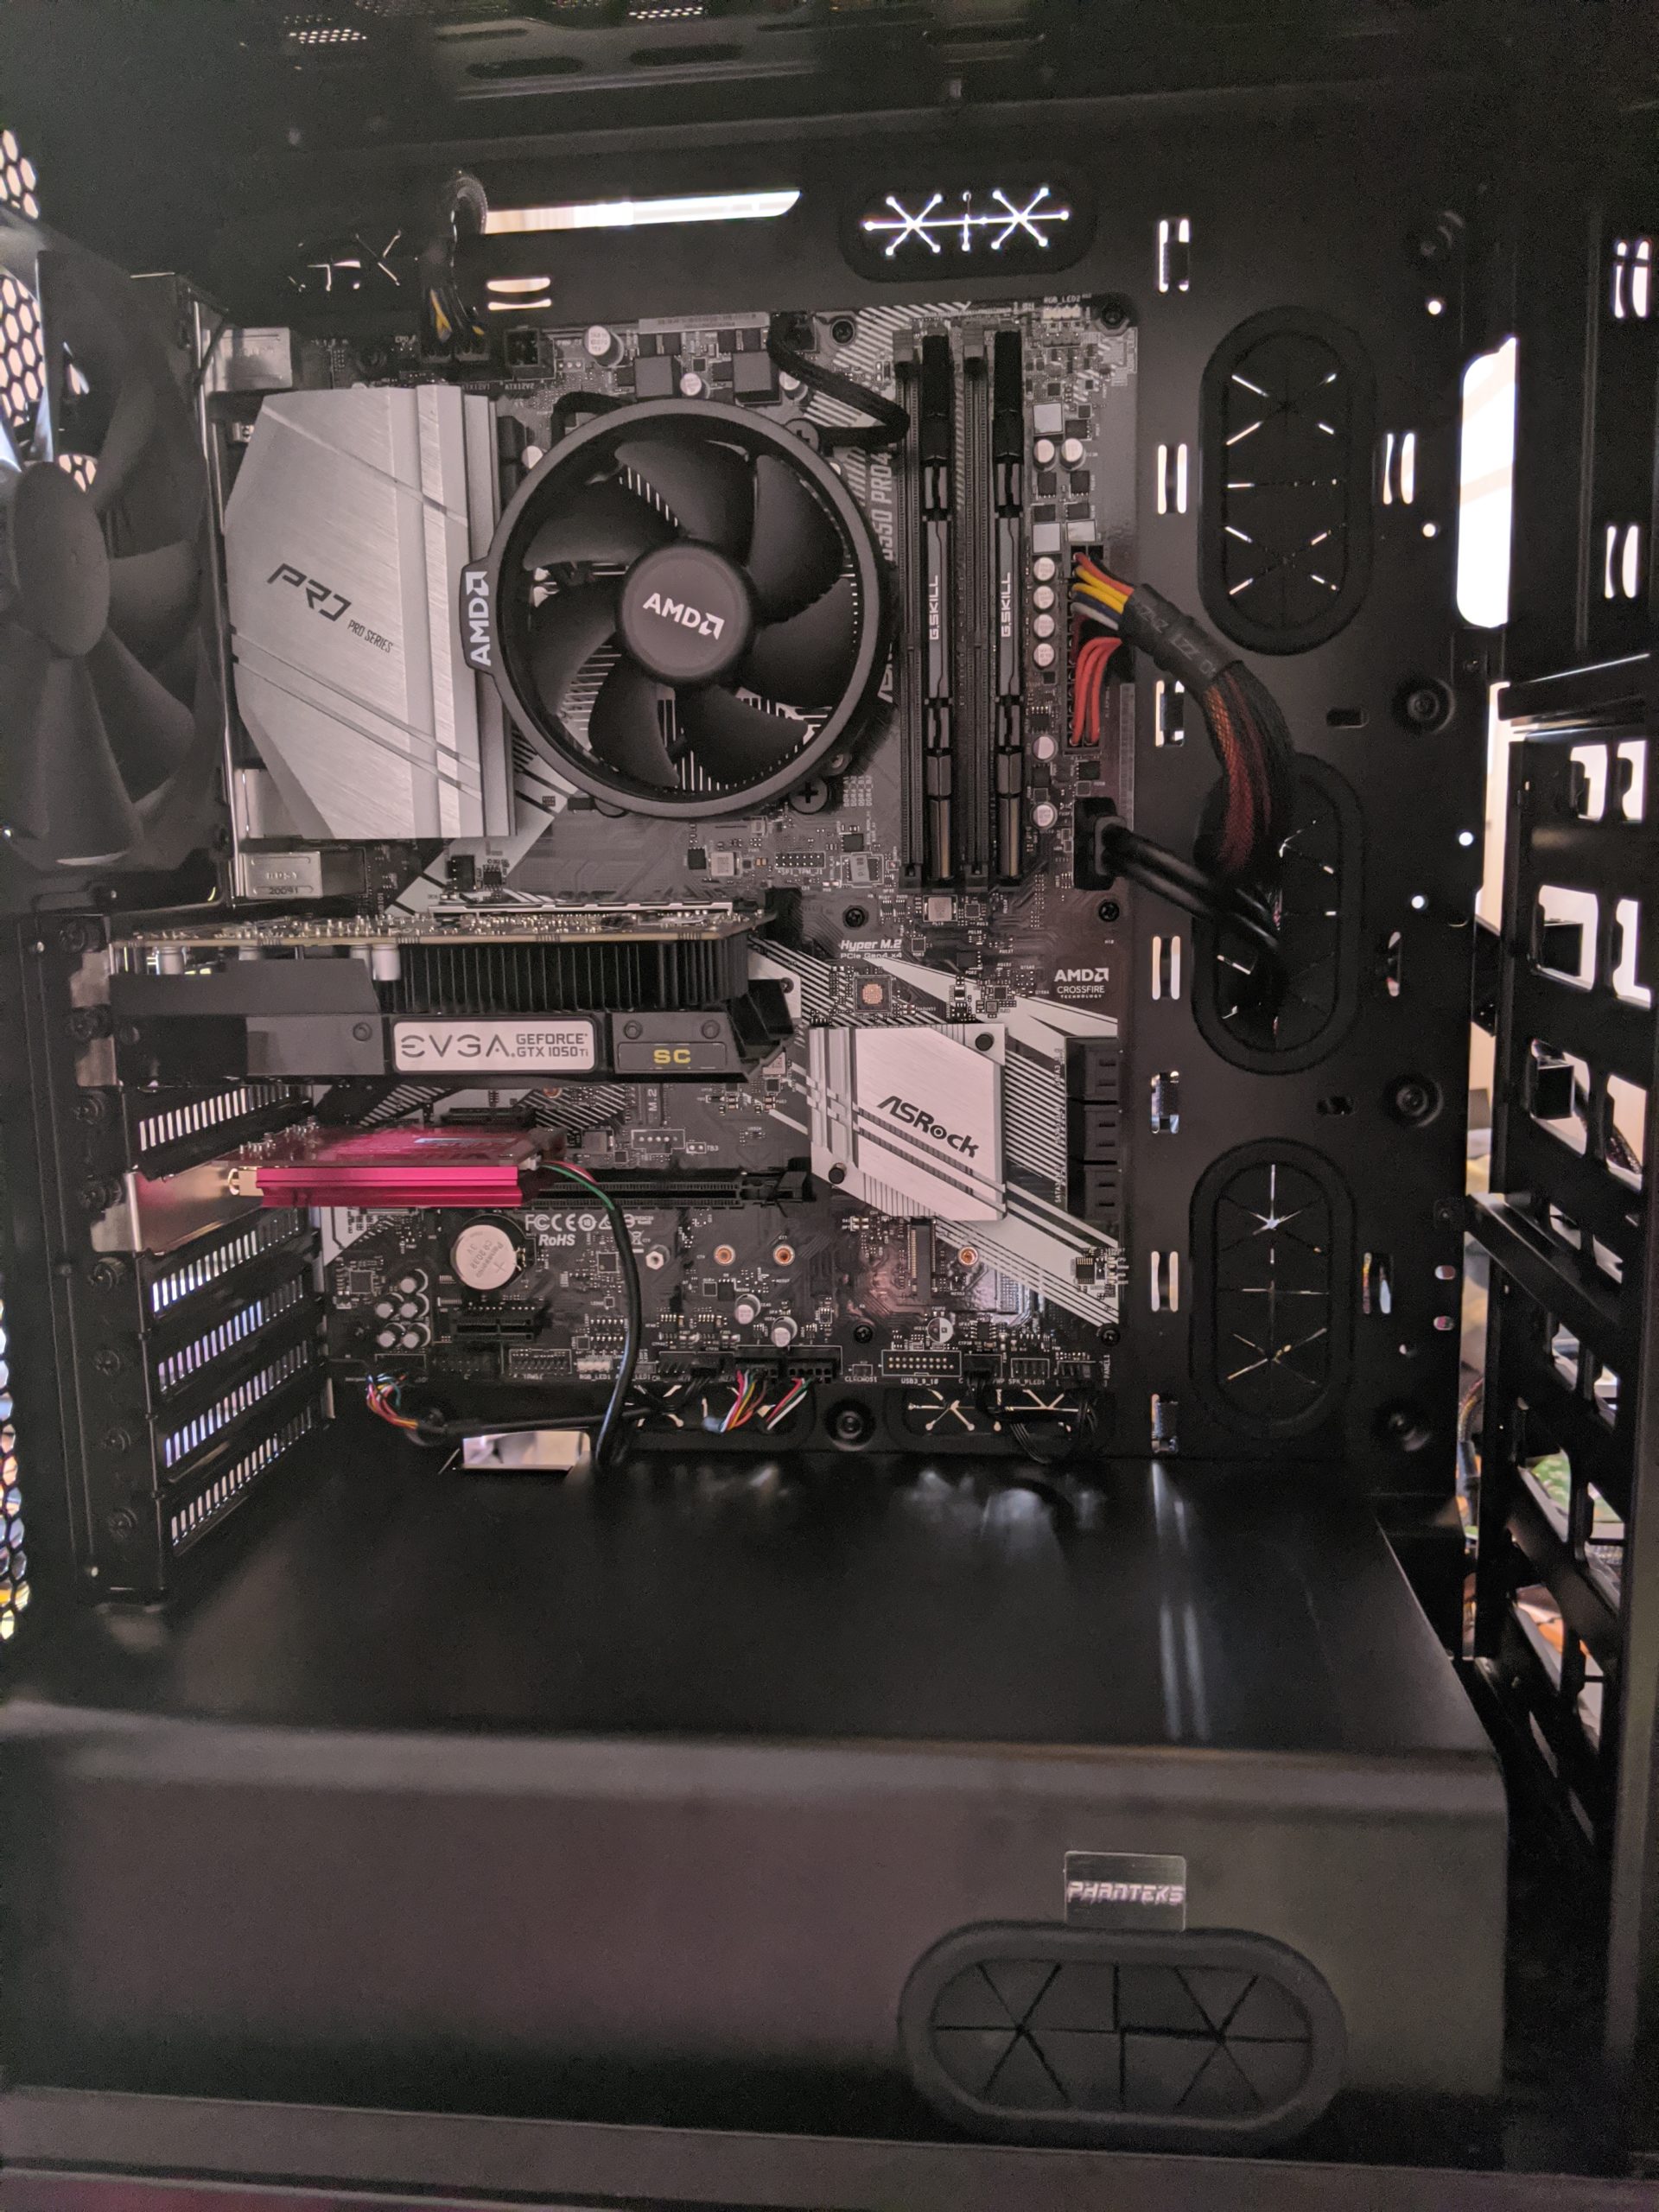
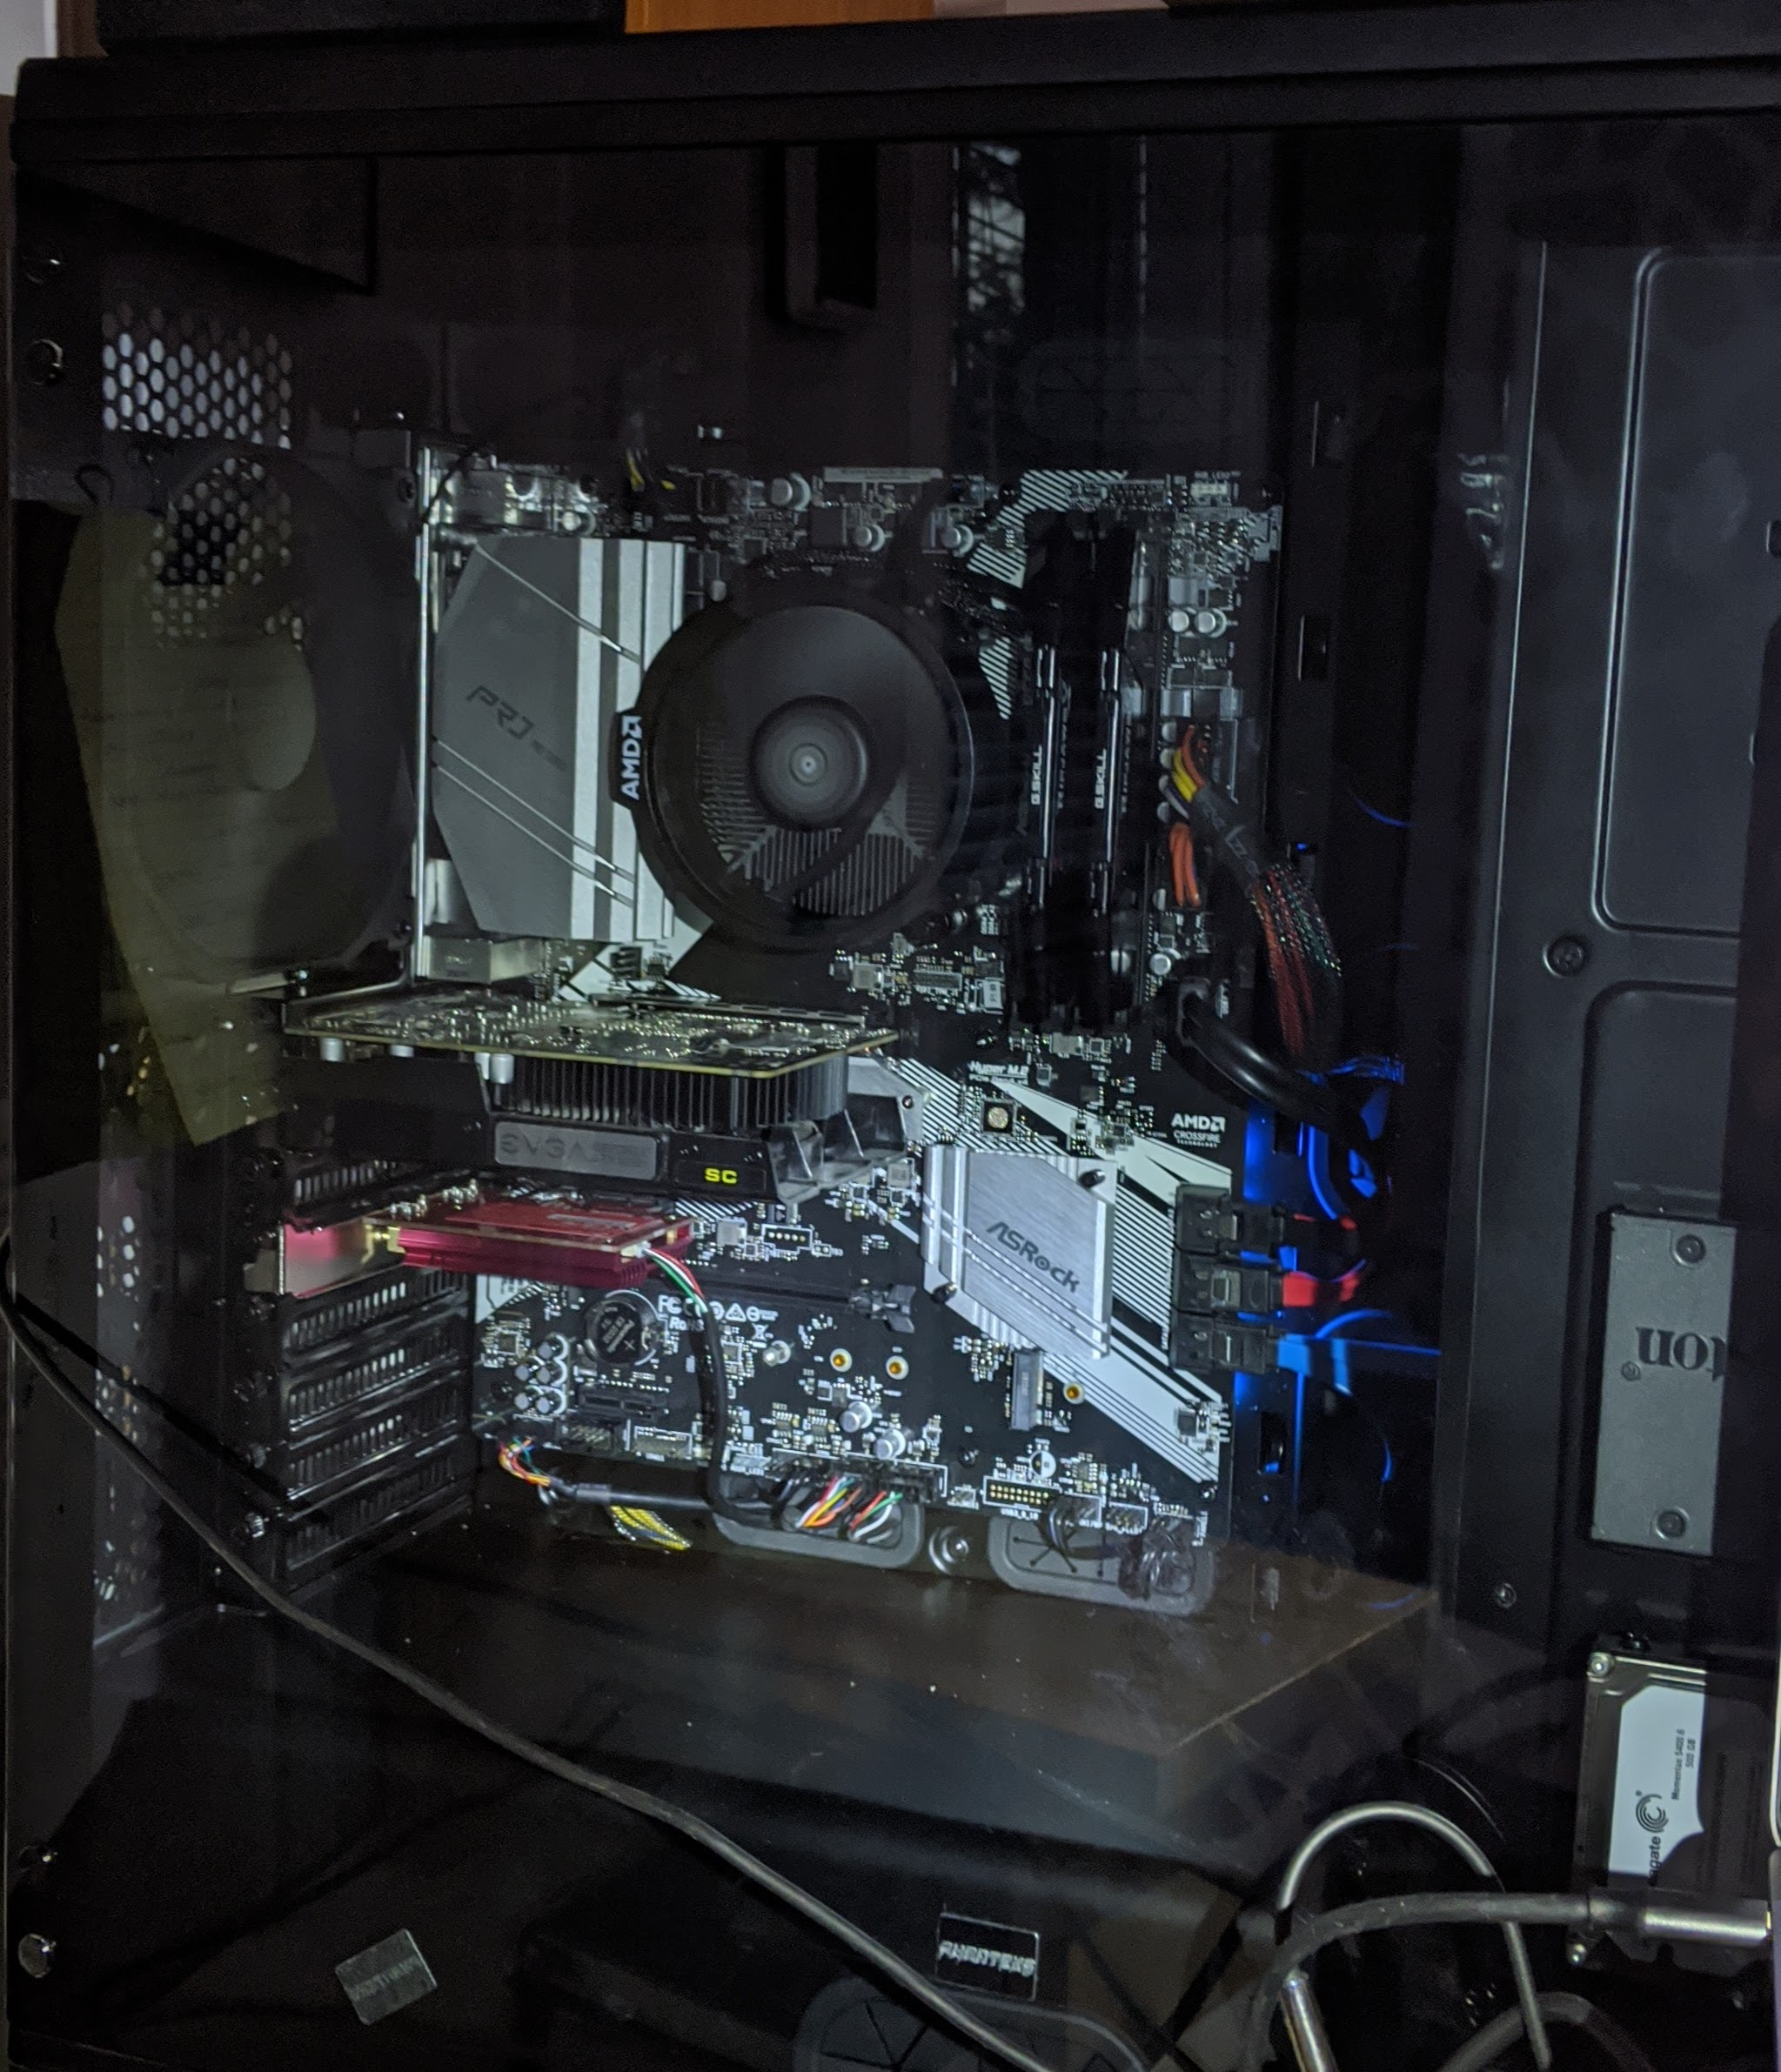
Also, everything is a bit dark in there.
In this photo, I’m actually shining a flashlight in there! So I have a couple strips of addressable RGB lighting on order. But I also picked up an RGB fan and stuck it in one of the roof slots today. The effect is subtle in daylight, but should look nice at night.

The motherboard has two RGB LED headers as well as two addressable RGB LED headers. It also has some on-board LEDs. ASRock has Windows software for setting up the different modes on all the different RGB lighting devices you can cram in there. There are some hacky Linux solutions that I’m going to avoid for now. I just set it up in Windows and the settings get saved and continue to function when you boot into Linux, so that’s fine. I have it set on a slow rainbow cycle.
And the case itself has some RGB LED headers with a button in the front panel to turn them on and off and cycle through effect modes. I might try that out when the new strips come in.
So, all in all, it went really, really well and I’m very happy with this build. In Windows I was able to jump into Steam and continue my progress through the Halo Master Chief Collection right where I left off. Linux all works perfectly too. I don’t think I’ve experienced a crash or major glitch yet. Core temperature is high 30s / low 40s when idle, which is a bit higher than my older Intel chip, but I understand that Ryzens run somewhat hotter.
Up Next
I got that extra lighting coming in some time this week, and might want to get a more powerful CPU cooler. Definitely not going with liquid cooling though. More hassle than it’s worth for my use cases.
And now I have my old case with the upgraded motherboard, CPU and RAM to think about. It’s a perfectly good system. I’ll need a new power supply and graphics card and possibly some more storage and yet another wifi card because all that stuff went into the new build. Not sure what I’ll do for an OS on that or what I’ll even use it for. But I can’t let it go to waste.
Comments? Best way to shout at me is on Mastodon ![]()