Bit-Box?
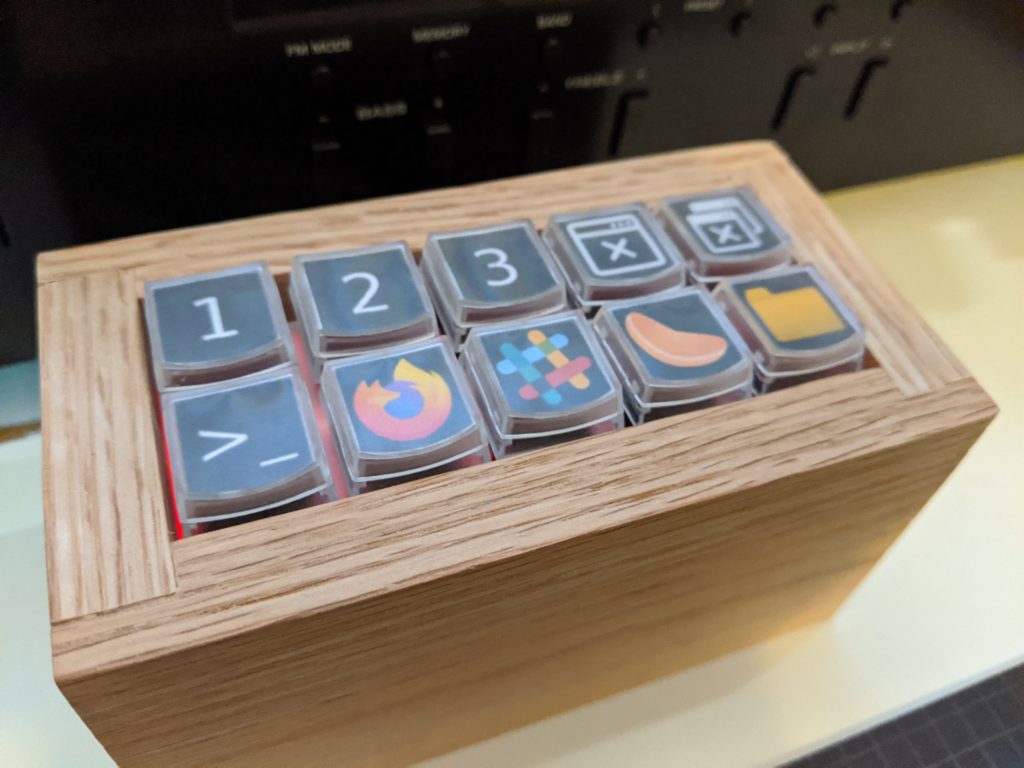
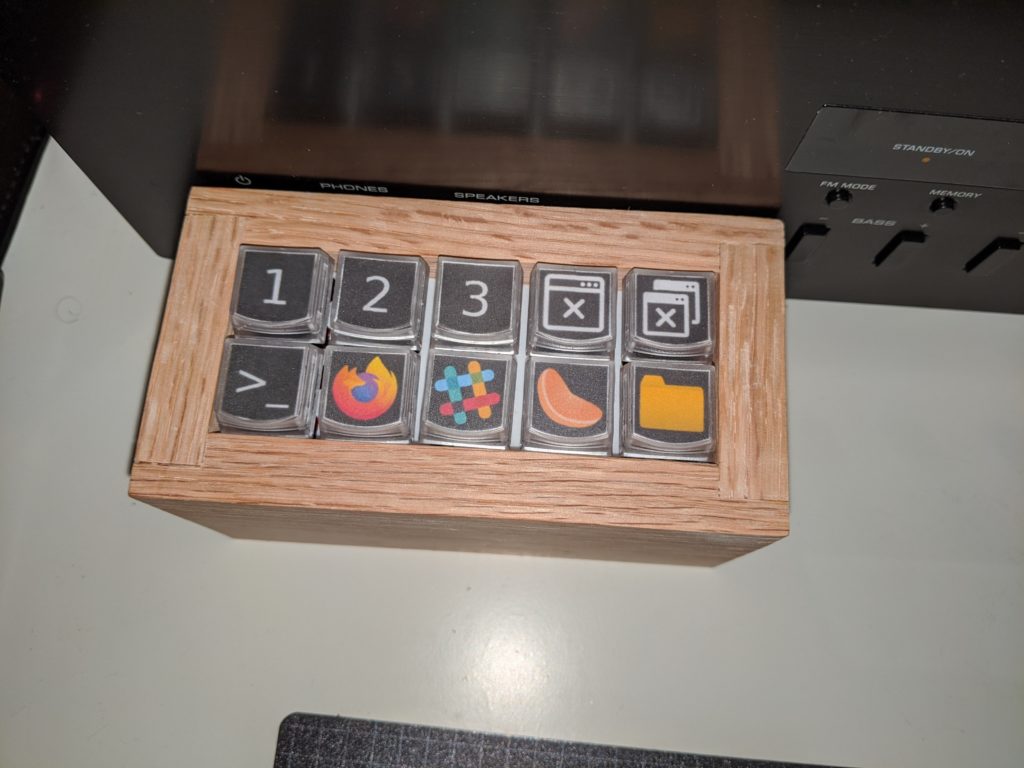
I’ve been working on a custom keypad build. I think I’ll call mine a Bit-Box. In my post last week I shared the initial proof of concept breadboard build and the second prototype build. This past week I finished the “final” version. I put “final” in quotes because I’m already thinking of how to make a better one. Anyway, here’s how it came out:

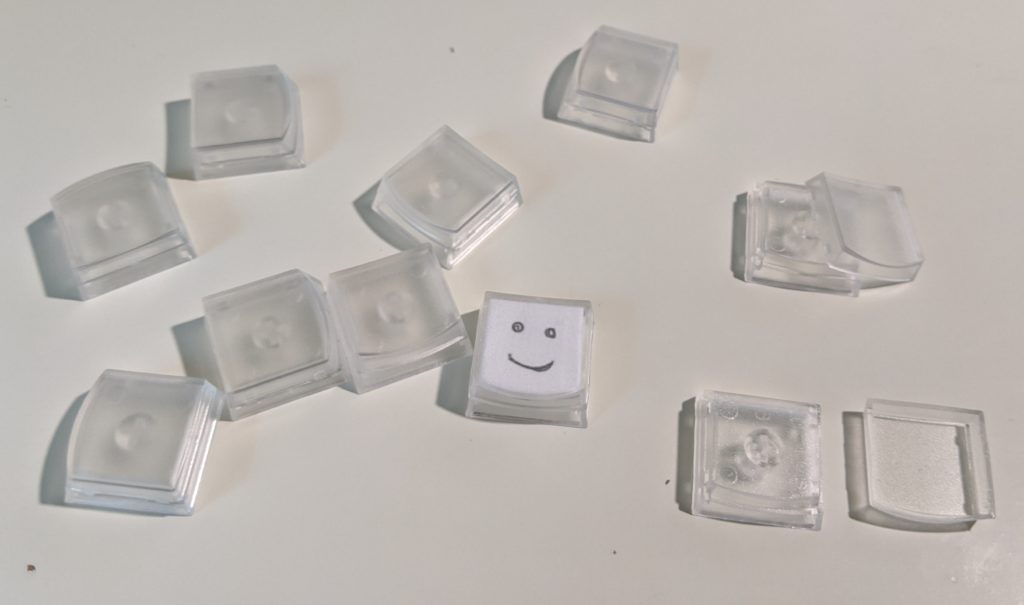
The previous iteration used an Arduino Micro clone, a plastic project box and some push-button switches. For this one, I wanted a nicer enclosure and better switches. I got some Cherry MX keyboard switches from Amazon. A dozen for around $10. And ten X-Keys customizable key caps for about the same amount. These are clear key caps with a top cover that snaps on. You can pop the top off and put a slip of paper in there to create a custom key.
I found some templates here: https://xkeys.com/xkeys/accessories/customprintedlegends.html Just go down to the section entitled “Templates for Pre-cut Legends”. Pull one of those templates into your favorite image creation program and create the keys however you want them to look and print out at 100%. Cut them out and they should fit just right.
Next, I needed some way to mount these switches and keep them in place. There are two methods generally. One is to get or create a custom circuit board with holes drilled in it. The bottom of each switch has plastic nubs as well as the leads sticking down. Those go in the holes and you solder each switch in place. The other method is to have a plate with square holes in it. The entire key fits through the hole and snaps in place. I couldn’t find anywhere to buy such a switch plate, but I did find a model for one at Thingiverse: https://www.thingiverse.com/thing:2789684/files

I downloaded the model and had it printed at Shapeways. I printed it on the cheapest plastic and it was very reasonable. They kill you on the shipping though. Would be better to buy in bulk probably. Here’s the plate I got, with the switches inserted:
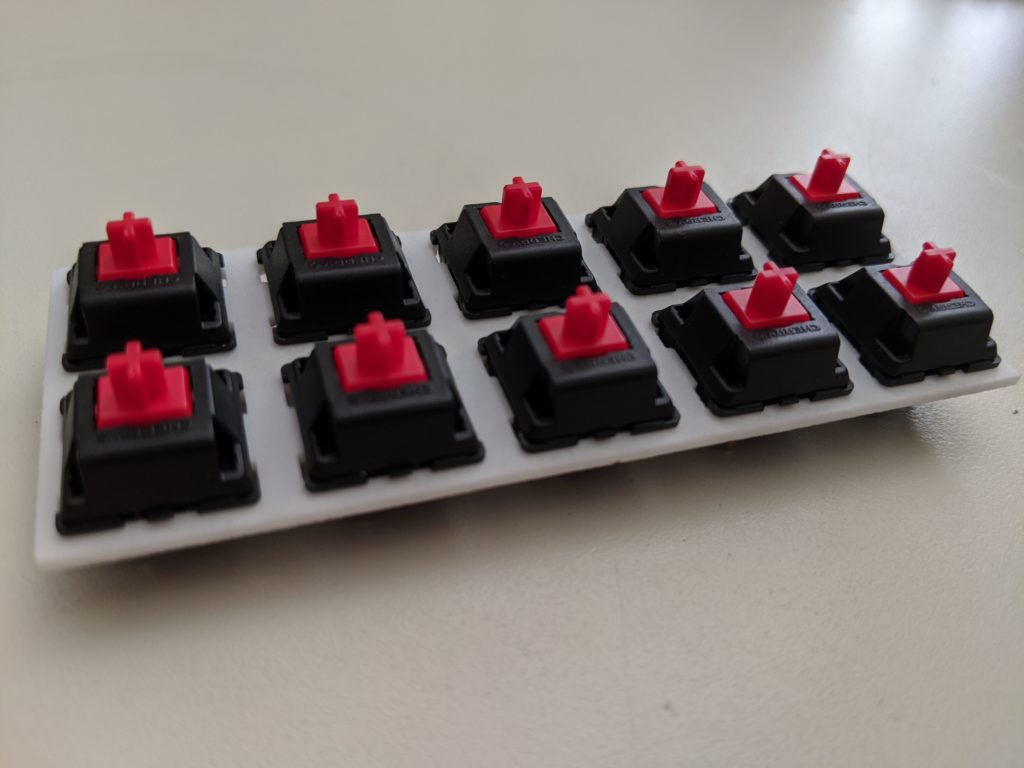
They snapped right in perfectly. Then, I put the key caps on…
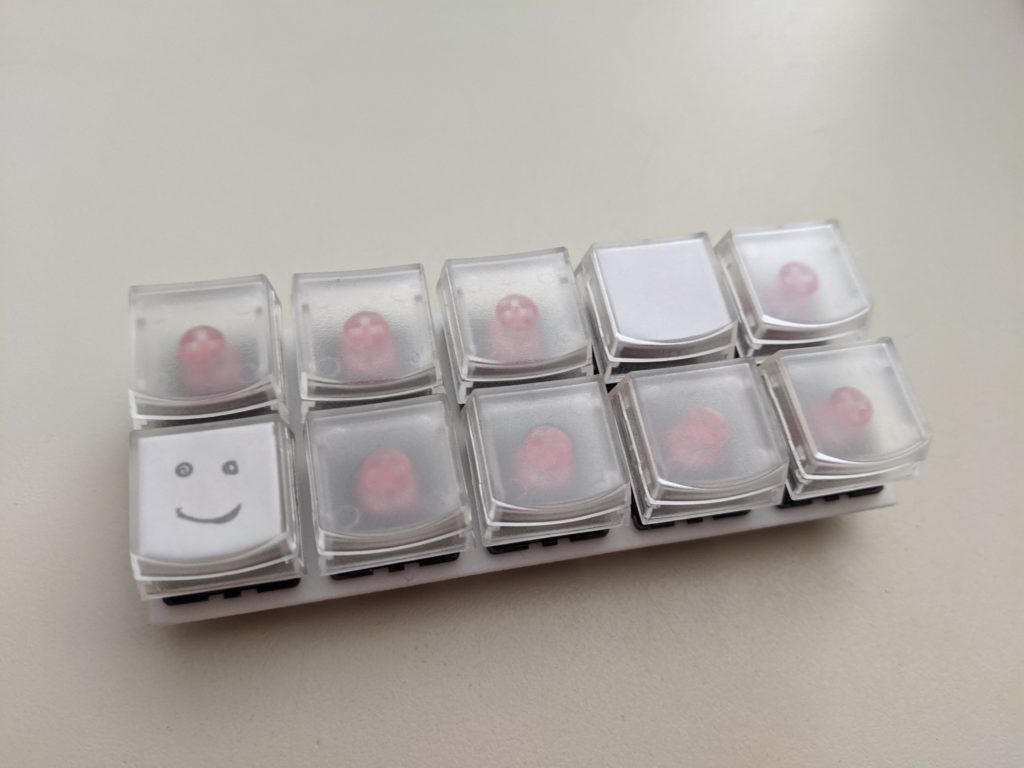
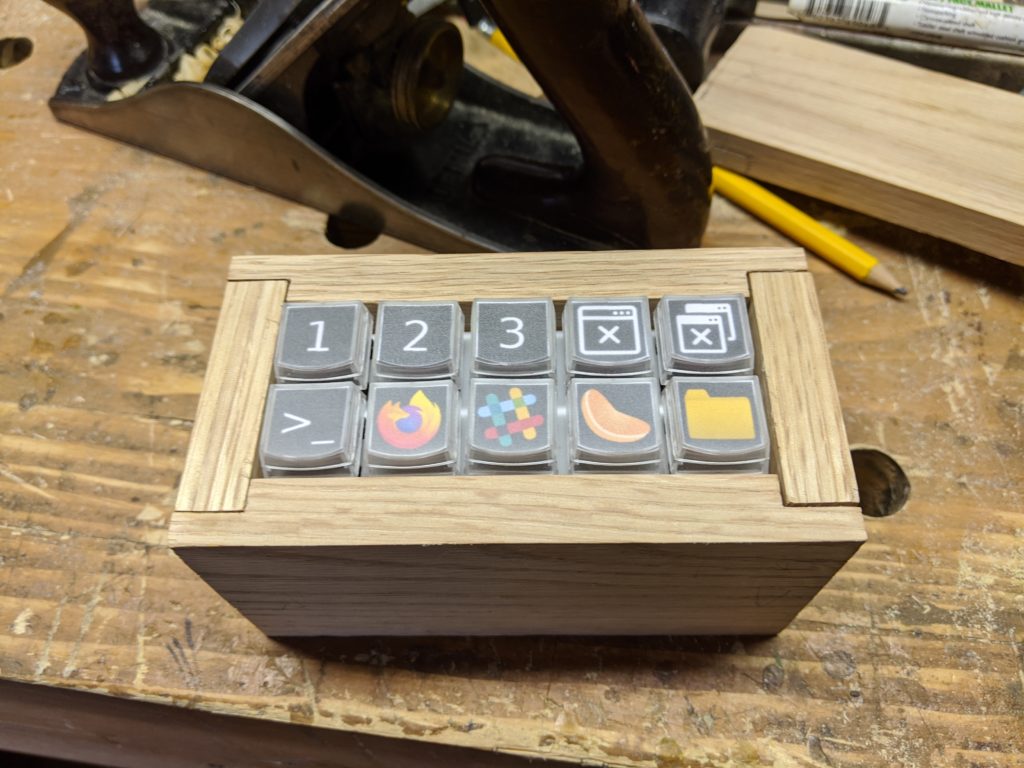
And then printed up the inserts and inserted them.

Top row is to switch to workspace 1, 2 and 3, close the current app, close current window. Bottom row is terminal, firefox, slack, clementine (music player) and file manager. I was pretty excited about how this was looking so far. Now on to wiring it up.
I got a few more Arduino Micro clones and soldered wires to one of them and connected those leads to the switches. One switch leg went in common to the ground terminal of the Arduino. And one to each of 10 input terminals.
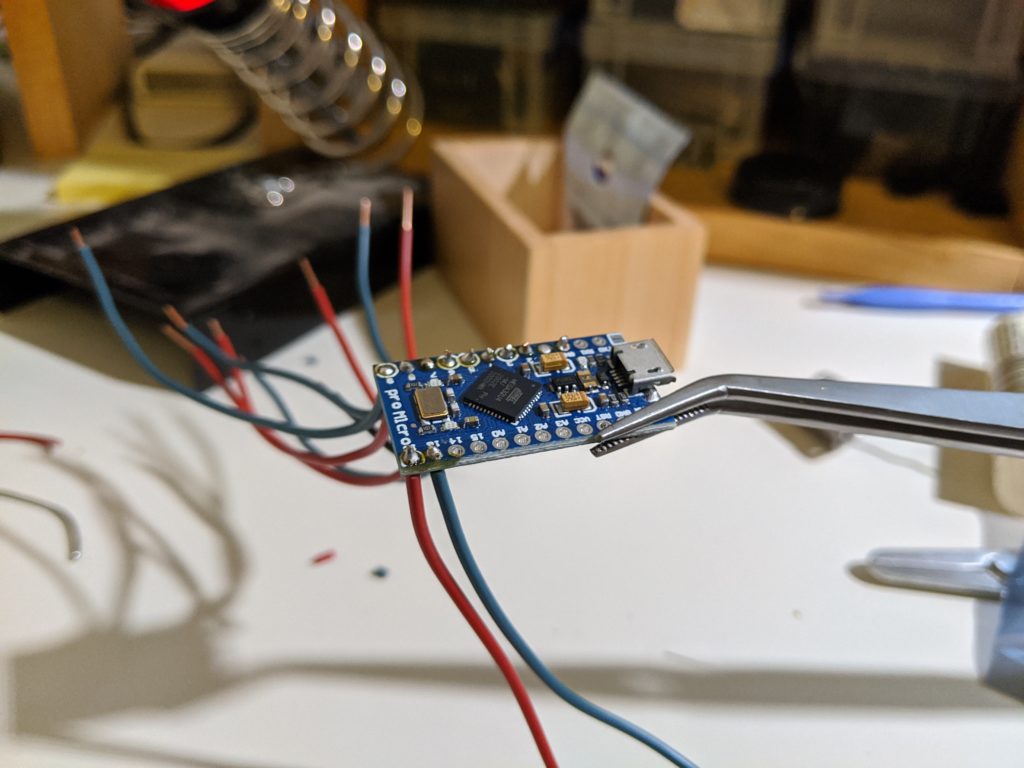
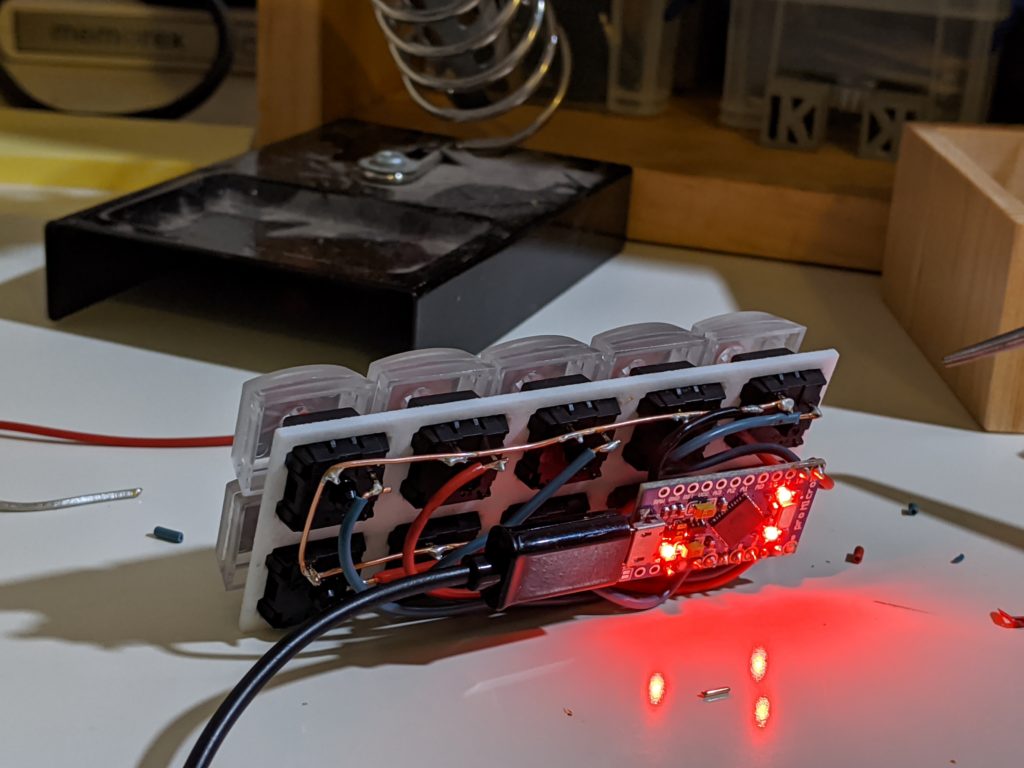
At this point I was able to plug it in, send my program to it and test it out. It works! Now I wanted to create a nicer enclosure.
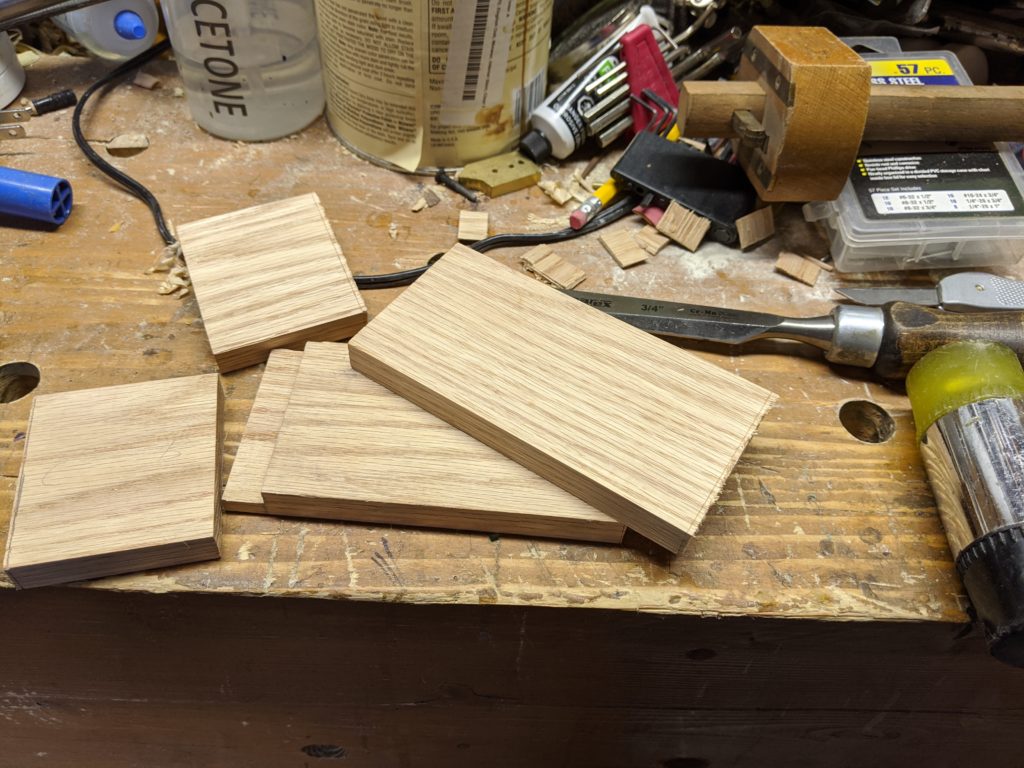
I got some 1/2″ oak and set about fabrication. I’m a bit rusty on the woodworking skills, but it all started coming back to me. Ruined a few pieces by measuring wrong, but got there in the end. This was a bit more challenging than a lot of my other woodworking projects because it the inside of the box has to be exactly 2 3/4 x 1 1/2 inches, with fairly tight tolerances, in order to fit the switch plate. That took some careful math to but the outside dimensions of each piece so that the inside would come out right. Not rocket science, but easy to mess up, as I proved.
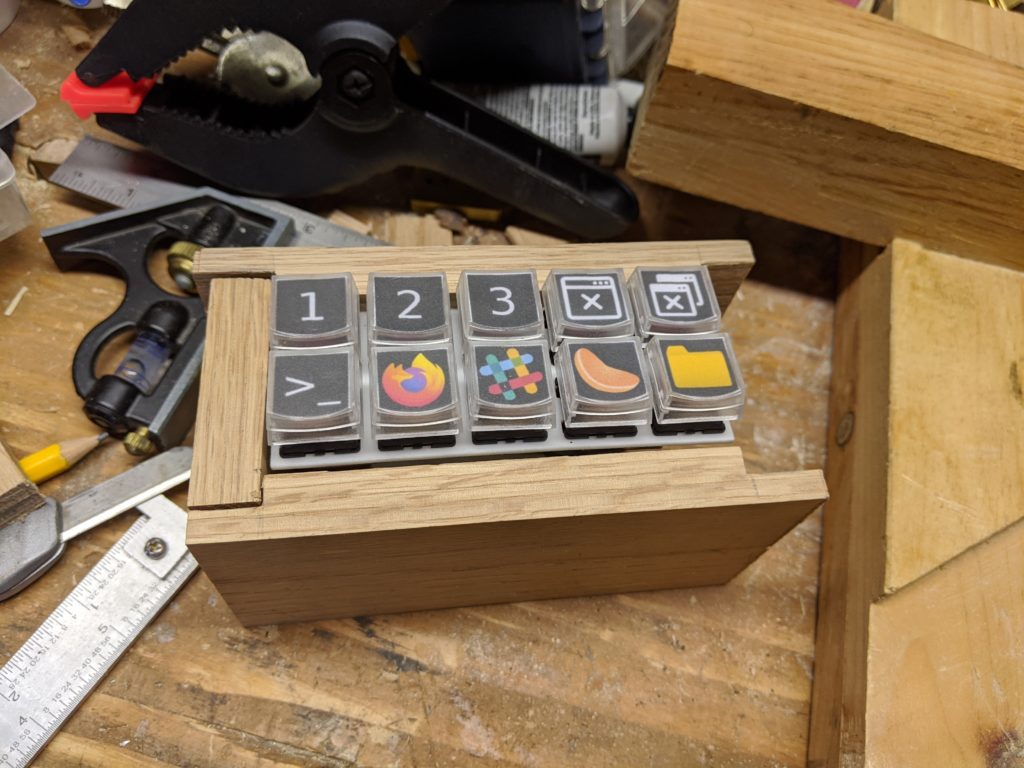

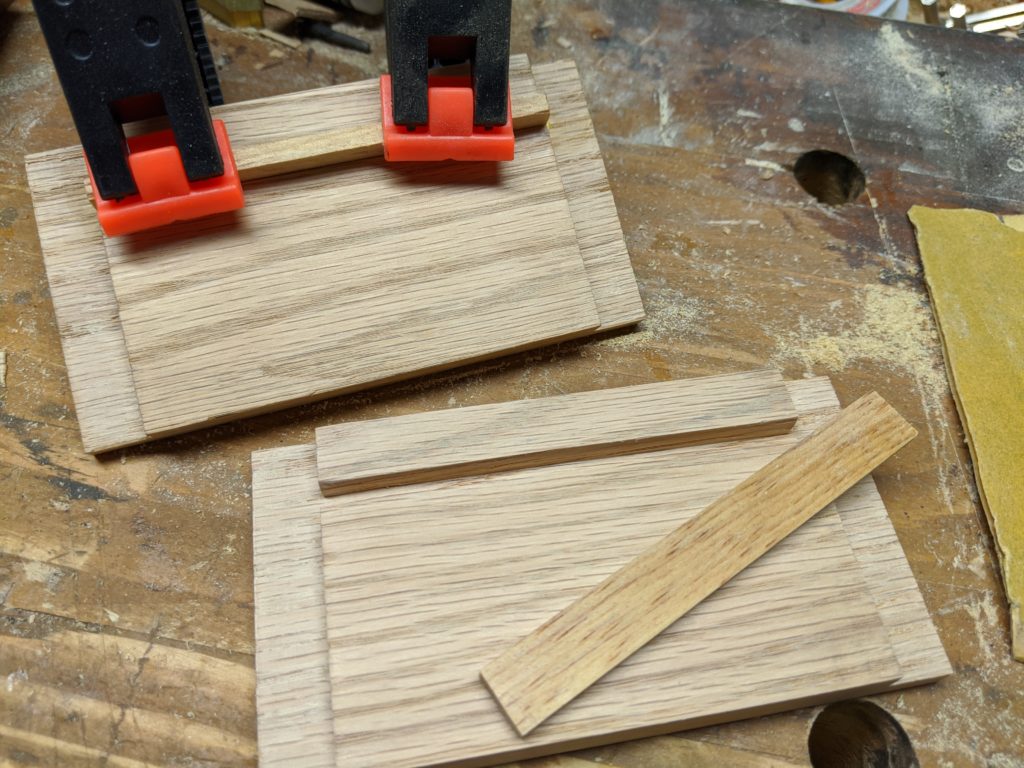

I cut some grooves in the side pieces and inserted some rails in them. The switch plate goes down into the top of the box and sits on these rails. It worked perfectly. I left the bottom open and filed a groove on the bottom of one of the sides for the cable to pass through. All very low tech, but I like that there are no screws or other fasteners holding the guts in place, and nothing to disassemble to get the switches out if I need to. Just turn it over and they come right out. I didn’t put any finish on the wood yet. I might do some shellac later, but I like the look of raw oak.

Post Mortem
What went well:
- Key caps, switches, switch plate, Arduino, box build.
In short, I’m really happy with how it turned out.
What could have been better:
- I used solid wire, probably too heavy for the purpose. Made it hard to arrange everything. If I do another one of these, I'll use lighter weight stranded wire. Maybe think about using some connectors.
- The box came out a bit chunkier than I want. It could easily have been half the height. (I am thinking about cutting this one down in fact.) And I'd probably go with 1/4 or 3/8 inch rather than 1/2 inch wood next time.
- The graphics look great, but maybe a bit washed out. I might try printing them on photo paper to have them be a bit more vibrant.
Thoughts for next time:
- I want to make a larger model, with maybe 15-20 keys. This will mean designing a custom switch pate, which might need more support in the middle. It also means altering the circuitry and software to use a matrix rather than have each key tied to its own pin. That will be a fun learning process.
- I might also look into white LED switches and print the graphics with a white background so the light shines through.
- It might be fun to think about some other controls. A rotary control for volume or brightness or whatever. Toggle switches for… something? Just go all out steam punk on it.
Comments? Best way to shout at me is on Mastodon ![]()